Bio Sculpture pioneered coloured gel over 30 years ago, introducing the first soak-off gels to the market. The UV sơn gel revolution began when brands, with some debate over whether it was Gelish or CND as the true pioneer, changed the gel’s độ nhớt and packaged it in a bottle with a chải. This new hybrid product offered a thinner application but had a shorter wear time.
Understanding the Differences: Pure Gel vs. Hybrid Gel Formulations
A ‘pure gel’ consists entirely of polyme, while a ‘hybrid’ is a pure gel infused with dung môi. Both are permeable, but hybrids allow for faster axeton penetration, making them quicker to ngâm mình.
Evolution of UV Gel Polish: From Glossy Finish to Sleek Traditional Look
Các Gel tia cực tím đánh bóng revolution gave the nail industry an amazing kick start as it was new and the consumer loved the long wear and instant dry characteristic.
Originally, the UV-gelled nail was super glossy, slightly thick and with a rounded edge. A look that many liked hence the invention of ‘gel-like’ traditional polishes. Not everyone liked that ‘bulbous ‘look and preferred the more sleek appearance of sơn móng tay.
From Bulbous UV Gel to Sleek ‘Lip Gloss’ Finish
Things have moved on and some very skilled technicians take that extra care to achieve a slim, sleek and totally natural look. But this takes more time and skill.

The nails you see on socials with the ‘lip gloss’ look are good examples of this.
I’ve had my nails done by two such artists recently and I LOVE the look. So how do they do it?
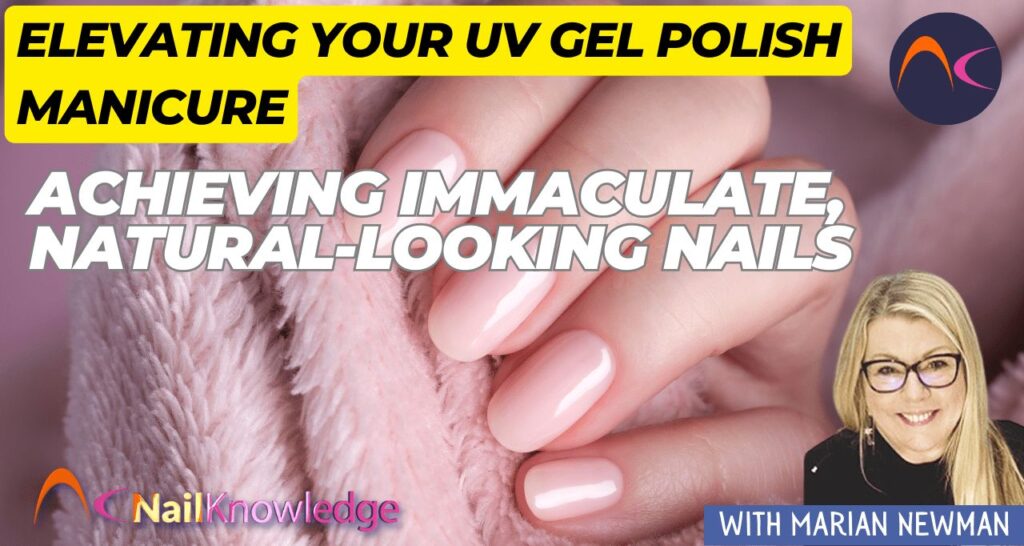
Precision in Practice: The Steps to Achieving a Flawless Nail Finish
I’ve watched and, if I was in a salon, I’m not sure I’d have the patience. I have no patience when doing my own nails.
- immaculate and exact prep.
- a smooth lớp sơn lót
- applying a ‘slip layer’ (a thin layer of the coloured product, not đã chữa khỏi, before the main coatings) gives the main coat something to hold on to before flooding the side walls
- a thin main coat but only two nails at a time to avoid any movement
- inverting the fingers to use gravity to pull the coating away from the sides, make it thinner, and create a natural đỉnh. The nail needs to be parallel to the desk for this to work efficiently
- then cure
- finish the other two nails in the same way and finally the thumb separately
- if needed, the colour coat is finished with a fine đệm or block but those skilled in this do not need to do this step as their application is perfect already
- then remove any dust and apply a lớp phủ trên cùng
- the main attention is on the lines of light as this shows up where the coating is uneven and needs to be corrected
All this takes more time and advanced skills but really is the way to up your game and make the result of UV gel polish manicures the very best they can be!
No more bulbous and uneven polish nails. Beautiful immaculate natural looking nails that are the envy of all.
For a prime example of this, I recommend checking out the Dryby Instagram. It showcases how photos can best capture this type of nail design.