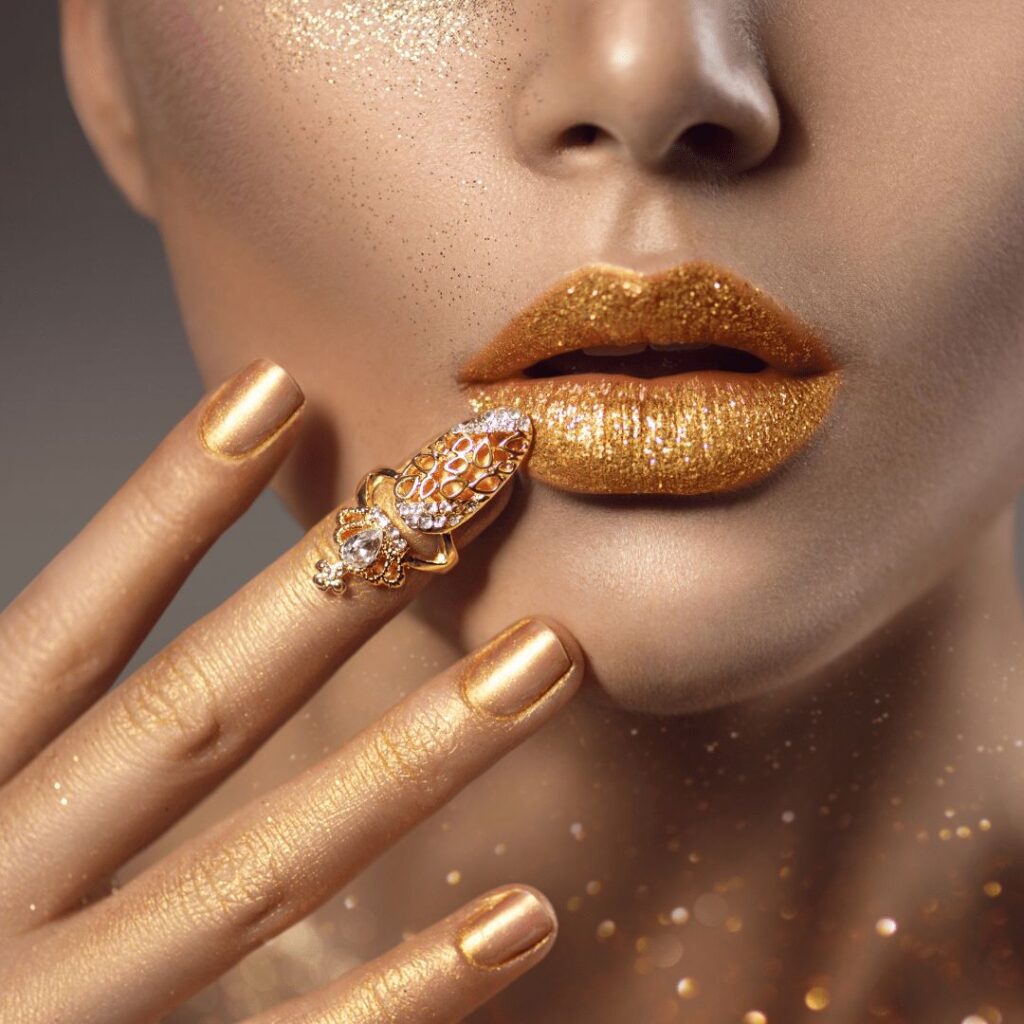
Nail embellishments are an easy way to create simple or show-stopping nail art without the need of drawing something.
What are embellishments?
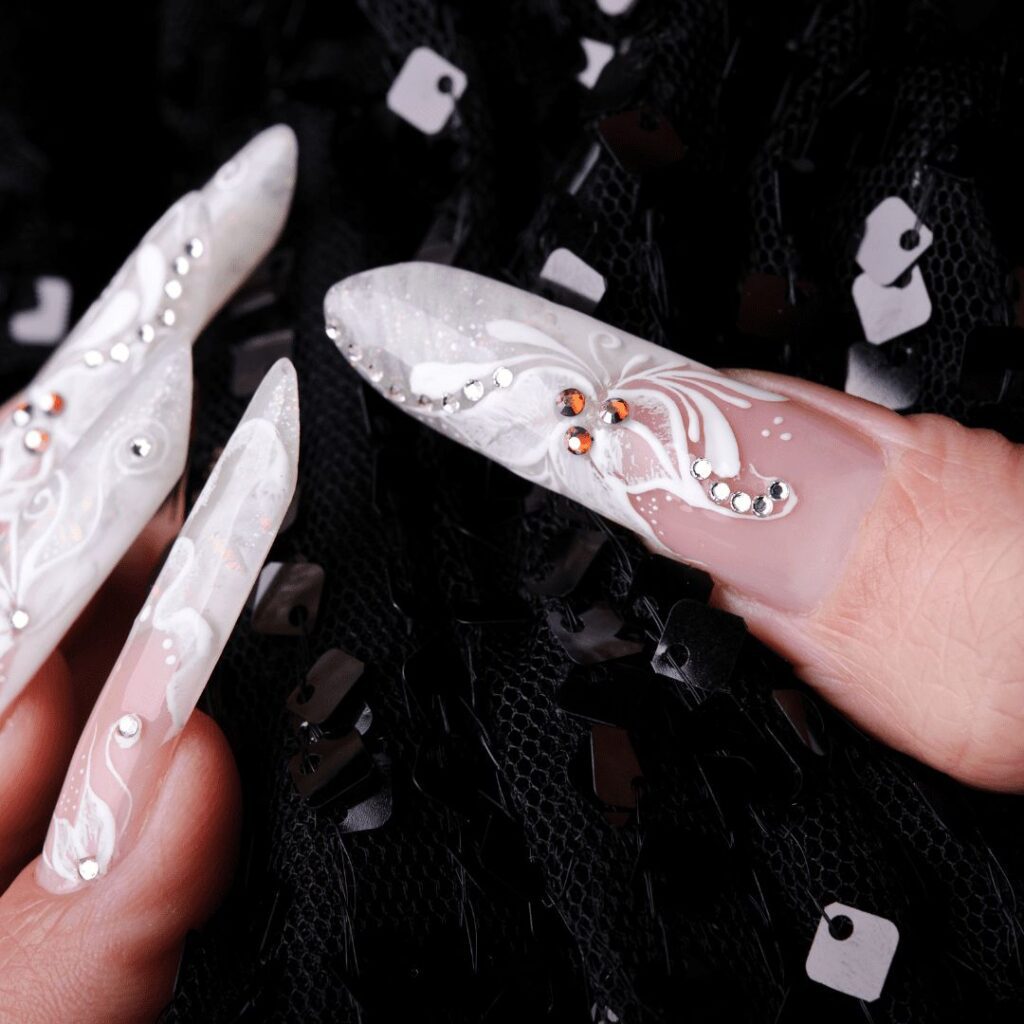
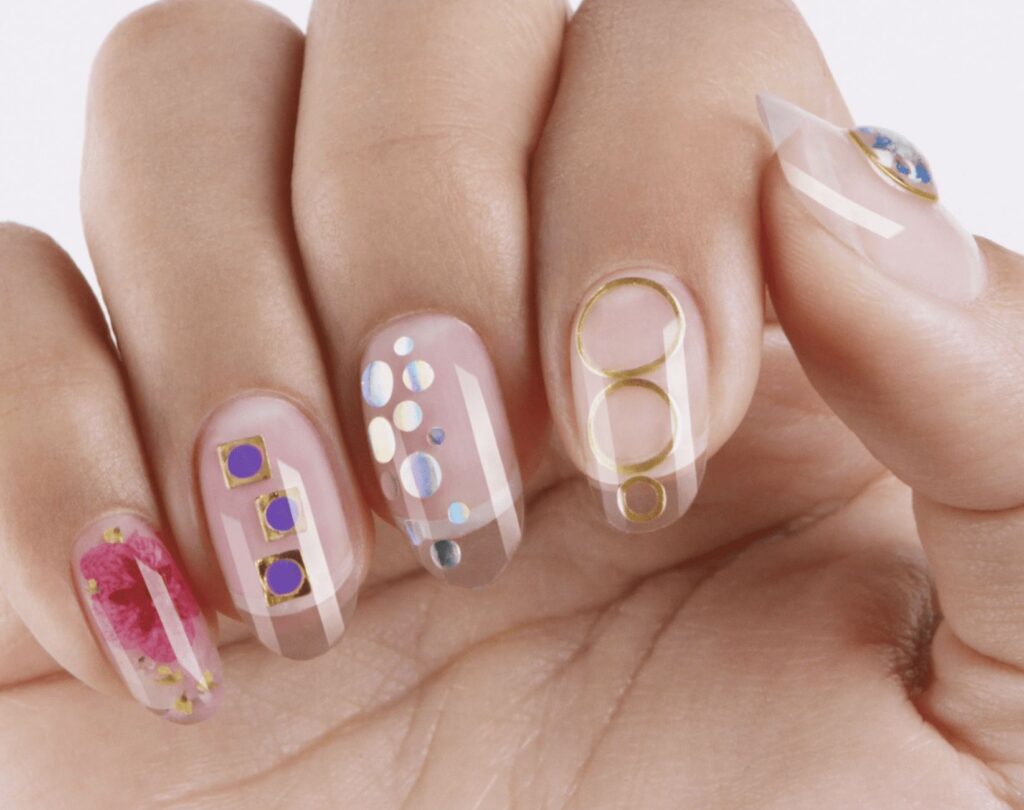
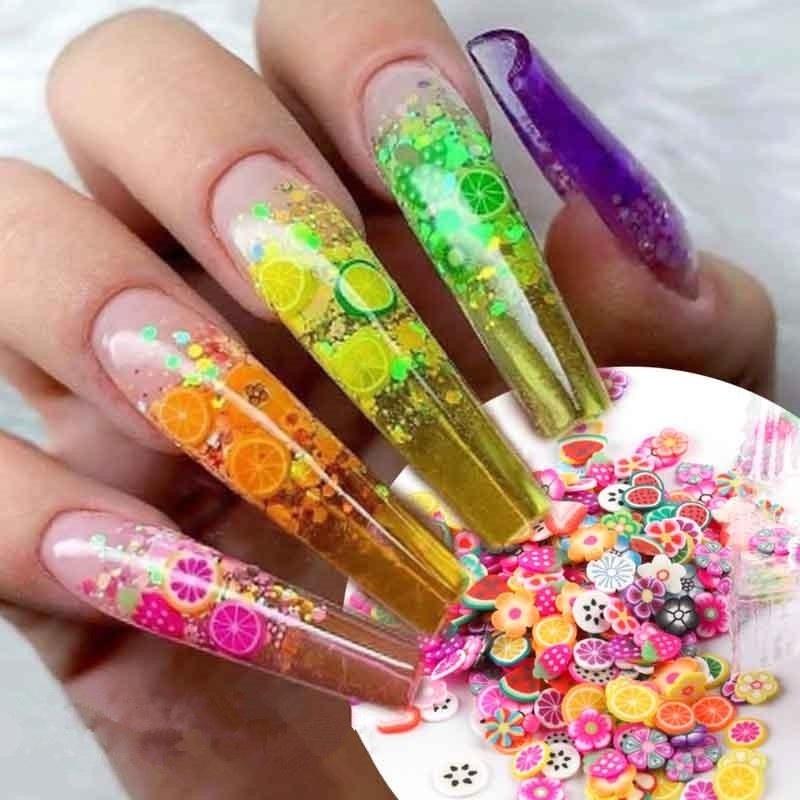
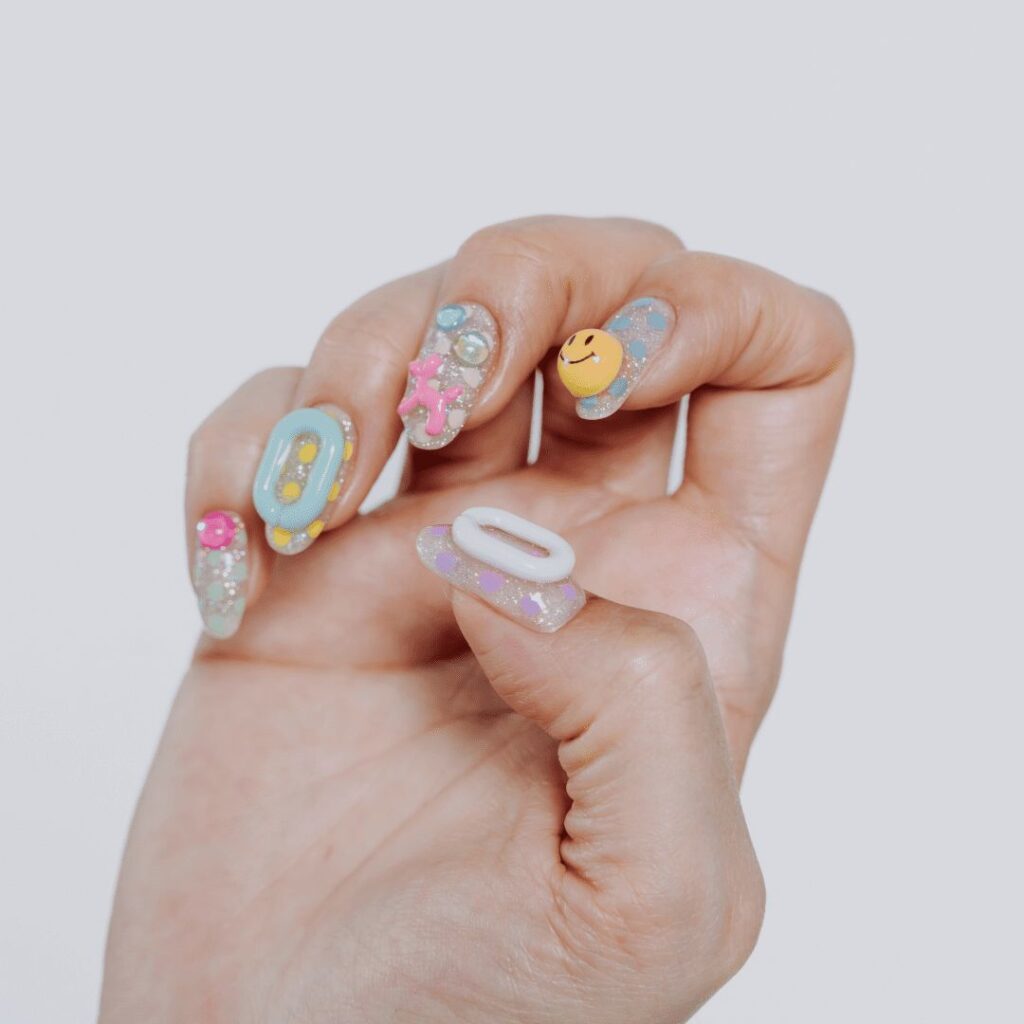
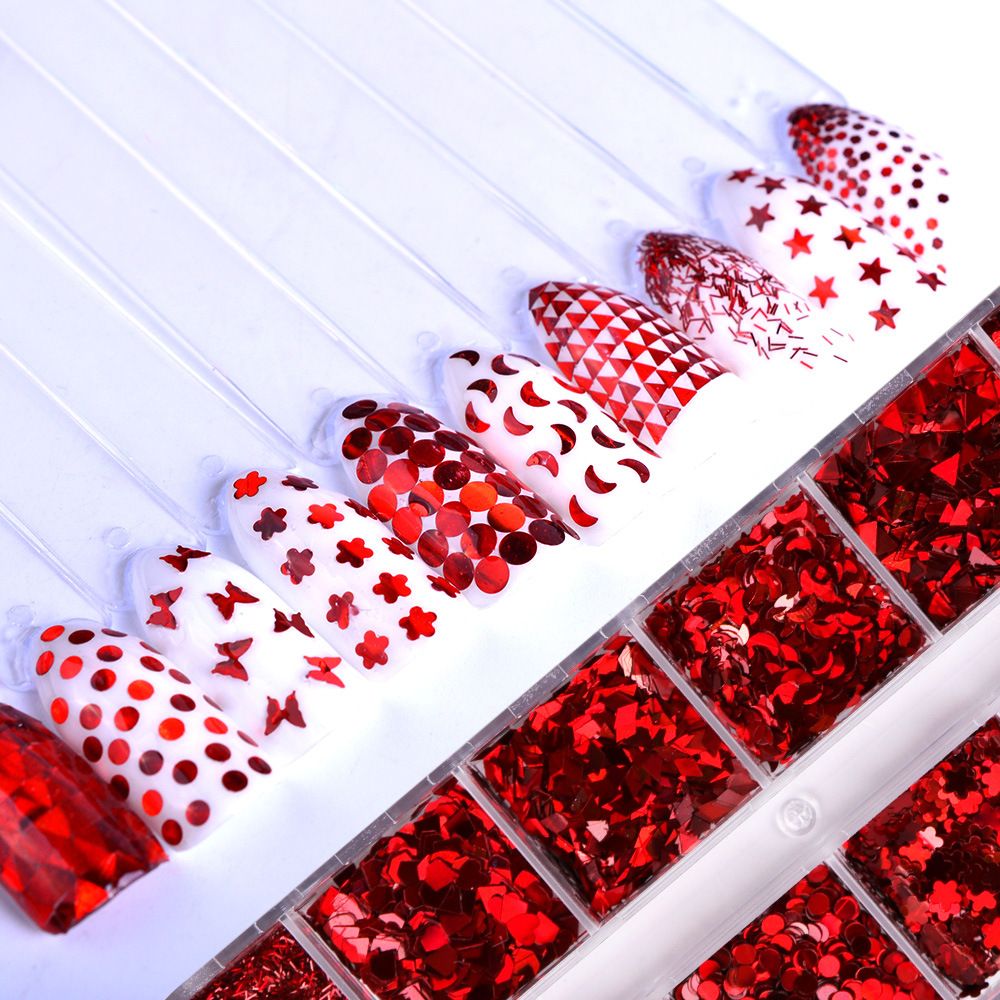
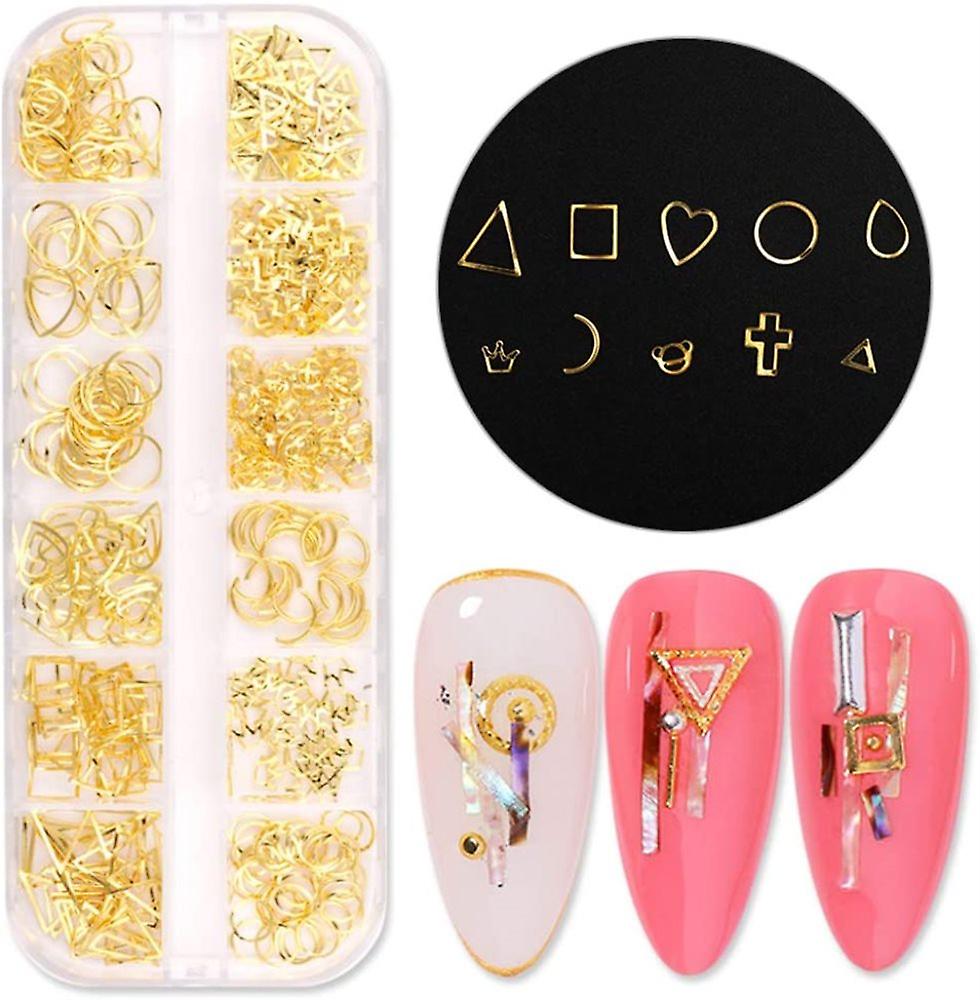
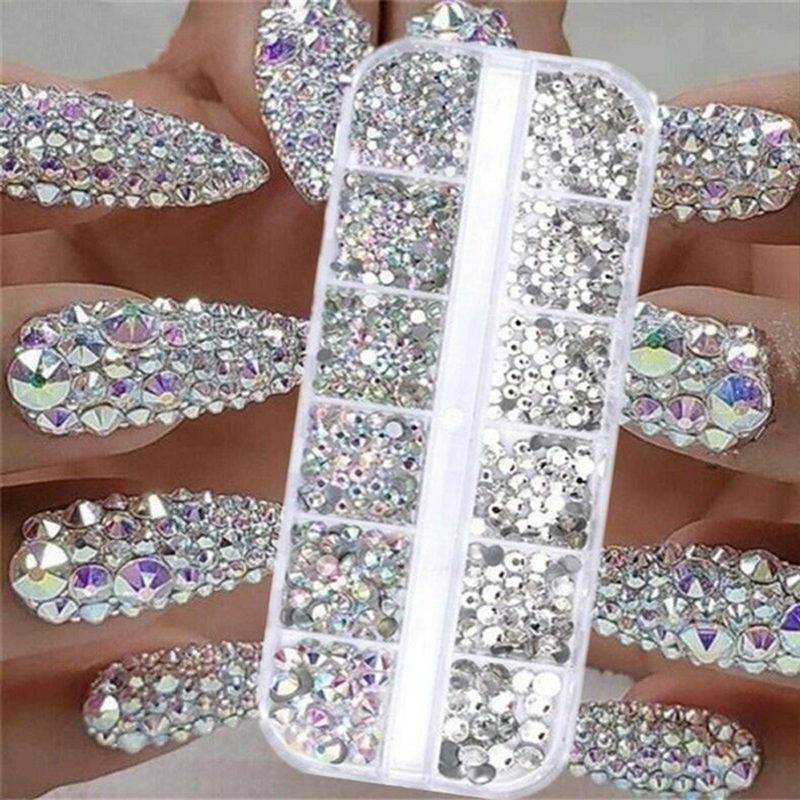
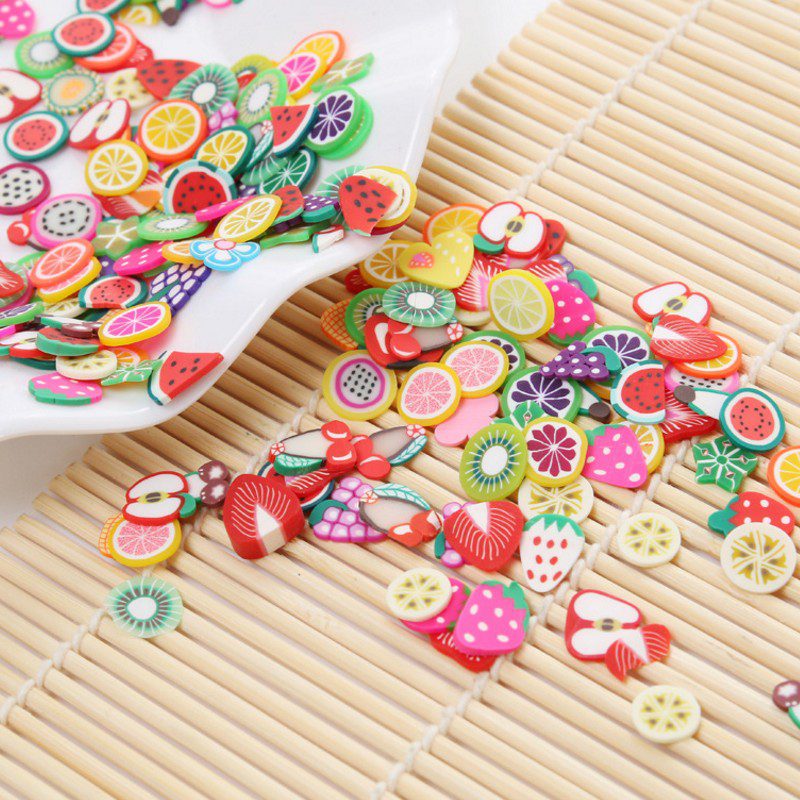
Embellishments are usually solid decorations such as small metal pieces, pearls, resin charms, sequins, studs, polymer clay slices, crystals, etc. We can use them with any nail coating, although some work better with one medium than another.
How do we use embellishments?
With nail polish:
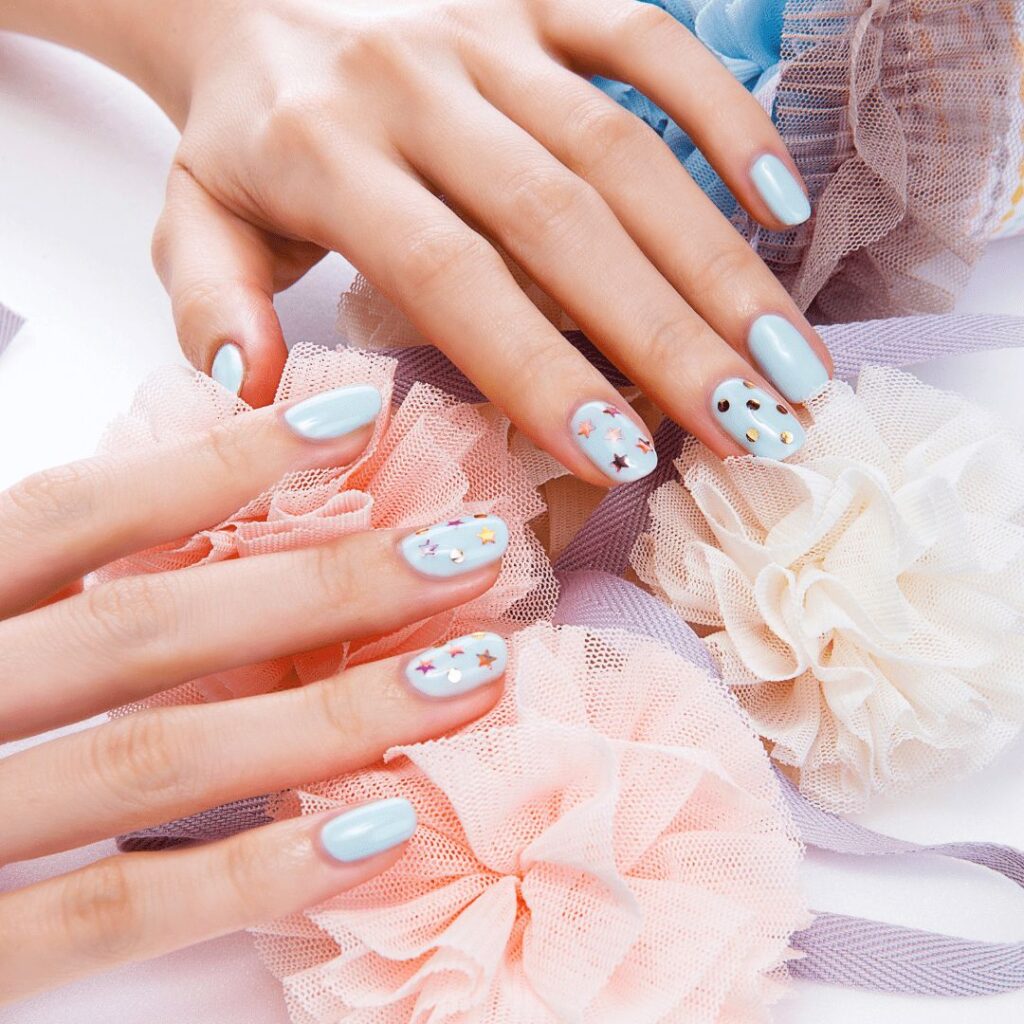
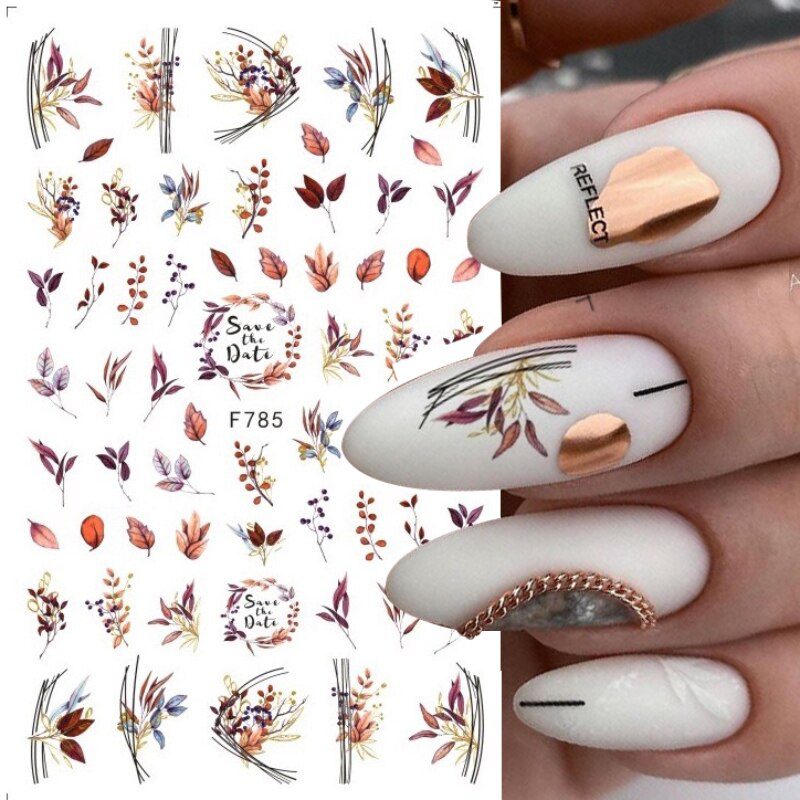
Sticky decals can be applied on dry nail polish color, and then covered with a top coat.
Flat but flexible embellishments can be pressed onto still wet nail polish top coat. They can then covered with another layer of top coat for protection.
3D embellishments, if they are small, can be pressed onto a still wet nail polish top coat. It would be better not to cover them with another layer of top coat as they will lose their sparkle. Plus, they will create a weird “bump” on the nail.
For bigger embellishments, use an adhesive that will provide you with that extra hold you will need.
With UV gel polish:
The same rules as with nail polish apply here. The only difference is that you get a better hold on embellishments that are applied on the surface of the top coat.
For an even better hold, use a striping brush and your top coat to seal the edges of your embellishment. Think of how a jewel is secured on a ring!
With UV gel:
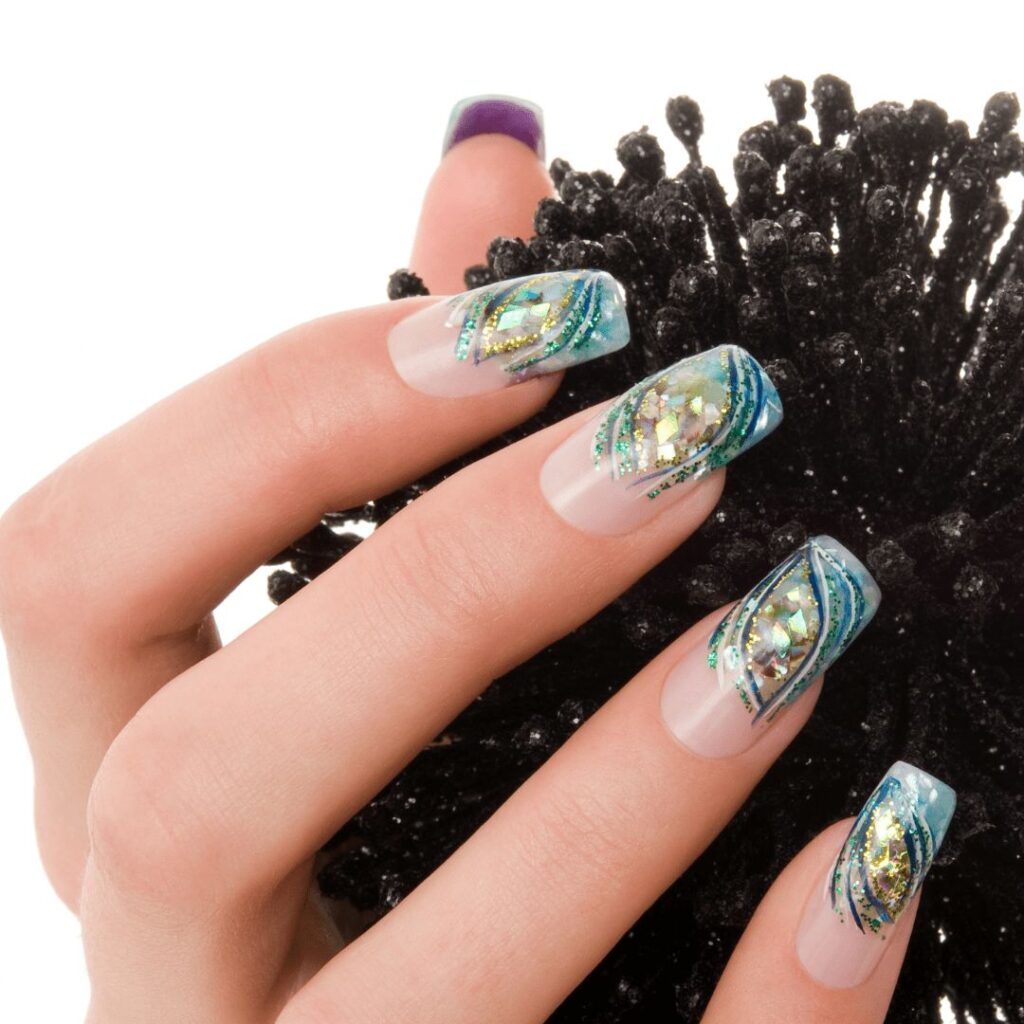
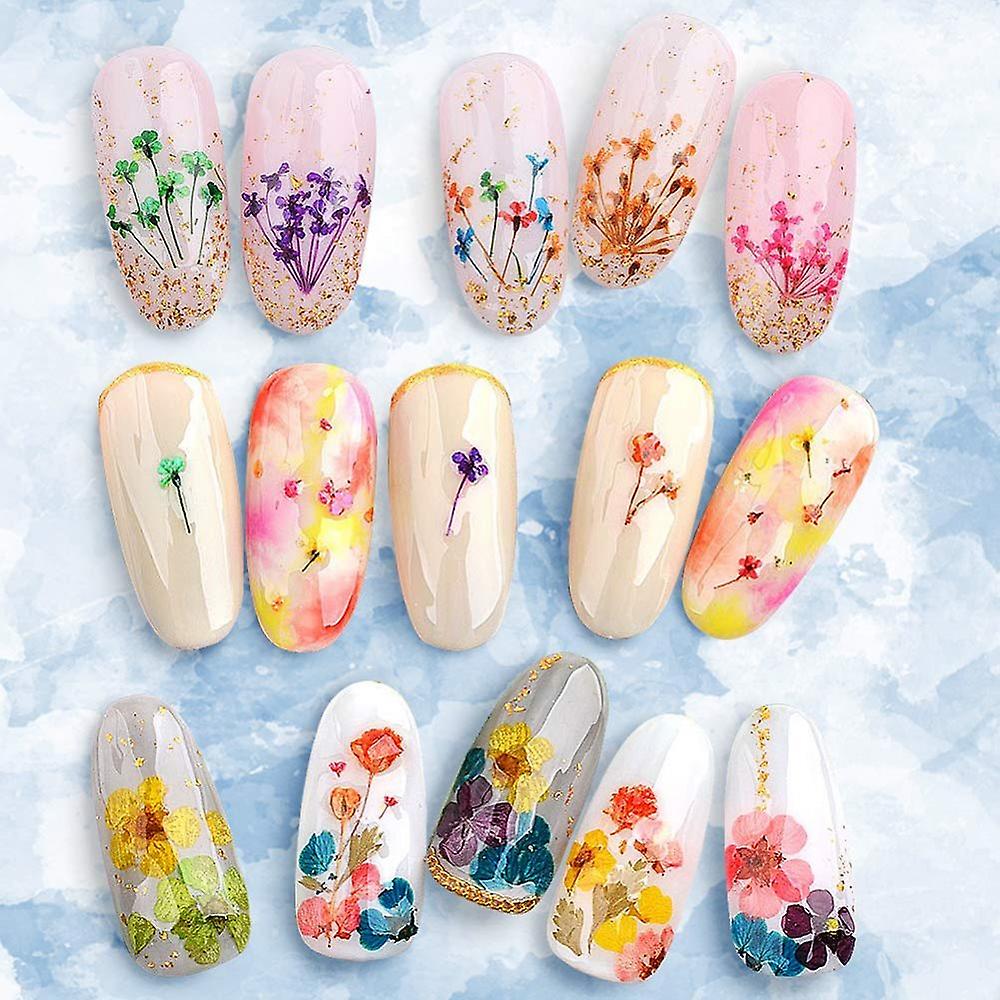
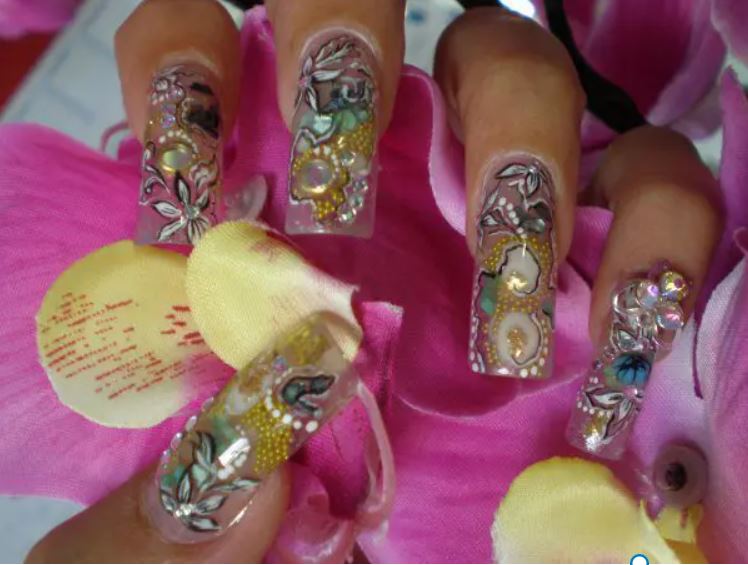
When using embellishments with UV gel, we have two options. We can apply them on top of the enhancement, or encapsulate them in it.
To apply them on top of the enhancement, we can follow the same rules as with UV gel polish. Of course, using the UV gel top coat of our preferred system instead. We can also use a bead of UV builder gel to hold bigger embellishments, or even a cluster of them.
To encapsulate embellishments within the enhancement, we need to follow these rules:
- Always start with a thin layer of clear UV gel that you will cure before adding any embellishments. This will act as a base for our embellishments, and as protection of the natural nail.
- Apply the embellishments towards the center of the enhancement, where you will have the thickest layer of UV gel covering them.
- Be aware of the thickness of your embellishments and their placement. You do not want to file them by mistake when you are finish filing your enhancement!
- Use the most crystal clear UV builder gel possible to encapsulate your art. It would be a shame to hide it in a cloudy enhancement!
With L&P:
When using L&P, we have the same options as with UV gel. The difference here is that our L&P base layer needs to be uncured when we press our embellishments into it, otherwise it will not grab them. And of course, we need to use a UV top coat to seal the enhancement if we want to add embellishments on its surface.
Things to remember:
- Make sure the widest part is held in place by the coating. This can be added using a small brush.
- Choose sizes wisely as embellishments are often flat so may not sit neatly with the curves of the nail.
- If using a lot of tiny crystals to embellish a nail, use a fine ‘spiders web’ of UV gel applied by a small brush to help secure them without covering their facets.
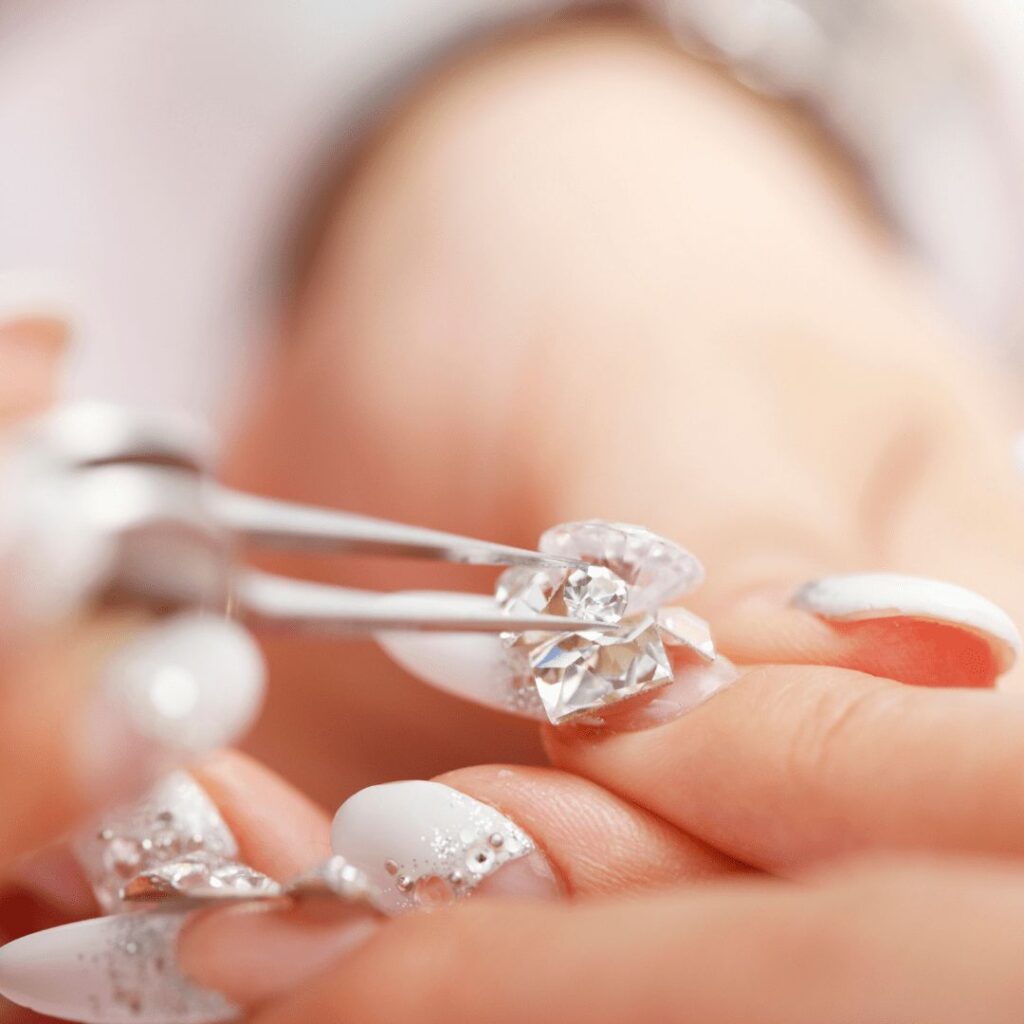
- There are specially designed tools for picking up embellishments and accurate placing but an easy option is a small piece of ‘Blu-Tak’ shaped into a point.
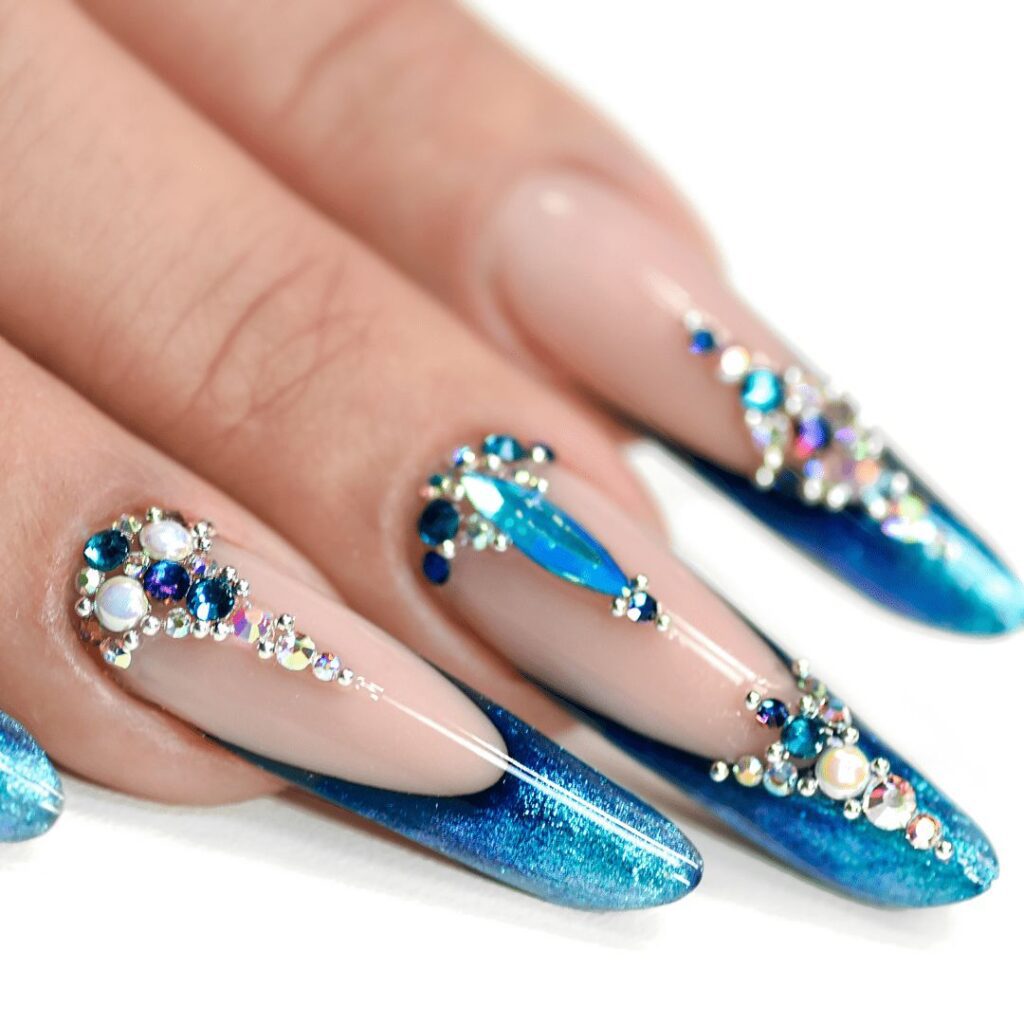
- When creating a cluster of embellishments (usually crystals) use smaller pieces to support the bigger ones. Look at jewelry to get inspiration.