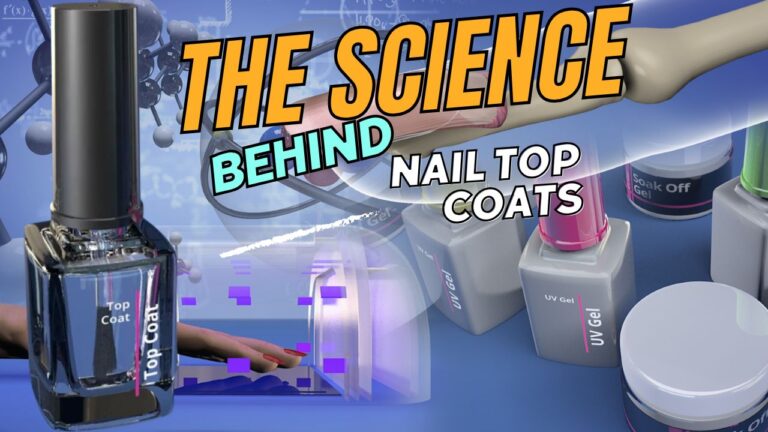
Khoa học đằng sau lớp sơn phủ móng tay
Nail care goes beyond simply choosing the right nail polish color; it’s a captivating blend of science and art that produces incredible results. And in…
Read More →Kiến thức về móng tay
Nail care goes beyond simply choosing the right nail polish color; it’s a captivating blend of science and art that produces incredible results. And in…
Read More →
The Secret to a Perfect Manicure Using Base Coat Let’s dive deep into the world of nail care and explore the essential yet often underestimated…
Read More →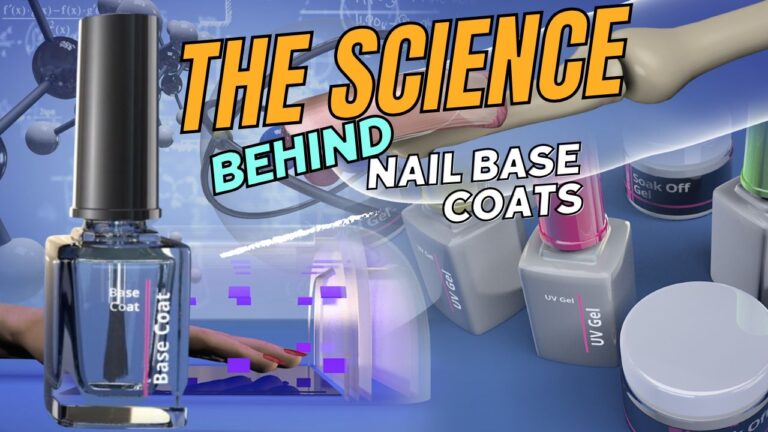
Unveiling the Benefits of Nail Base Coats When it comes to achieving a flawless and long-lasting manicure, the role of a nail base coat is…
Read More →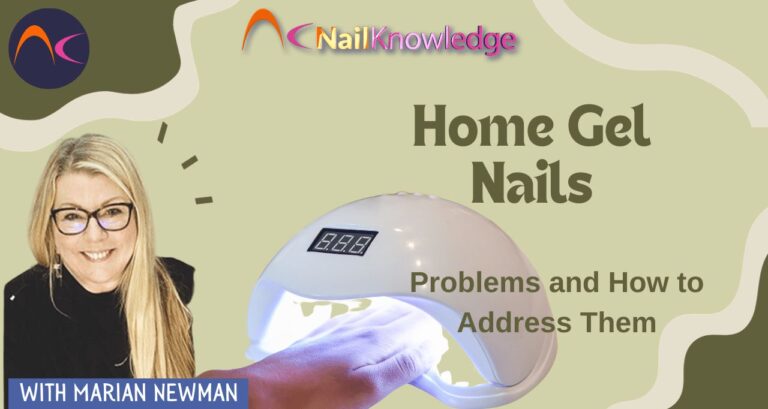
DIY Gel nails kits from high street stores and the internet are very popular. But there are problems associated with them. Let us discover the…
Read More →
A Colorful Connection When Yvonne Millner turned heads by adorning her 1996 Mitsubishi Mirage with hundreds of bottles of nail polish, it made quite the…
Read More →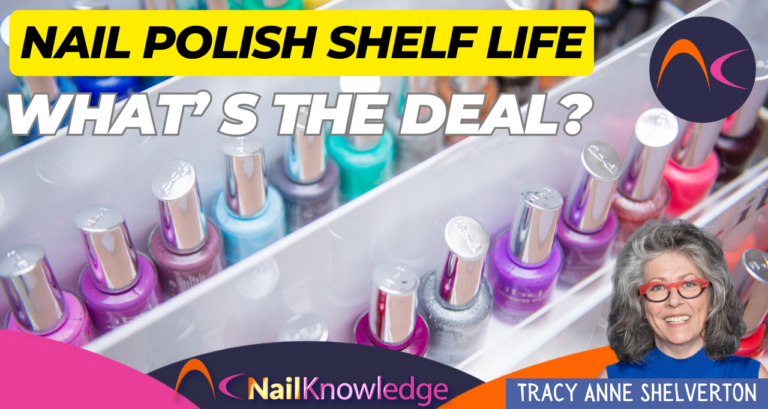
Ever wondered about the shelf life of your beloved nail polish? It’s not just about picking your favourite colour; it’s about making that colour last.…
Read More → Vietnamese

