Gel polish curing is a chemical process, not simply a matter of time spent under a lamp. Many common problems such as wrinkling, tacky layers, bubbles, or shrinkage are often misunderstood as application faults, when they are more accurately explained by how gel chemistry interacts with light energy during curing.
Understanding gel polish curing helps explain why different products behave differently, even when applied correctly.

Gel polish curing is a chemical reaction
Gel polish cures through a process called polymerisation. This reaction begins when specific ingredients in the gel, known as photoinitiators, absorb ultraviolet light within it’s designed curing range. Once activated, these molecules trigger the gel to link together and harden.
If the gel does not receive the correct type or amount of light energy, the curing reaction may be incomplete, uneven, or unstable.
Why curing behaviour differs between gel products
Not all gels are formulated in the same way. Differences in pigment load, viscosity, and photoinitiator type all influence how light penetrates the product and how the curing reaction progresses.
This is why some gels cure with a tacky surface while others cure dry. In many systems, a tacky inhibition layer is intentional and supports adhesion between layers, while other products are designed to fully cure without residue.
Curing behaviour is therefore a result of formulation and design, not simply curing time.
Wrinkling and shrinkage during curing
Wrinkling during curing usually occurs when the surface of the gel cures faster than the layer beneath it. As curing continues, movement in the uncured layer can cause the upper surface to distort.
Shrinkage is also a normal part of gel polish curing. As the gel polymerises, it tightens slightly. Excessive shrinkage, particularly away from the sidewalls, is often linked to curing imbalance rather than a single application. When we apply too much product, that shrinking can also cause our product to wrinkle.
Both effects are influenced by formulation, layer thickness, and how quickly the curing reaction occurs.
Micro-bubbles and curing irregularities
Micro-bubbles that appear after curing are commonly the result of trapped air or uneven curing behaviour. As the gel solidifies, gas may be released if curing progresses inconsistently through the product.
This behaviour is affected by how thick the gel is, how much pigment it contains, and how the curing light penetrates the product.
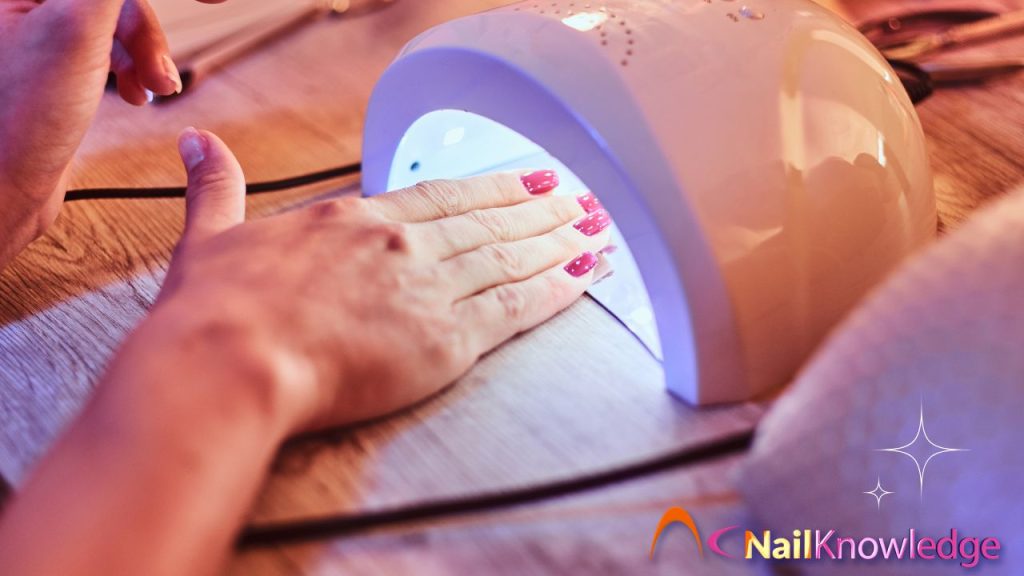
Lamp wavelength and gel polish curing
Gel polish curing depends on whether the curing lamp emits light within the wavelength range required by the gel’s photoinitiators. If the lamp output does not match the gel formulation, curing may be incomplete or uneven, even if the time in the lamp is increased.
This is why curing performance is not determined by time alone. Lamp compatibility (using a matching lamp) plays a critical role in achieving a stable and complete cure.
The misconception of over-curing
Over-curing is often misunderstood. Leaving a gel under a lamp for longer does not usually damage the product. Issues arise when the curing reaction happens too rapidly, often due to a lamp output that is too intense or mismatched for the gel formulation.
In these cases, the problem lies with curing compatibility rather than excessive exposure time.
Why understanding gel polish curing matters
Many visible curing problems share the same underlying cause: imbalance between gel formulation and curing conditions. Without understanding this relationship, troubleshooting becomes guesswork and is impossible to achieve.
NailKnowledge education focuses on explaining curing behaviour so that problems are understood at a chemical level rather than treated as isolated faults.