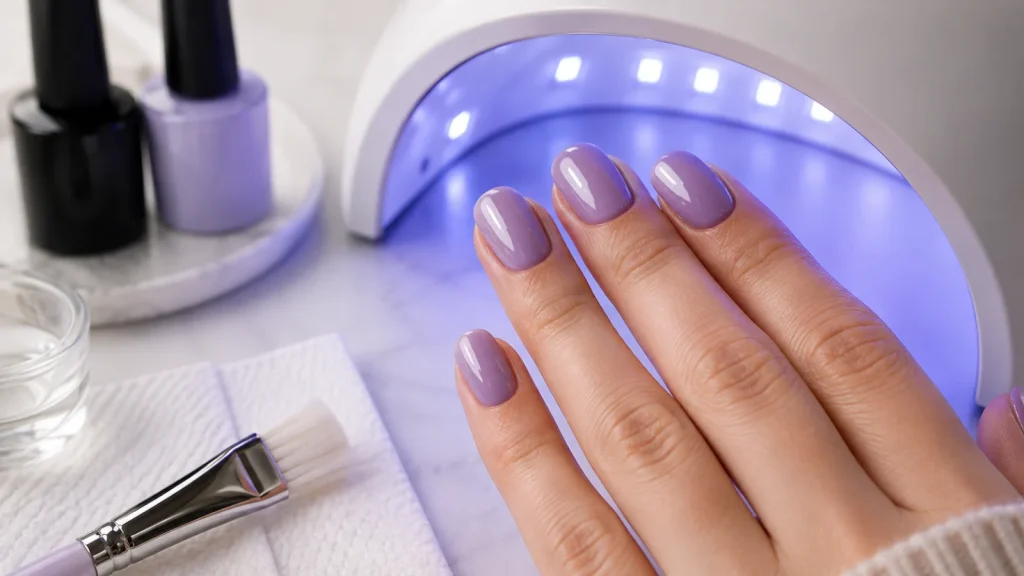
You’ve just sat under your lamp, the timer has beeped, and you pull your hand out expecting a clean, dry finish. Instead, your nails feel tacky. Sound familiar? Sticky gel nails after curing are actually completely normal, and the reason has a name.
💡 Key Takeaway
A sticky surface after curing is the inhibition layer doing its job, not a sign something went wrong. Only wipe it away after your final top coat, apply thin layers, and make sure your lamp sits in the 365nm to 405nm range. Those three habits solve most sticky gel nail problems.
What Is the Inhibition Layer?
That sticky surface is called the inhibition layer. Gel chemistry builds this in deliberately, and it forms on top of gel polish during the curing process. Oxygen in the air reacts with the top surface of the gel as it cures, leaving a thin tacky film behind. This is not a flaw in the formula or a sign that something went wrong.
The inhibition layer is there for a reason. It keeps each coat slightly tacky so the next layer has something to grip onto. Without it, your colour coats and top coat would have nothing to bond to, and your manicure would be far more likely to peel. Think of it like the texture on a painted wall before you apply a second coat, that slight roughness is what makes the layers stick.
When Should You Remove Sticky Gel Nails?
Here’s where a lot of people go wrong. You should only remove the inhibition layer once, after your final top coat. At that point, wipe the surface gently with a nail cleanser on a lint-free wipe, and the high-shine finish underneath will be revealed.
Do not wipe between coats.
It’s tempting, especially if your nails feel uncomfortably sticky mid-manicure. But removing that tackiness between layers breaks the bond you need for adhesion. According to Mylee’s guide on sticky gel nails, Wiping the nail mid-manicure can contribute to peeling by interfering with adhesion between product layers.. Save the wipe for the very end.
Gel Nails Still Tacky After LED Lamp? This Might Be Why
There is a difference between a light tackiness (normal) and a gooey, soft surface that never fully sets. If your nails feel genuinely uncured rather than just slightly sticky, two culprits are usually responsible.
The first is thick layers. Gel polish needs light to penetrate all the way through each coat to cure properly. When you apply a thick layer, the light cannot reach the base of it, so the gel at the bottom never fully sets. Thin, even coats are essential for this reason.
The second issue is lamp compatibility. Most modern gel polishes need light in the 365nm to 405nm wavelength range to cure correctly. If your lamp sits outside that range, the gel simply will not cure the way it should, no matter how long you leave it under. This is a surprisingly common problem, and it is worth understanding how lamp compatibility affects your cure before assuming your gel formula is to blame.
Curing Time and Sticky Gel Nails
Curing times vary between lamp types, and each layer needs curing separately. Skipping layers or rushing the time is another reliable way to end up with gel that has not fully set. Check the guidance that comes with your specific lamp and gel brand, since times differ between products and manufacturers.
Getting this right matters beyond just the look of your manicure.
Is Uncured Gel Nail Polish Dangerous?
Yes, and this is worth taking seriously.
Repeated or prolonged skin contact with uncured gel may lead to sensitisation. If sensitisation develops, you may react to certain nail products in the future. It builds up over time, so the risk is not always immediate. But it is real.
That is why getting the cure right matters beyond aesthetics. If your gel consistently feels gooey after curing, investigate your lamp and your application rather than simply living with it. For more on how skin reactions to nail products develop, the science behind nail reactions is genuinely useful reading.
A Quick Summary
Sticky nails after curing are normal and expected. The inhibition layer is doing its job. Only wipe it away after your final top coat, use thin layers, check that your lamp covers the right wavelength range, and cure each coat for the correct time. Those four things cover the vast majority of sticky-gel problems.
Understanding the inhibition layer is one of those small pieces of knowledge that completely changes how a gel manicure turns out. Getting the chemistry right is what separates a long-lasting, glossy result from one that peels, lifts, or looks dull within days.
Knowing what causes sticky gel nails is one thing. Knowing how to apply each layer so the cure actually holds is another skill entirely, and it takes practice to get consistently right.
If you want to go deeper on the technique behind a polished gel finish, the NailKnowledge App walks you through it properly. Era, your personal nail coach, can give you feedback on your actual results, and the tutorials from award-winning nail artists cover exactly how to build your layers for a cure that holds.