What Is Gel Polish Curing and Why Does It Matter?
If you have ever peeled back a gel manicure to find a sticky, wrinkled layer underneath, you have already met a gel polish curing problem face to face. Curing is the chemical process that transforms liquid gel into a hard, durable finish. It is not simply about exposure to light. It is a precise reaction that depends on the right wavelength, the right intensity, and the right formulation all working together. When any of those elements are mismatched, the results can range from dull finishes to serious nail reactions.
Understanding what actually happens during curing helps explain why so many common gel issues trace back to this single step.


The Chemistry Behind Gel Polish Curing
Gel polish contains special compounds called photoinitiators. These are molecules that absorb light energy and trigger a chain reaction called polymerisation. During polymerisation, the liquid monomers and oligomers in the gel link together to form a solid polymer network. Think of it like a net being woven in real time: the light energy pulls all the loose threads together into a firm, interlocked structure.
Different gel formulations use different photoinitiators. Some respond best to UVA wavelengths around 365nm. Others work with the broader spectrum of LED lamps, which typically emit around 395–405nm. This is where curing compatibility becomes critical. A gel designed for one wavelength will not respond as effectively to another, even if the lamp looks identical from the outside.
So the lamp and the gel are essentially speaking different languages. If they do not match, the conversation breaks down.
Gel Lamp Issues: What Goes Wrong and Why
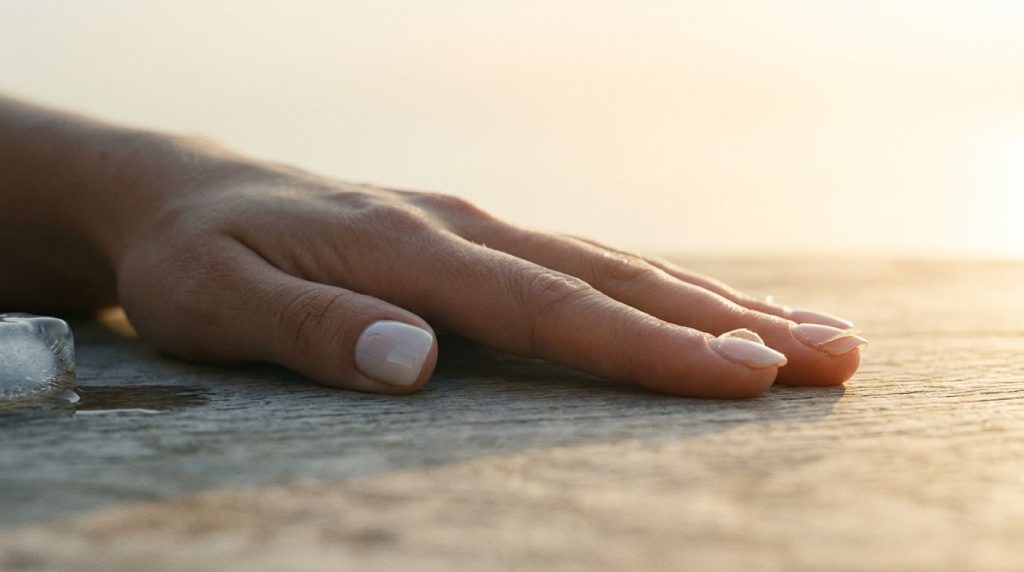
Gel lamp issues are far more common than most people realise. The most visible sign of trouble is wrinkling, where the surface of the gel cures too quickly while the layers beneath remain soft. This happens when a lamp emits too much surface energy relative to the depth-penetrating power of the formulation. The top layer firms up, traps the uncured gel below, and the whole thing buckles under pressure.
Micro-bubbles are another telltale sign. These tiny air pockets form when gas escapes during an incomplete cure. Because the gel has not fully polymerised, it cannot hold its structure, and bubbles rise to the surface or become trapped inside the layer. The result looks smooth at first but can feel rough or appear cloudy once the lamp switches off.
Stickiness after curing is also a classic symptom of gel lamp issues. Some gel systems deliberately include a thin inhibition layer on the surface, which is normal and intentional. But widespread stickiness across the whole nail usually signals that the photoinitiators have not been fully activated, often because the lamp wattage is too low or the bulbs have degraded over time.
Lamp degradation is invisible. A UV lamp can look perfectly functional while its output has dropped significantly, especially if you have not replaced the bulbs regularly. This is one of the most overlooked causes of nail polish problems in home settings.
Why Curing Compatibility Is Non-Negotiable
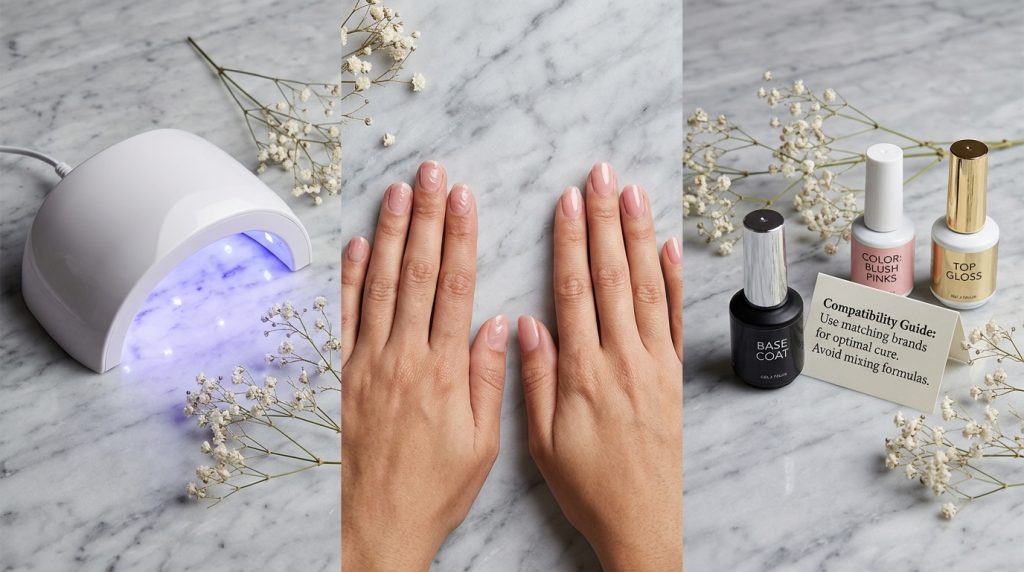
Not all gel polishes are created equal, and not all lamps are interchangeable. Curing compatibility refers to the match between a gel’s photoinitiator chemistry and the specific wavelengths a lamp outputs. Reputable gel brands test their products with specific lamp types and publish those recommendations for a reason.
Using a budget lamp with a professional-grade gel, or mixing brands without checking compatibility, is one of the most common sources of nail polish problems at home. The gel may appear cured on the surface while remaining partially liquid underneath. Over time, this under-cured layer can cause lifting, discolouration, and in some cases, sensitisation reactions on the nail that become more serious with repeated exposure.
Builder gels and thick gel formulations present an additional challenge. Their density means light has to penetrate deeper to activate the photoinitiators throughout the full layer. A lamp that works perfectly for a thin gel polish may simply not have the power to cure a thick sculpting gel in the same time frame.
Common Nail Polish Problems Linked to Poor Curing
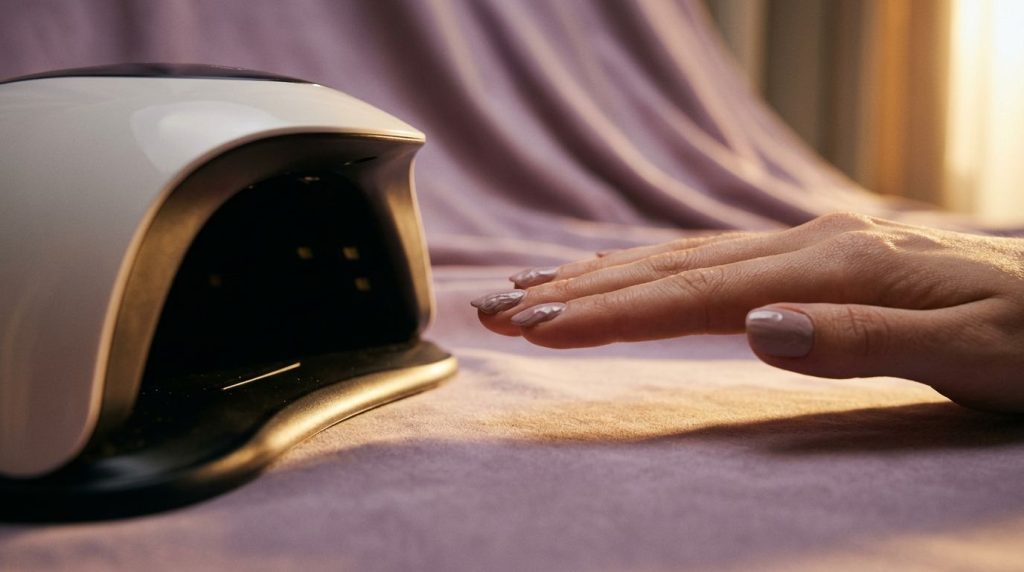
Beyond wrinkling and micro-bubbles, poor gel polish curing shows up in a surprising number of ways. Premature chipping is one. When the polymer network is incomplete, the gel lacks the structural integrity to bond properly with the nail surface or with adjacent layers. Even a small knock can cause the whole manicure to fracture.
Colour shift is another less obvious sign. Some pigments, particularly whites and pastels, can appear yellowed or slightly off after curing if the light exposure is uneven. White gel polish is especially vulnerable because its high titanium dioxide content affects how light penetrates the layer, which means curing depth and lamp choice matter even more than with darker shades.
Gel lifting at the edges is also frequently blamed on prep when the real culprit is curing. If the edges of each layer are not fully cured, they remain slightly flexible and begin to peel away from the nail plate over time. Heat from the lamp can even cause the gel to contract slightly during curing, pulling away from a freshly prepped nail if the formulation and lamp are mismatched.
What Affects Gel Polish Curing in Practice?
Several factors influence how well a cure comes together. Lamp wattage and the number of LED chips both affect intensity. The distance between the nail and the lamp matters too: nails positioned at the edges of the curing space often receive less light than those directly under the bulbs, which is why rotating your hand slightly during curing can produce more even results.
Layer thickness plays a huge role. Thicker layers block light from reaching deeper into the gel, so multiple thin layers will almost always cure more reliably than one thick application. This is especially relevant for gel colours with high pigment loads, where the pigment itself can absorb or scatter light before it reaches the photoinitiators.
Ambient temperature is another variable. Cold environments can slow the polymerisation reaction, while excessive heat from a lamp running too hot can cause surface curing to outpace depth curing, which brings us back to wrinkling again. Even the formulation’s age matters. Gel polish stored in direct sunlight or past its shelf life may have partially activated photoinitiators, reducing its ability to cure fully under even the best lamp.
Matching Your Lamp to Your Gel Polish
The simplest rule is to use the lamp your gel brand recommends. If you want to use a different lamp, check whether the manufacturer has tested and approved that combination. Many brands publish compatibility guides, and some list approved third-party lamps on their websites. Nail industry resources like NAILS Magazine regularly cover lamp and formulation developments that are worth following.
For home users, investing in a quality lamp from a reputable brand is genuinely one of the most impactful decisions you can make for your gel manicure results. A cheap lamp that underperforms will cause more problems than almost any other variable in the process.
Gel polish curing is not a step to rush or approximate. Every wrinkle, every bubble, every lifted edge is the gel’s way of telling you that the chemistry did not quite work out.
The interaction between photoinitiator chemistry, wavelength output, layer thickness, and lamp power is genuinely complex. Getting it right consistently takes more than guesswork, and understanding the science behind each variable is what separates reliable results from frustrating ones. Knowing how professionals read a formulation’s requirements and match them to the right equipment makes a real difference to what you can achieve.
If you want to go deeper on gel polish curing, MyNailEra covers the science clearly and in full. Era, your personal nail coach, can review your results and help you pinpoint exactly where things are going wrong.