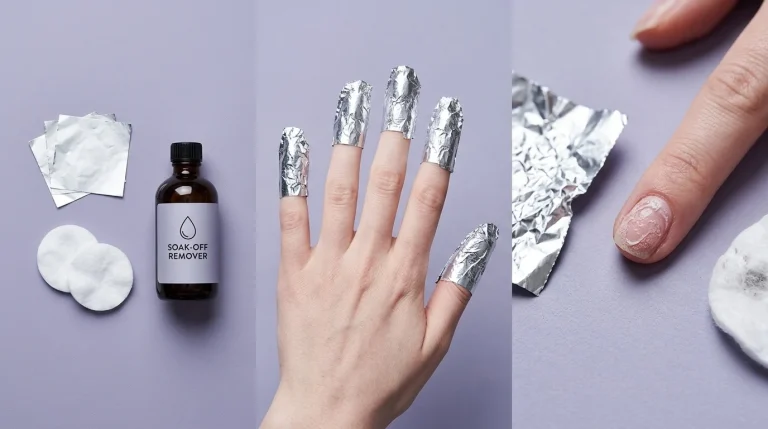
Foil Wraps Nail Removal: Why It Actually Works
Foil wraps nail removal works because of chemistry, not habit. Discover why acetone needs foil to work efficiently, what cross-link density means for removal speed,…
Read More →NailKnowledge
Foil wraps nail removal works because of chemistry, not habit. Discover why acetone needs foil to work efficiently, what cross-link density means for removal speed,…
Read More →
Hot weather does something fascinating to your nails at a biological level, and most people have no idea it's happening. From expanding keratin to gel…
Read More →
The top coat is the most overlooked product in your nail routine, but the science inside that tiny bottle is genuinely extraordinary. From film-forming polymers…
Read More →
Gel nails lifting in hot weather is one of the most common summer nail complaints, and the reasons go deeper than most people expect. From…
Read More →
What Do UV-Free Nail Lamps Actually Mean? “UV-free nail lamps” are becoming more common in marketing, often positioned as a safer or more advanced alternative…
Read More →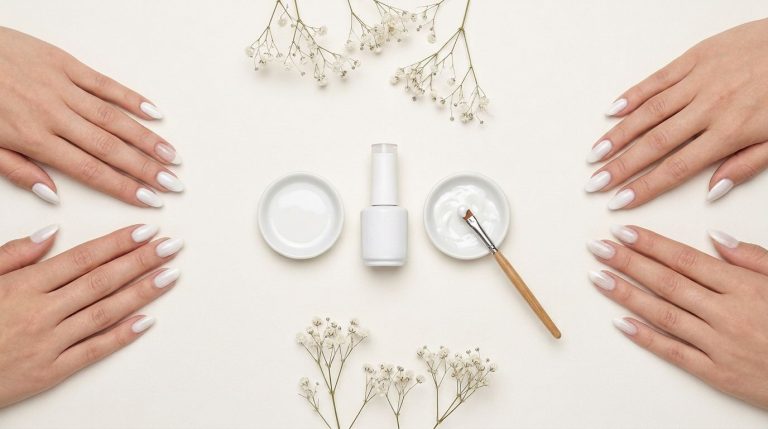
White gel polish is notoriously difficult to apply cleanly, even for experienced nail enthusiasts. But the reason it streaks and looks patchy is rooted in…
Read More → English