The Science Behind Growing Your Nails Faster
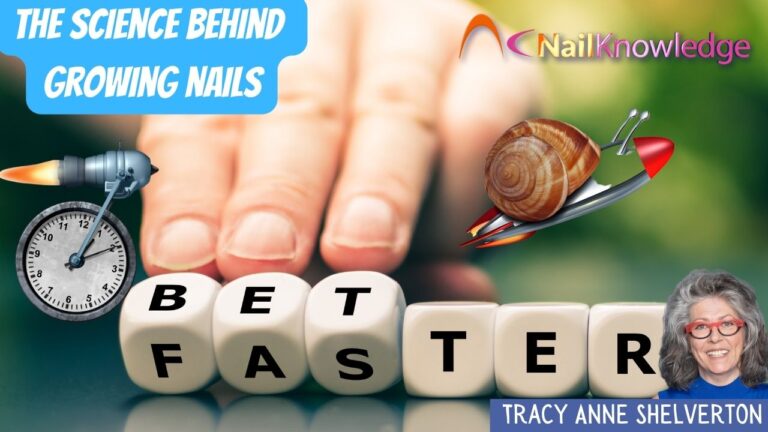
Debunking Myths and Revealing Truths About Fast Nail Growth When it comes to growing your nails faster, there are countless myths and misconceptions that have…
Read More →NailKnowledge
Debunking Myths and Revealing Truths About Fast Nail Growth When it comes to growing your nails faster, there are countless myths and misconceptions that have…
Read More →
The Onychodermal Band We see it every day while we’re at work, but do we really know what it is? Let’s take a closer look…
Read More →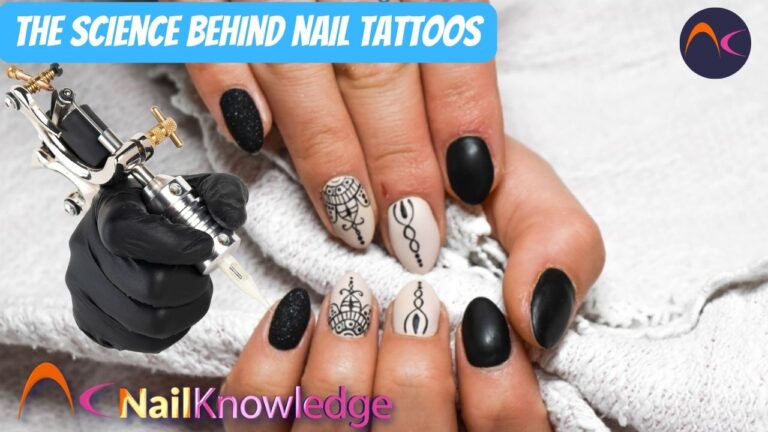
Nail art has evolved significantly in recent years, surpassing traditional manicures and pedicures. Tattoos have become a captivating trend, growing with heightened artistic expression. These…
Read More →
From Tiny Beginnings: The Fascinating Journey of Nail Formation in Developing Fetuses Ever wondered how those tiny fingernails and toenails come to be on a…
Read More →
Since UV technology revolutionised our industry, we have long relied on UV nail lamps for curing various types of nail coatings. Yet, these devices, whether…
Read More →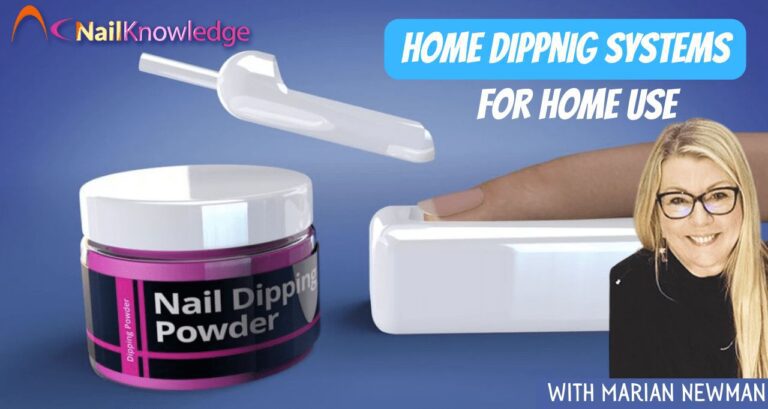
Many brands are popping up with dipping systems for home use! What can you say to clients who are thinking of buying one instead of…
Read More → English