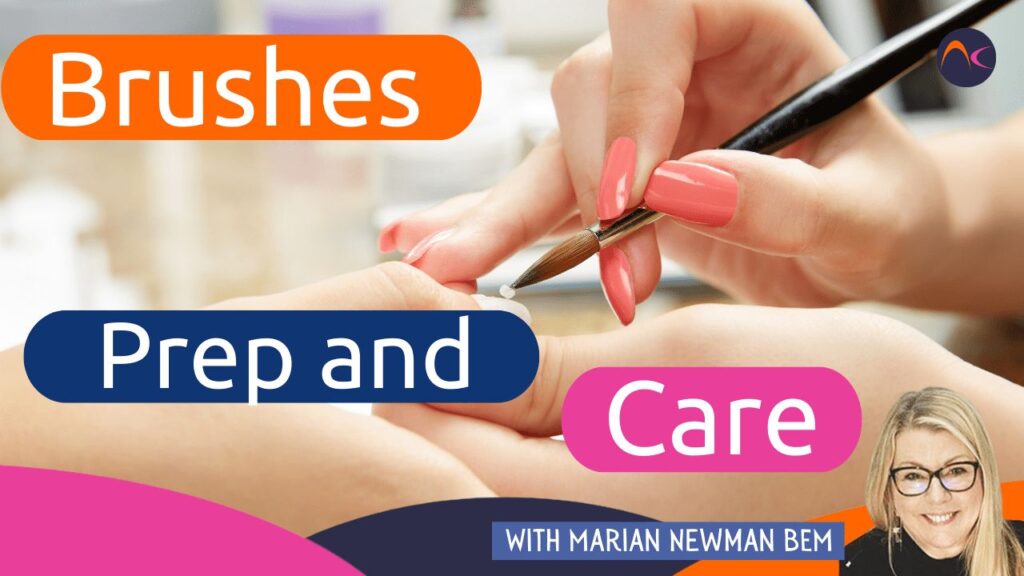
Nail Brushes are an essential tool for nail professionals
Brushes are key tools for every nail professional. But how do you choose them, prepare them for use and take care of them for efficiency and longevity?
Let us help…..

Choosing the right nail brush
First of all, understand that it is a false economy to buy cheap! As with most purchases, you get what you pay for. Finding inexpensive sets on the internet means that you will get poor-quality brushes that won’t perform well and will not last long!
Buy from a trusted supplier. A good place to buy is from a brand that is known for its award-winning nail artists. They will have tried and tested lots of brushes and decided on what they believe to be the best both for the job and longevity.
Buy the most expensive ones you can afford and with care, they will last you for years. Buy cheap and they could only last a few weeks.
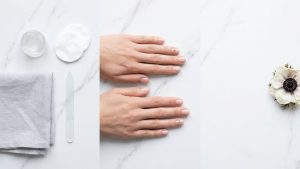
Preparation of quality nail brushes
All new quality brushes have a ‘dressing’ in the bristles that needs to be removed. Especially natural hairbrushes for L&P and art.
Art Brushes
- Rub between your fingers which will remove a sort of dust.
- Wash in warm water with a touch of soap rinse well and squeeze dry between a tissue.
- Allow drying naturally and thoroughly before use.
- Do this regularly to give them a good clean.
- As they are natural hairs, you can use a tiny spot of hair conditioner and rinse very well.
L&P Brushes (they will probably be the most expensive brushes you’ll buy. Kolinski sable nail brushes are the best you can buy. The shape of the hair in the main part of the brush (the belly) that can hold a lot of liquid and gives you immense control of your bead ratio.
It takes a while to get used to a new brush e.g., how far to dip it into the liquid monomer, how hard to drain the brush, and how to dip it into the powder.
Correct bead control and ratio should mean that you never need to dip into monomer again during application. Knowing your brush means that you can hold some extra liquid in the belly and ‘feed the bead’.
Try these easy-to-follow steps if you find it a bit too dry
- Rub the brush between your fingers to remove some of the ‘dust’.
- Pour a small amount of monomer into a dish.
- Dip the brush into the liquid and bring it straight out (don’t wipe on the side).
- Squeeze dry on a tissue.
- Repeat a couple of times.
- Press the brush into the base of the dish which will expel air bubbles.
- Pour the remaining liquid into tissues and safely remove.
- Do steps 6 & 7 at the start of each day to get your brush ready for the first use.
- Shape the brush by wiping on a tissue until it is a perfect shape with a fine tip.
- Store the brush flat in a covered box.
- DO NOT store in a pot upside down. This will allow the monomer in the brush to run into the metal band holding the hairs. This will be old and impure monomer that will run back into the brush and cause a discolored overlay.
- Give your brush a good clean as described here every couple of days to keep it in good shape.
- Never use your fingers to shape the brush.
- Never clean the brush in anything else except monomer.
- If it has lumps of L&P stuck in it, suspend it in monomer overnight and the lumps will disappear. If they don’t then you need to buy a new brush which is avoidable and expensive.
UV Gel Brushes
UV Gel brushes are always nylon due to their contact with solvents that natural hairs cannot cope with. They still have a ‘dressing’
- They can be dipped in IPA and left to dry.
- A better method is to use a plastic-backed cotton pad. Pick up a small bead of clear UV gel and work it into the brush on the plastic side.
- This will bend the bristles and make them more workable.
- To clean only use IPA. Any cured gel stuck in them can be removed by soaking them in some acetone for a few hours
Dust Brushes
Dust brushes are popular but need careful handling as they can be full of pathogens and natural oils that get deposited on an unfinished coating.
If they are made from natural hair, clean as for art brushes very regularly. A plastic or silicone version can be washed with soap and water.
With all brushes, make a good choice and a good investment then, look after your investment.