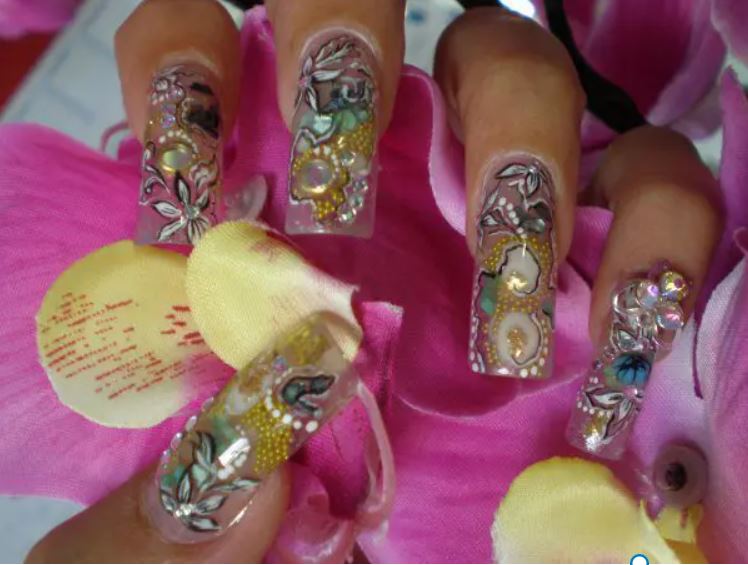
Los adornos para uñas son una forma fácil de crear arte de uñas simple o espectacular sin la necesidad de dibujar algo.

¿Qué son los adornos?
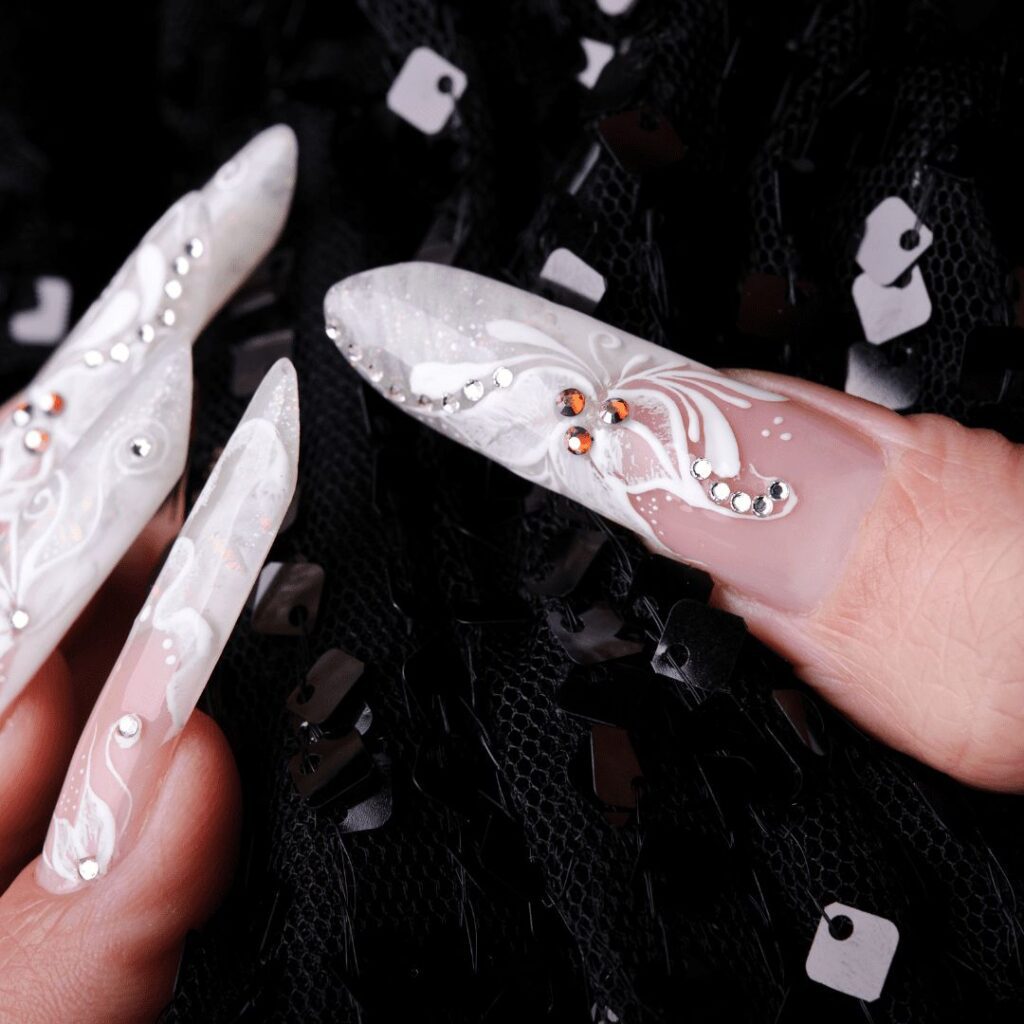
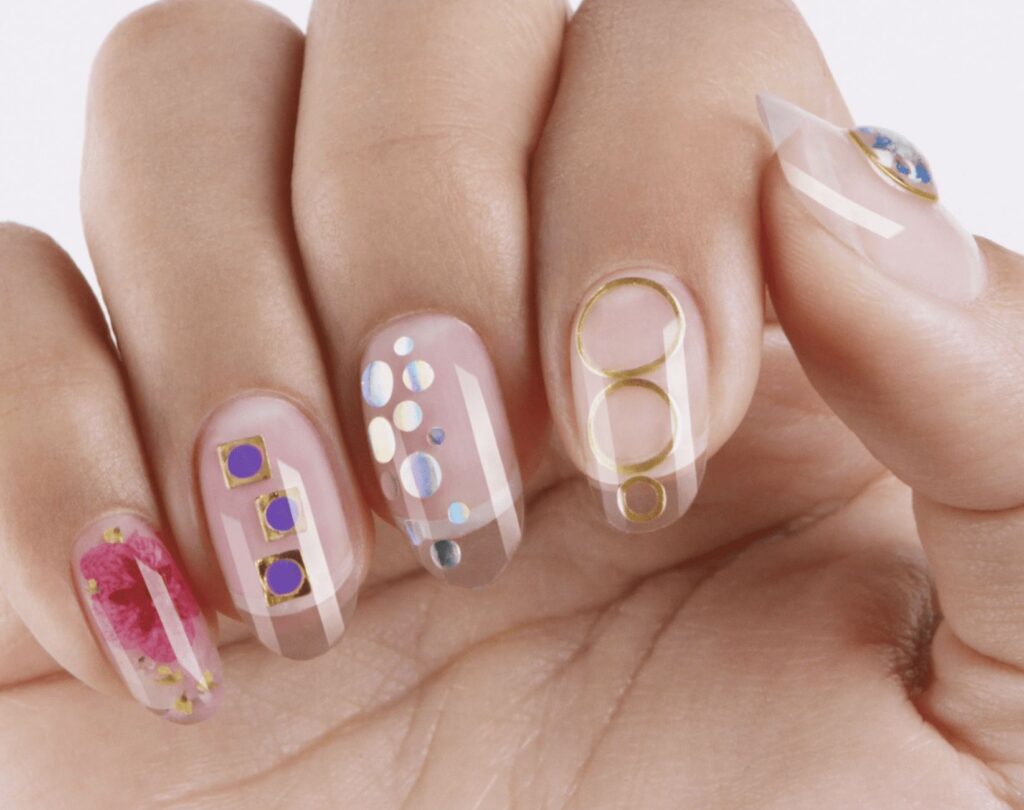
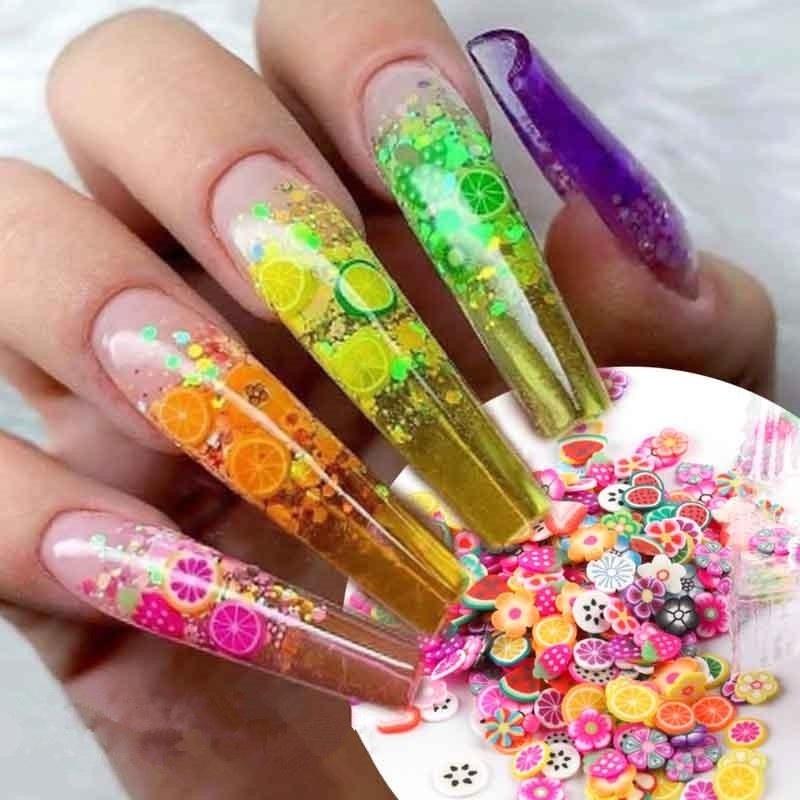
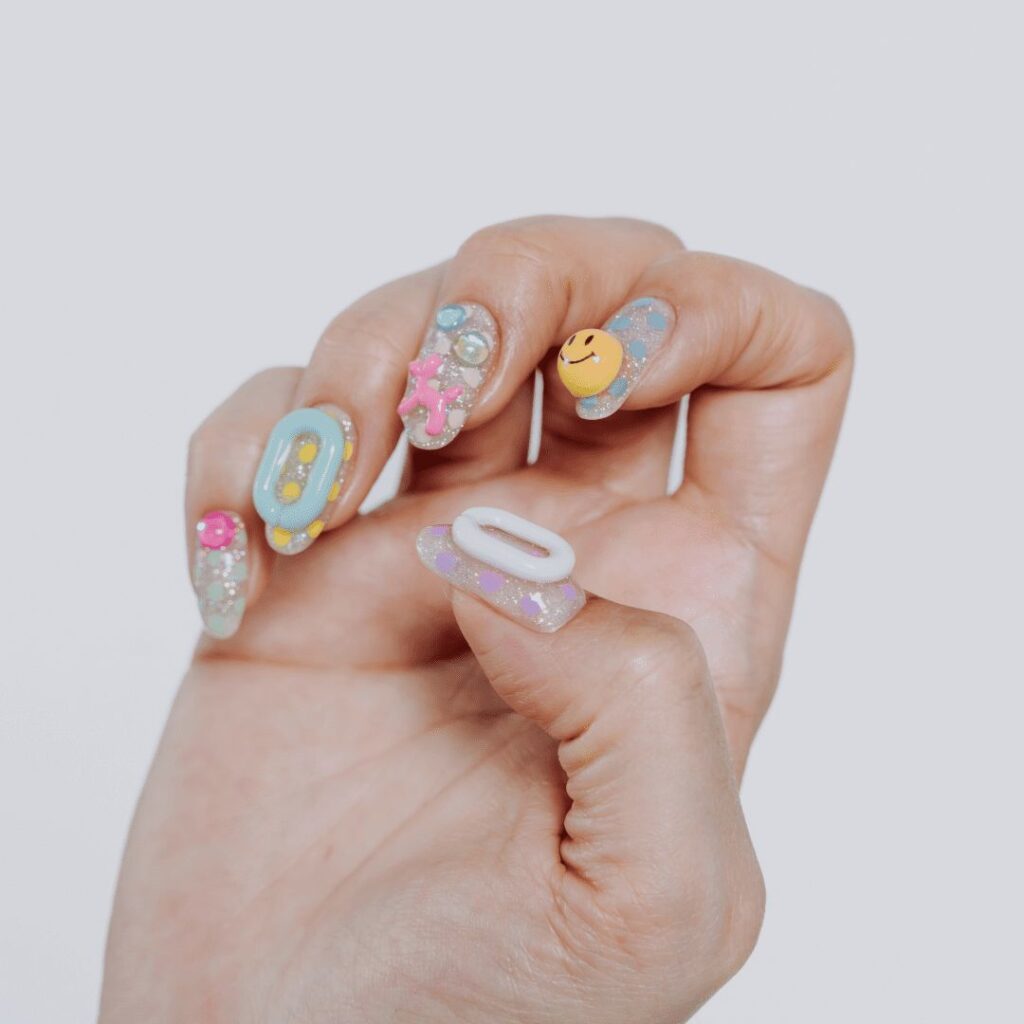
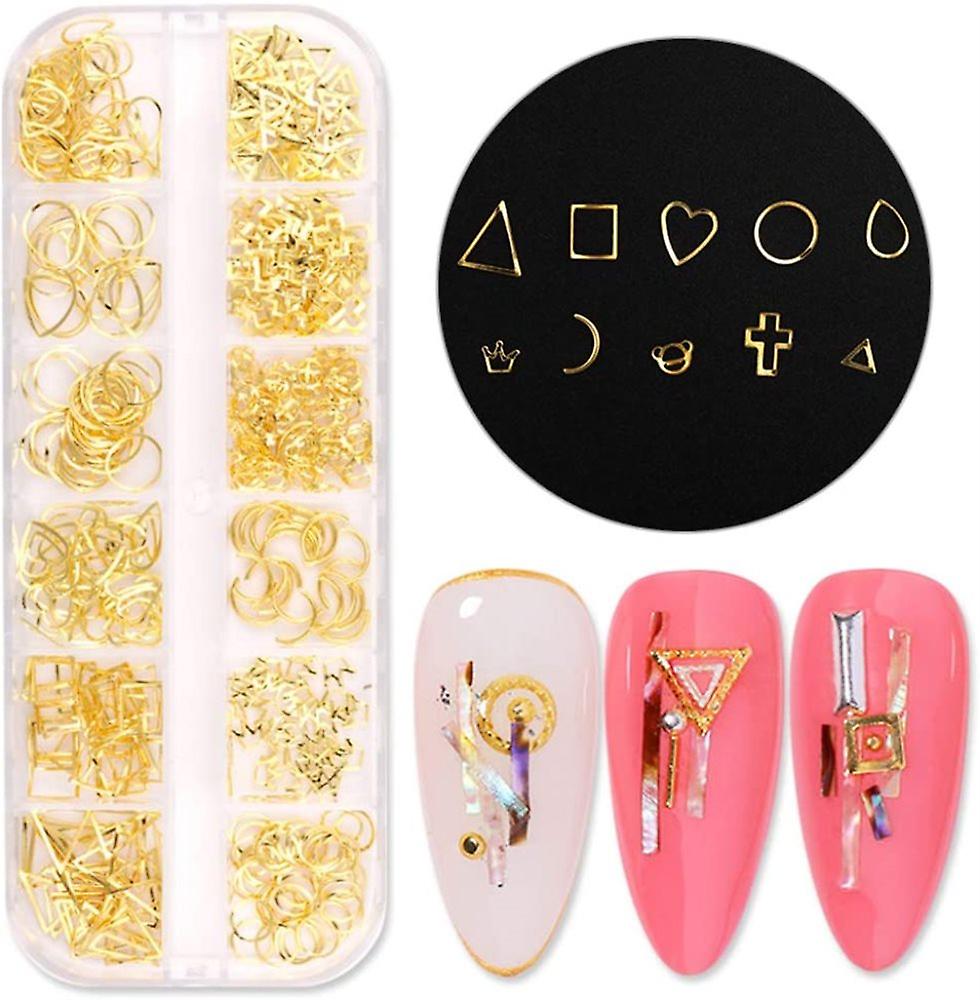
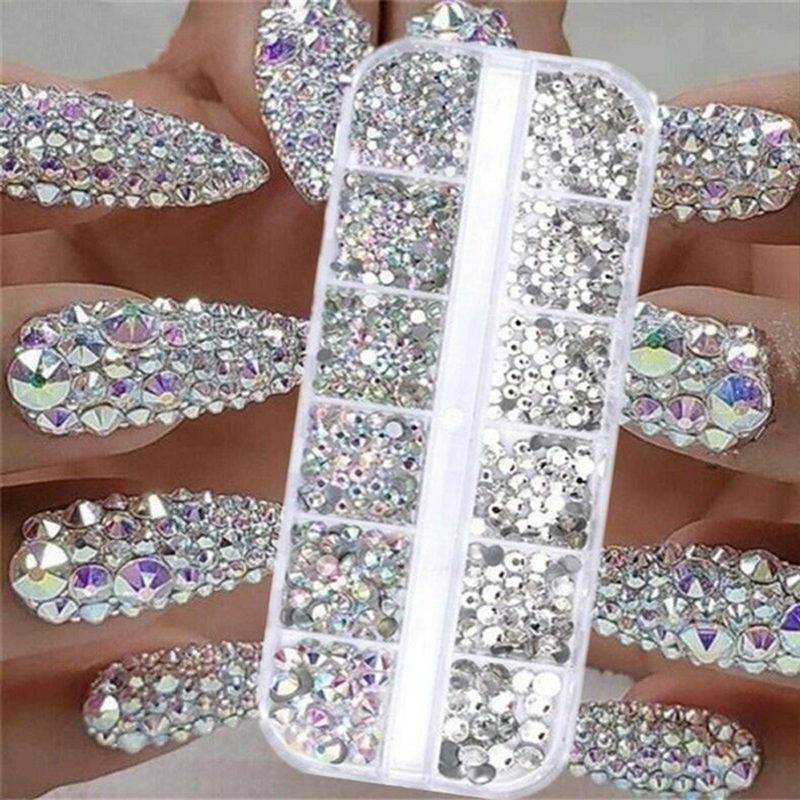
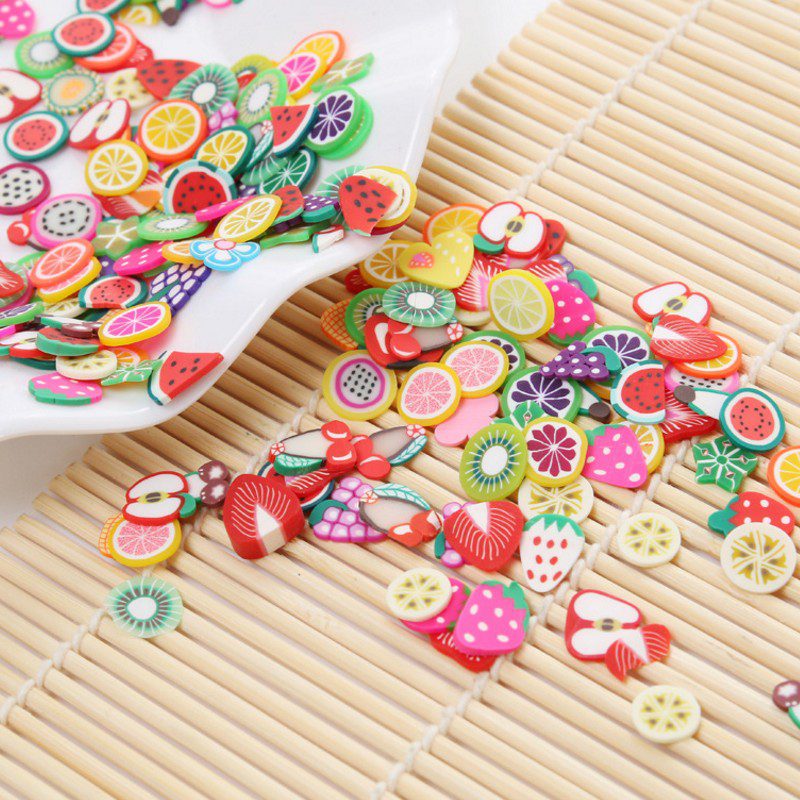
Los adornos suelen ser decoraciones sólidas como piezas de metal pequeñas, perlas, dijes de resina, lentejuelas, tachuelas, rodajas de arcilla polimérica, cristales, etc. Podemos usarlos con cualquier recubrimiento de uñas, aunque algunos funcionan mejor con un medio que con otro.
¿Cómo utilizamos los adornos?
Con esmalte de uñas:
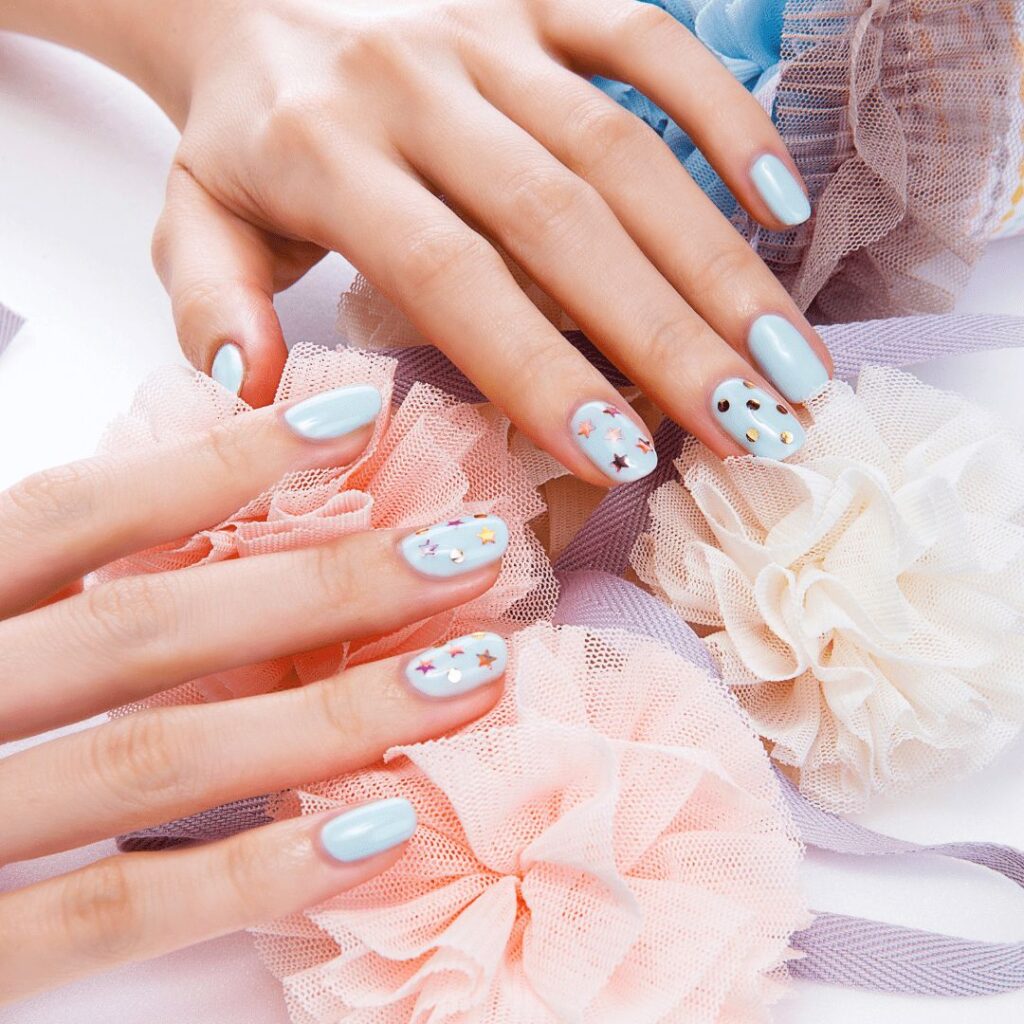
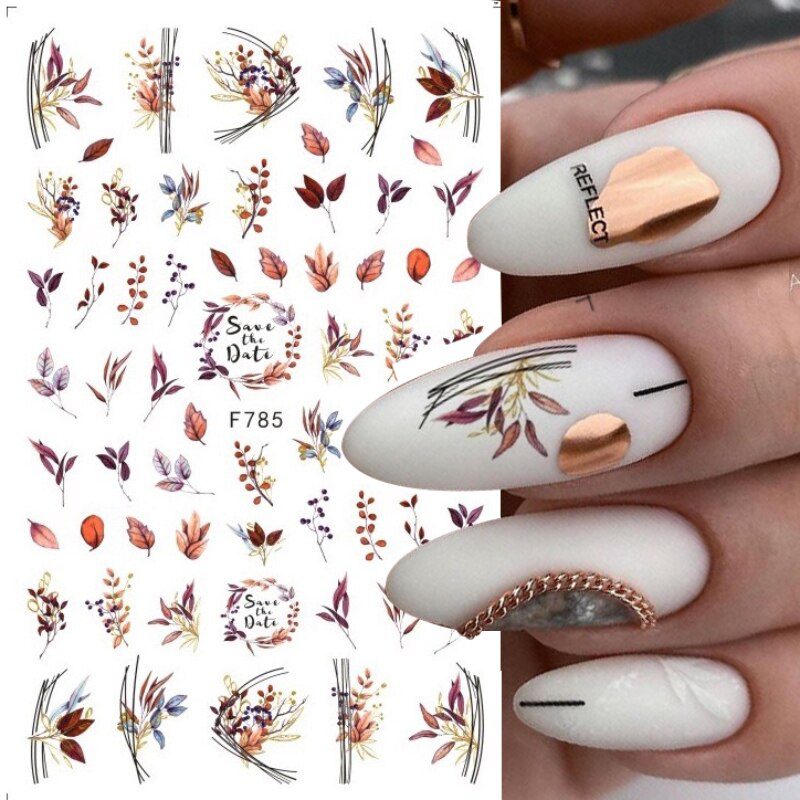
Las calcomanías adhesivas se pueden aplicar sobre esmalte de uñas seco y luego cubrir con una capa superior.
Los adornos planos pero flexibles pueden presionarse sobre el esmalte de uñas aún húmedo. Después pueden cubrirse con otra capa de top coat para protegerlos.
Los adornos 3D, si son pequeños, se pueden presionar sobre una capa superior de esmalte de uñas aún húmeda. Sería mejor no cubrirlos con otra capa de acabado, ya que perderán su brillo. Además, crearán un “bulto” extraño en la uña.
Para adornos más grandes, usa un adhesivo que te brinde la sujeción adicional que necesitarás.
Con esmalte en gel UV:
Aquí se aplican las mismas reglas que con el esmalte de uñas. La única diferencia es que los adornos aplicados sobre la superficie del top coat se fijan mejor.
Para una sujeción aún mejor, utiliza un pincel de líneas finas y tu capa superior para sellar los bordes de tu adorno. ¡Piensa en cómo se asegura una joya en un anillo!
Con gel UV:
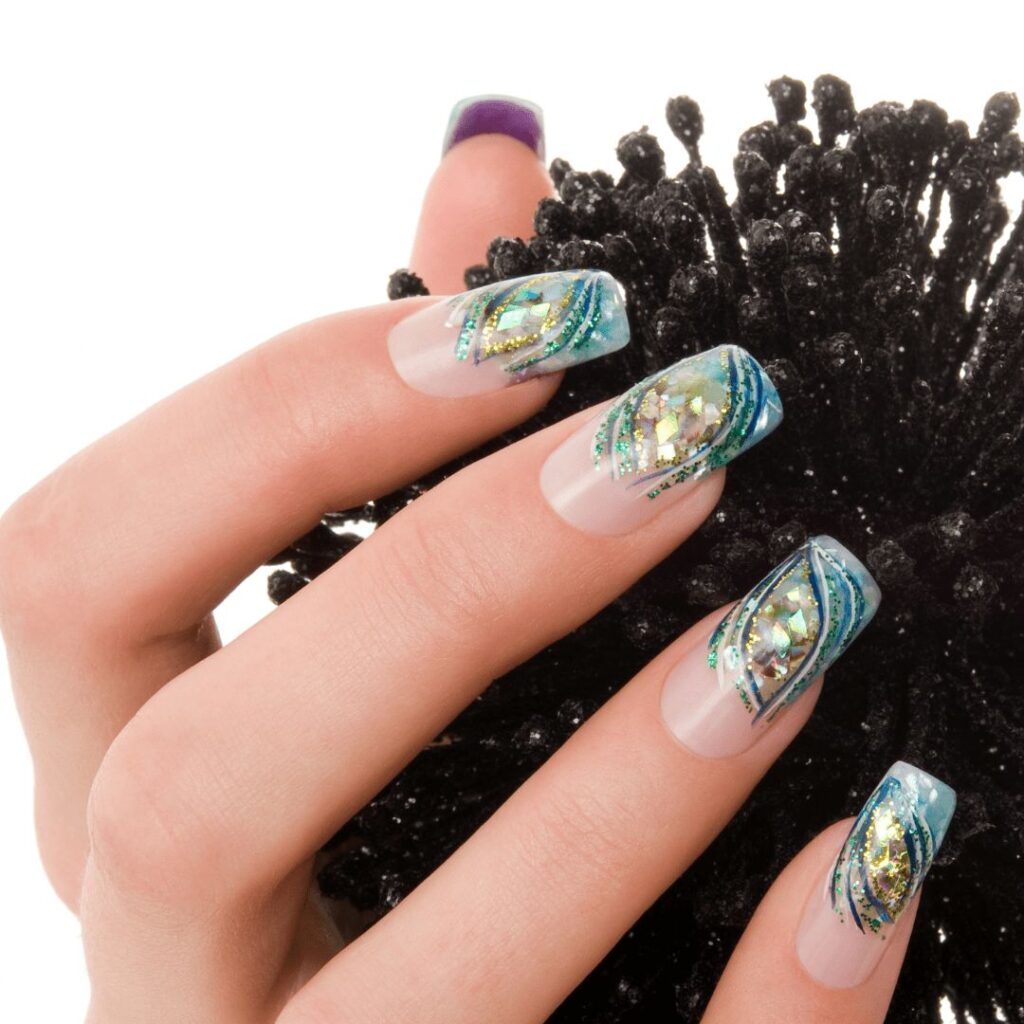
Al usar adornos con gel UV, tenemos dos opciones. Podemos aplicarlos encima del embellecimiento o encapsularlos en él.
Para aplicarlos encima del embellecimiento, podemos seguir las mismas reglas que con el esmalte en gel UV. Por supuesto, utilizando el gel top coat UV de nuestro sistema preferido. También podemos usar una perla de gel constructor UV para sujetar adornos más grandes, o incluso un cúmulo de ellos.
Para encapsular adornos dentro de la mejora, tenemos que seguir estas reglas:
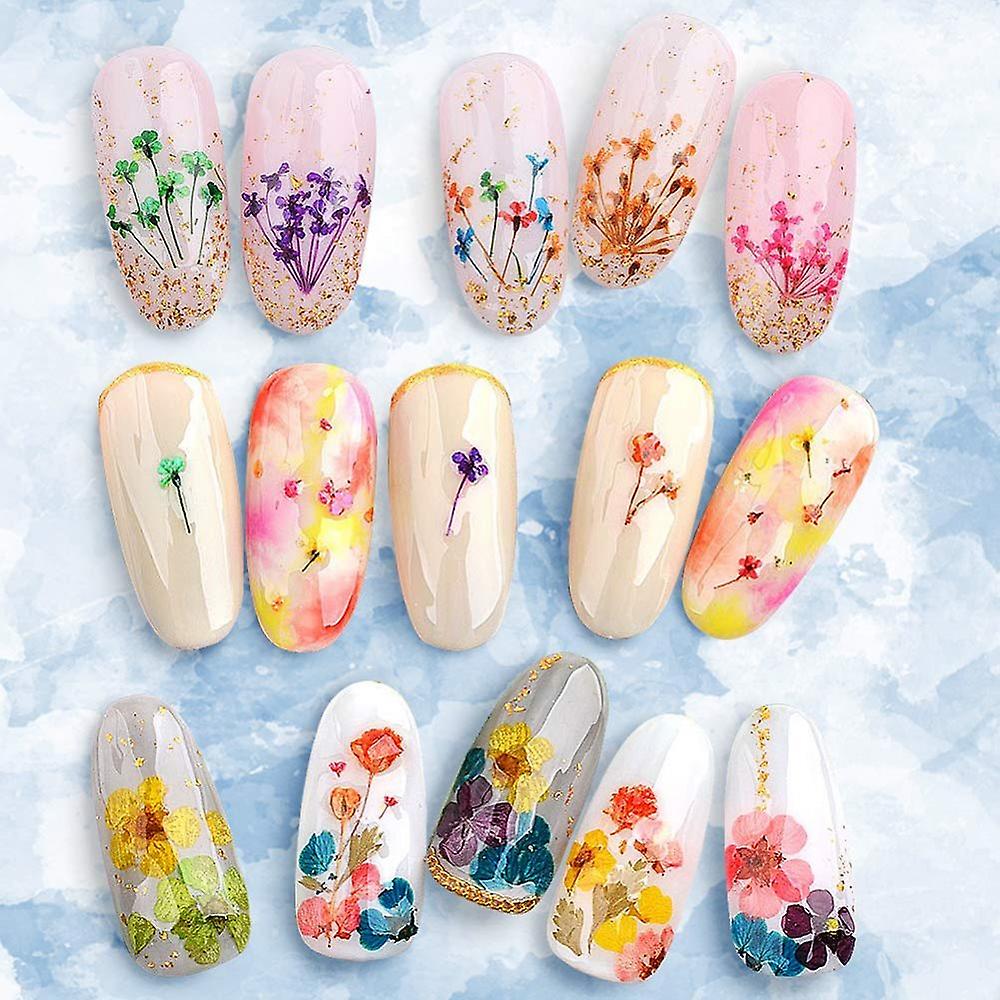
- Siempre comienza con una capa fina de gel UV transparente que curarás antes de agregar cualquier adorno. Esto actuará como base para nuestros adornos y como protección de la uña natural.
- Aplique los adornos hacia el centro del realce, donde tendrá la capa más gruesa de gel UV cubriéndolos.
- Ten en cuenta el grosor de tus adornos y su colocación. ¡No querrás limarlos por error cuando hayas terminado de limar tu mejora!
- Utilice el gel UV constructor más cristalino posible para encapsular su arte. ¡Sería una pena ocultarlo en una mejora turbia!
Con L&P:
Al usar L&P, tenemos las mismas opciones que con el gel UV. La diferencia aquí es que nuestra capa base de L&P necesita estar sin curar cuando presionamos nuestros adornos en ella, de lo contrario, no los adherirá. Y, por supuesto, necesitamos usar una capa superior UV para sellar la mejora si queremos agregar adornos en su superficie.
Cosas para recordar:
- Asegúrate de que la parte más ancha quede sujeta por el recubrimiento. Esto se puede añadir con un pincel pequeño.
- Elige bien el tamaño, ya que los adornos suelen ser planos y no se adaptan bien a las curvas de la uña.
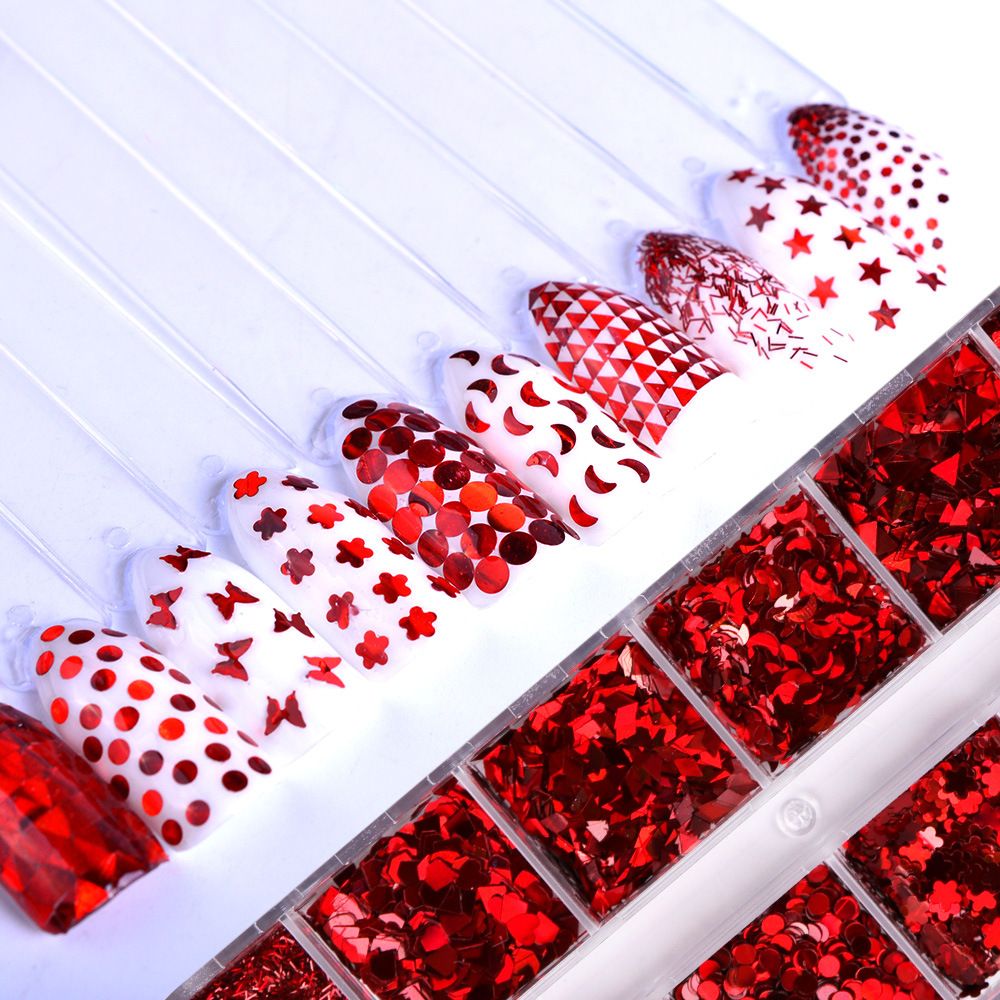
- Si utiliza muchos cristales diminutos para adornar una uña, use una fina ‘telaraña’ de gel UV aplicada con una brocha pequeña para ayudar a asegurarlos sin cubrir sus facetas.
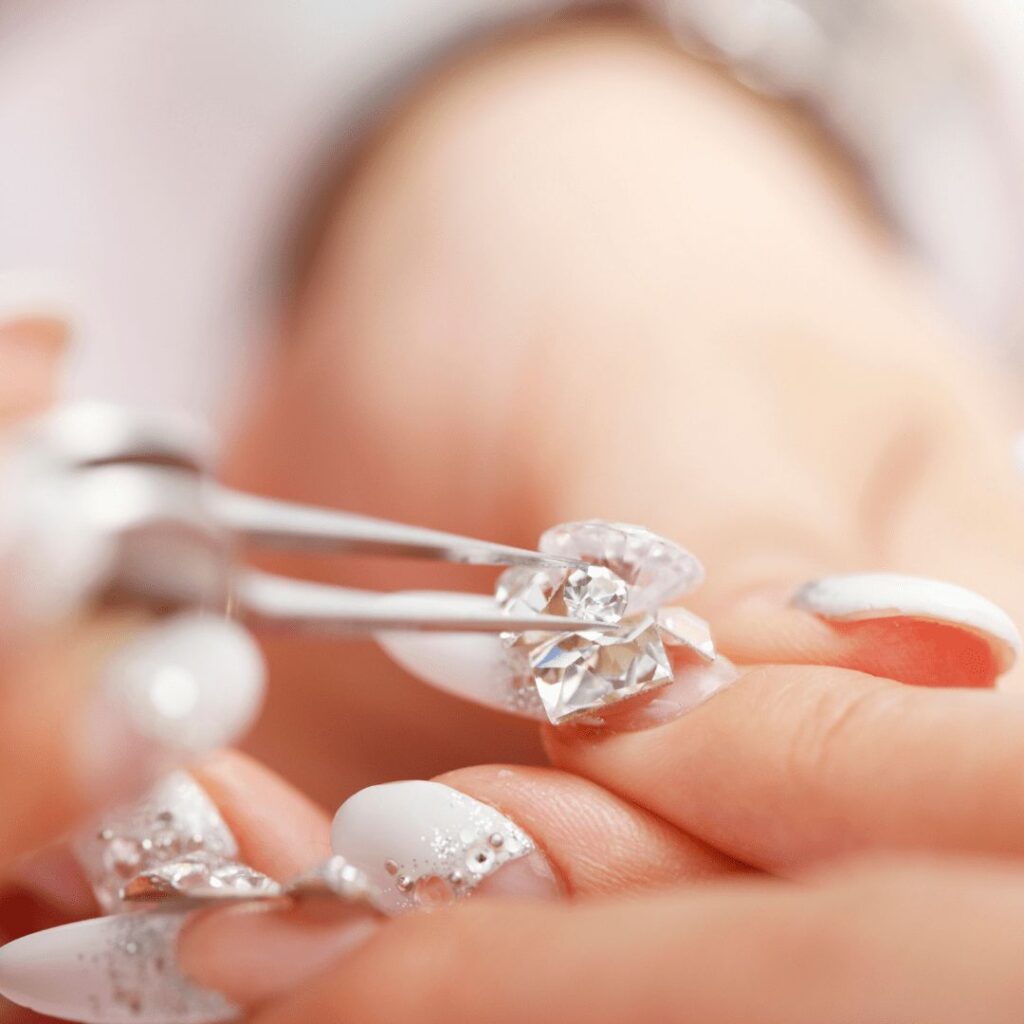
- Existen herramientas especialmente diseñadas para recoger adornos y colocarlos con precisión, pero una opción fácil es un trozo pequeño de ‘Blu-Tak’ con forma de punta.
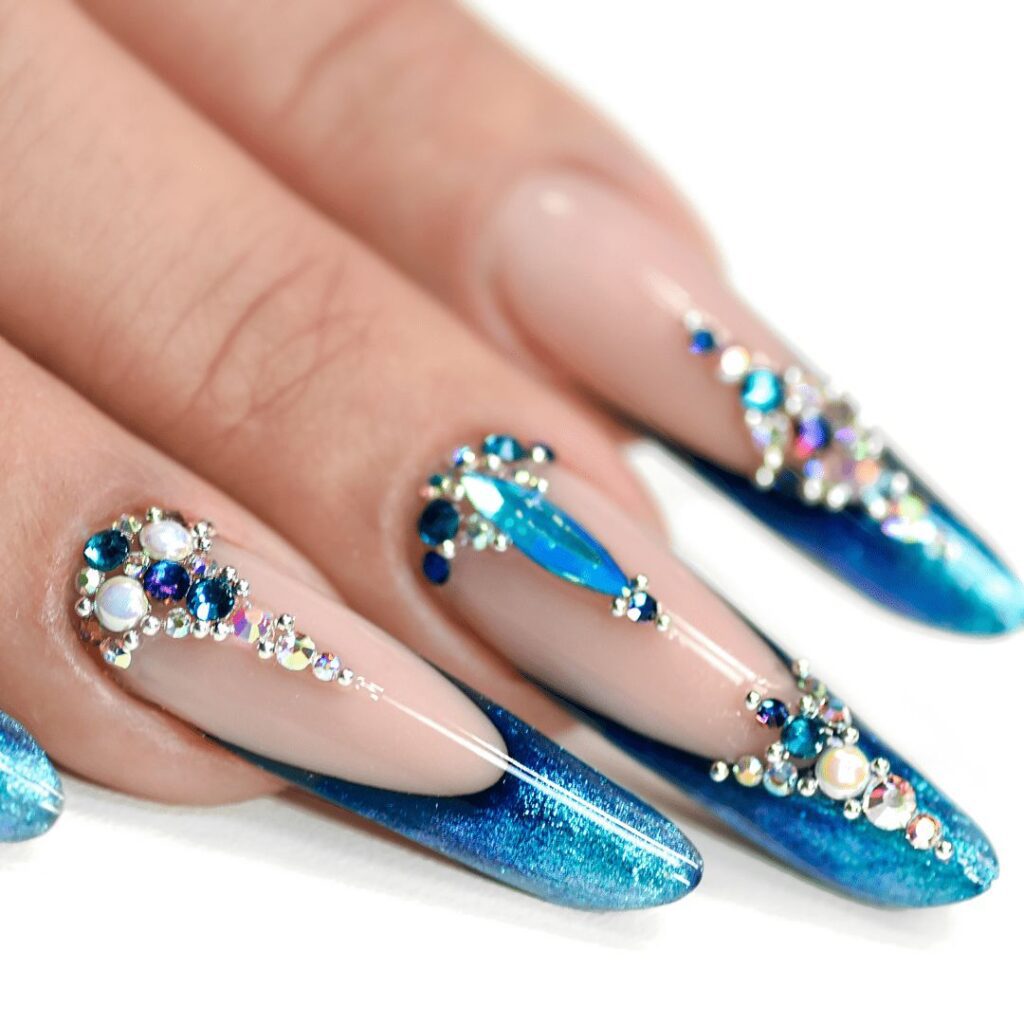
- Cuando crees un grupo de adornos (normalmente cristales), utiliza piezas más pequeñas para sostener las más grandes. Fíjate en las joyas para inspirarte.