How Can We Help?
-
Nail Centre
-
- Beau's Lines
- Calluses and corns
- Chloronychia
- Dermatitis
- Dermatophyte and non-dermatophyte fungi
- Diabetes
- Erythronychia
- Habit-tic
- Hangnails
- Hapalonychia
- Heller's Median Nail Dystrophy
- Hyperhidrosis
- Introduction to Nail Conditions
- Koilonychia
- Lamellar Dystrophy
- Leukonychia
- Melanonychia
- Nail biting
- Nail Clubbing
- Nail Grooves / Depressions
- Nail Pterygium
- Onychocryptosis
- Onycholysis
- Onychomadesis
- Onychomycosis
- Onychophagia
- Onychotillomania
- Paronychia
- Psoriasis
- Splinter haemorrhages
- White Superficial Onychomycosis
- Show all articles (16) Collapse Articles
-
Ask the Experts
-
- Are glass nail files better?
- Are metal cuticle pushers safe?
- Can I cut the keratinised proximal nail fold (KPNF)?
- Can I use just acetone to cleanse the nail plate before a service?
- Can Nail Polish be Organic?
- Can nail products repair the nail?
- Can the cuticle cover the whole nail?
- Can you explain the downside risks of filing the side walls of the nail plate?
- Do all nail plates grow 1mm a week?
- Do manicures ruin your nails?
- Does filing the sides of the natural nail weaken it?
- Does nail polish or UV gel polish dehydrate the nail?
- Does the direction of nail filing matter?
- Does the nail plate absorb any chemicals found in the products we use?
- Hangnails. What's your advice?
- How do I save a cut nail?
- How do nail polish drying drops and sprays work?
- How does cold weather affect the nails?
- Is calcium good for nails?
- Is calcium good for the natural nail?
- Is cuticle remover a must-have?
- Is my nail polish suitable for me?
- Is nail polish safe to use for repetitive use on clients because it 'can't store pathogens'?
- Nail polish stains on nails
- Prenatal vitamins and nail growth
- Quick-dry Nail Polishes?
- Should You File the Natural Nail Before a Two-Week Coating?
- Some nail products claim to help the nail plate grow stronger. Is this a valid claim?
- What are these thin black lines under the nail?
- What is a dry manicure?
- What is a Japanese manicure?
- What is a wet manicure?
- What is the safest type of manicure?
- What's the best type of manicure to get?
- What's the difference between a French manicure and an American manicure?
- What's the harm with a water soak?
- What's up with the grit of a nail file?
- Which is better? Soap and water or hand sanitiser before a service?
- Which way to brush off the dust?
- Why do nail polish top coats get stringy when applied?
- Why should I use a flexible base?
- Show all articles (26) Collapse Articles
-
- Acid-based or acid-free primers?
- Are gel nail extensions better than acrylic?
- Are my nail systems porous or not?
- Can I e-file the natural nail underneath an enhancement?
- Can you mix liquid from one system with powder from another?
- Dip powder enhancements?
- Do acrylics have a limited future?
- Does a universal monomer exist?
- How flammable is gel polish?
- How much product to remove during rebalance?
- Is L&P more dangerous than gel?
- Is there such a thing as a Universal acrylic nail powder that works with any monomer liquid?
- Nail Oil and Lifting
- Pinching enhancements?
- Some brands chip quicker than others, is this a product or body chemistry issue?
- Tea tree oil, does it absorb through the nail?
- To infill or to soak off?
- To pinch the nail enhancement or not?
- Understanding the difference between slip solution and cleanser for polygel nails
- What do I do with my leftover monomer?
- What is the difference between a French manicure and pink and white?
- What is the difference between Fiber Base and Normal Base?
- What size brush to use?
- Why do nails feel thin after the removal of a nail coating?
- Show all articles (9) Collapse Articles
-
- A chemical burn?
- Autoclave use
- Can I get a headache from working with nail products?
- Can I sanitize and disinfect toe separators?
- Can I use my oven to sterilise my tools?
- Can I use superglue instead of resin for fiberglass nail extensions or does that not work the same?
- Can I work on diabetic clients?
- Can you explain the downside risks of filing the side walls of the nail plate?
- Can you mix Hema and Hema-Free products?
- Can you sanitize metal tools in isopropyl alcohol?
- Disinfectant solutions and ultrasonic devices
- Do I need qualifications to do nails?
- Do UV sanitation devices work?
- Does cuticle oil truly break down traditional nail glue?
- Does the direction of nail filing matter?
- Enhancements on Nail Biters?
- Fluff vs synthetic brush for dusting
- Hand sanitizer or hand washing?
- I am not clear about how to work on nails with Pterygium.
- Is an E-File safe to use?
- Is Covid or hand sanitising affecting nail services?
- Is Curing Gel Under Opaque Nails a Nail Hazard?
- Is hand washing causing nail product lifting?
- Is sanitizing good enough?
- Is the material of the latex gloves such that it causes hand sensitivity?
- My client has chipping/loss of enhancement and I’ve never had this before?
- Nail salon face masks
- Pregnant and considering nail tech school. Any extra concerns besides ventilation and hygiene, or should I postpone for now?
- Should a mask be worn throughout the whole service?
- Should I disinfect all nail brushes?
- Should I use a ‘protein bonder’ to prevent lifting?
- Should you pour the end of an old bottle into the new?
- Some nail products claim to help the nail plate grow stronger. Is this a valid claim?
- Some of my clients are getting heat spikes when curing the base and top coat.
- UV light cabinets for nails files?
- Wearing sunscreen, can this lead to service breakdown?
- What are the legal requirements for the treatment of minors?
- What happens when acetone Is mixed with oils?
- What is a Brazilian style manicure?
- What is a combi manicure?
- What is a Russian manicure?
- What is the difference between cleaning, disinfection and sterilisation?
- What is the difference between HEMA and di-HEMA?
- When do nail polishes expire?
- Where can I find safe ingredient levels for gel and builder gel?
- Why shouldn’t pumice stones be reused in pedicures?
- Show all articles (31) Collapse Articles
-
- Acrylates in gel-like nail polishes?
- Can acetone cause blisters?
- Can I get a headache from working with nail products?
- Can long-wear nail polishes cause acrylate allergies like gel nails do?
- Can my client be allergic to acetone?
- Do I have an allergy or an irritation?
- Gluten-free nail products?
- How did I get an allergy to gel?
- How do I explain becoming allergic to my client who "knows better"?
- Is acetone safe for removing nail products?
- Is BPMMA Safe for Press-On Nails?
- Is it safe to apply a coating over Onycholysis?
- Is rubber base gel more prone to fungus and infections than your normal gel?
- Is there such a thing as a safe gel manicure?
- Press on nails, allergic reaction healed, can I try gel again?
- Tea tree oil, does it absorb through the nail?
- Wearing sunscreen, can this lead to service breakdown?
- What causes the skin reaction after the nail product is removed?
- What UV gel brands do you recommend?
- Why are we seeing more reactions from gel polish services vs gel enhancement services?
- Show all articles (5) Collapse Articles
-
- Are gel nail extensions better than acrylic?
- Are hard gels for everyone?
- Are my nail systems porous or not?
- Are press on nails a safe alternative if you have an allergic reaction to gel?
- Are UV gels better for nails?
- Can acrylic be used under full coverage tips?
- Can I e-file the natural nail underneath an enhancement?
- Can you mix Hema and Hema-Free products?
- Do gel nails ruin your nails?
- Do pigments in gel polish alone explain why nail professionals apply it thinly compared to builder gel?
- Does freeze curing interrupt the curing process?
- Does using UV gel with full cover clear tips cure properly?
- Gel on toes?
- How can I find a non-toxic UV gel polish range?
- How flammable is gel polish?
- How much product to remove during rebalance?
- If I use an LED nail lamp on a product designed for traditional UV nail lamps, will the UV gel become over cured?
- Inhibition layer and no-cleanse gels
- Is a UV gel manicure safe for someone with previous skin health issues?
- Is Curing Gel Under Opaque Nails a Nail Hazard?
- Is heating up of the UV gel a problem?
- Is it true that LED gel cures from the bottom up?
- Is L&P more dangerous than gel?
- Is rubber base gel more prone to fungus and infections than your normal gel?
- Is rubber peel base the same as rubber base coat?
- Is there such a thing as a safe gel manicure?
- Mixing Nail Systems
- Nail Oil and Lifting
- Practicing on myself and easy removal?
- Press on nails, allergic reaction healed, can I try gel again?
- Removing undercured gel
- Should I buy my nail lamp based on wattage?
- Should I get gel or dip nails?
- Should my clients wash their hands before I apply oil?
- Should UV Gels "Burn Like Crazy"?
- Should we remove the rubber base from the nail plate?
- Some brands chip quicker than others, is this a product or body chemistry issue?
- Sometimes free edges are more clear after soak off?
- To infill or to soak off?
- To pinch the nail enhancement or not?
- Understanding the difference between slip solution and cleanser for polygel nails
- Using cuticle oil during soak-off?
- UV GEL mixed with Acrylics - cure queries
- UV gel polish thinner
- What causes the skin reaction after the nail product is removed?
- What does 'overcured' really mean?
- What is the correct method for applying a 'BIAB' type product?
- What is the difference between a French manicure and pink and white?
- What is the difference between Fiber Base and Normal Base?
- What is the difference between HEMA and di-HEMA?
- What kind of products are wrap resins and no light gels?
- What UV gel brands do you recommend?
- Where can I find safe ingredient levels for gel and builder gel?
- Why are we seeing more reactions from gel polish services vs gel enhancement services?
- Why do nails feel thin after the removal of a nail coating?
- Why do some UV gel colors fade?
- Why do you advise wiping a no wipe to coat?
- Will an LED table lamp affect LED-cured gels?
- Show all articles (43) Collapse Articles
-
- A greenie! Why? What do I do?
- Can acetone soak change the structure of your nails
- Do Nails Need to Breathe?
- Does a manicure cause median nail dystrophy (solenonychia)?
- Does active arthritis in knuckles affect the nail plate in regards to lifting?
- How do I avoid ‘greenies’?
- How do I clear up nail bed hyperkeratosis?
- How do I treat ‘green nail syndrome’?
- How does cold weather affect the nails?
- I am not clear about how to work on nails with Pterygium.
- I'm pretty sure my UV gel manicure client has WSO
- Is it safe to apply a coating over Onycholysis?
- Is the material of the latex gloves such that it causes hand sensitivity?
- Leukonychia or not?
- Lichen Planus. What do I do?
- Should you put gel polish on your skin to check for allergens?
- Tea tree oil, does it absorb through the nail?
- The onychomycosis (fungal nail) test is positive... Now what?
- Treating Fungal Nails
- What are these thin black lines under the nail?
- What is Onycholsyis?
- What is the best treatment for white keratin granulations on your toes?
- What to do with unhealthy nails?
- White Patches on Nails after Sticker Removal
- Why are there ridges in my nails?
- Why did my white tips turn yellow and dark right after they were put on?
- Why Do I Get Sinus Irritation at the Nail Salon?
- Why is silk or fibreglass good on thinner / damaged and weaker nails?
- Why should we NOT cover "greenies"?
- Show all articles (14) Collapse Articles
-
- Applying nail enhancements to children?
- How do I save a cut nail?
- How do I work on a client with type 2 diabetes?
- I am self-employed and have a home salon. Do I need to do a risk assessment?
- Is a UV gel manicure safe for someone with previous skin health issues?
- Pregnant and considering nail tech school. Any extra concerns besides ventilation and hygiene, or should I postpone for now?
- The doctor says "go ahead". Should I?
- What are the legal requirements for the treatment of minors?
-
- Can acetone soak change the structure of your nails
- Can I cut the keratinised proximal nail fold (KPNF)?
- Client will not let anyone buff her nail ridges?
- Do all nail plates grow 1mm a week?
- Hyponychium growth
- What are the seals of the nail unit?
- What does the nail matrix do?
- What is the difference between the nail bed and the nail plate?
- What is the nail matrix also known as?
- Where does nail plate oil come from if the nail bed lacks glands?
- Where is the cuticle?
- Why do my clients cuticles grow thicker during the winter?
-
- Can I use superglue instead of resin for fiberglass nail extensions or does that not work the same?
- Can long-wear nail polishes cause acrylate allergies like gel nails do?
- Do you know if soaking fingernails in warm avocado oil can stain your nails yellow?
- Does a gel that contains only Benzyl Methacrylate and Ethylene Glycol Dimethacrylate qualify as hypoallergenic?
- How does clear 3d sculpting gel work?
- I am confused by the term hybrid polish or hybrid gel polish.
- Is BPMMA Safe for Press-On Nails?
- Client will not let anyone buff her nail ridges?
- Do Nails Need to Breathe?
- Does the nail plate absorb any chemicals found in the products we use?
- Enhancements on Nail Biters?
- How did I get an allergy to gel?
- How flammable is gel polish?
- Should UV Gels "Burn Like Crazy"?
- Tea tree oil, does it absorb through the nail?
-
-
Support
Nail Embellishments
555 Views
Was this article helpful?
We'd love to hear your feedback:

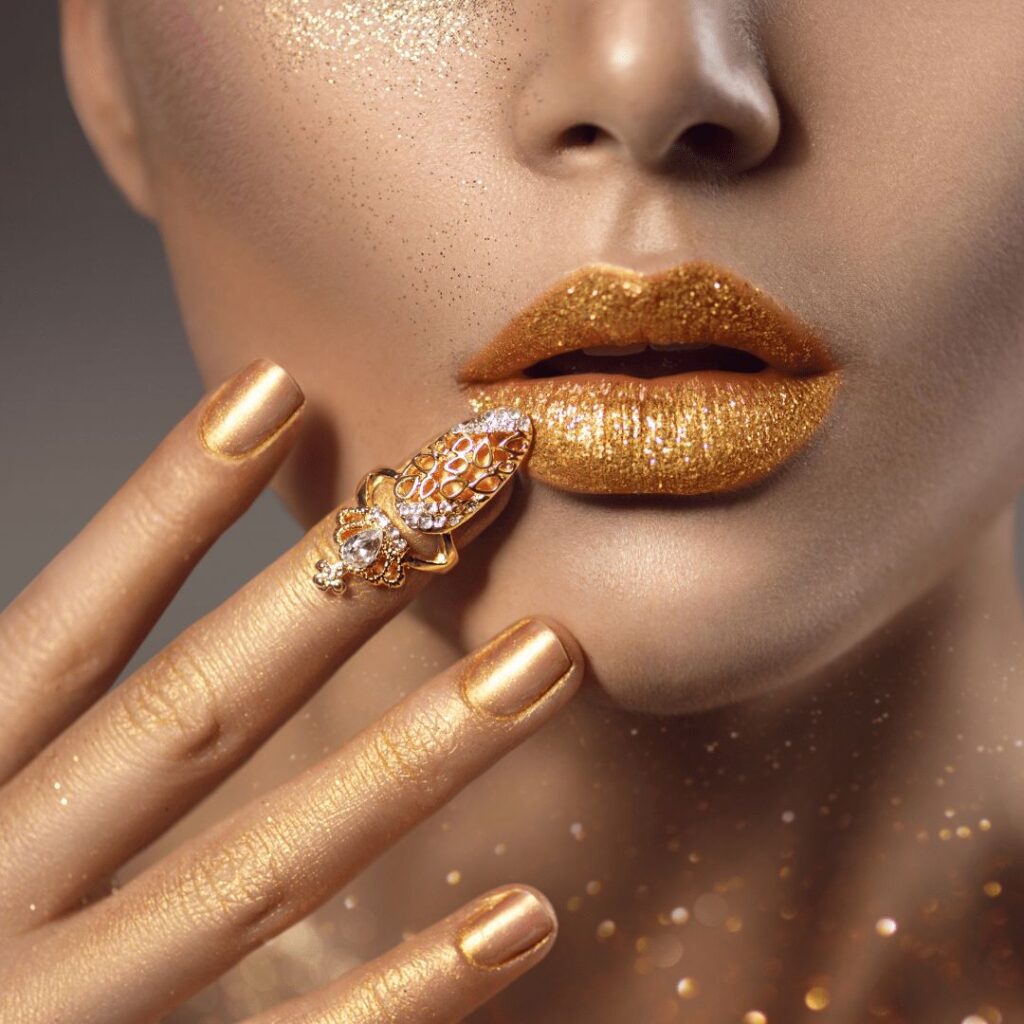
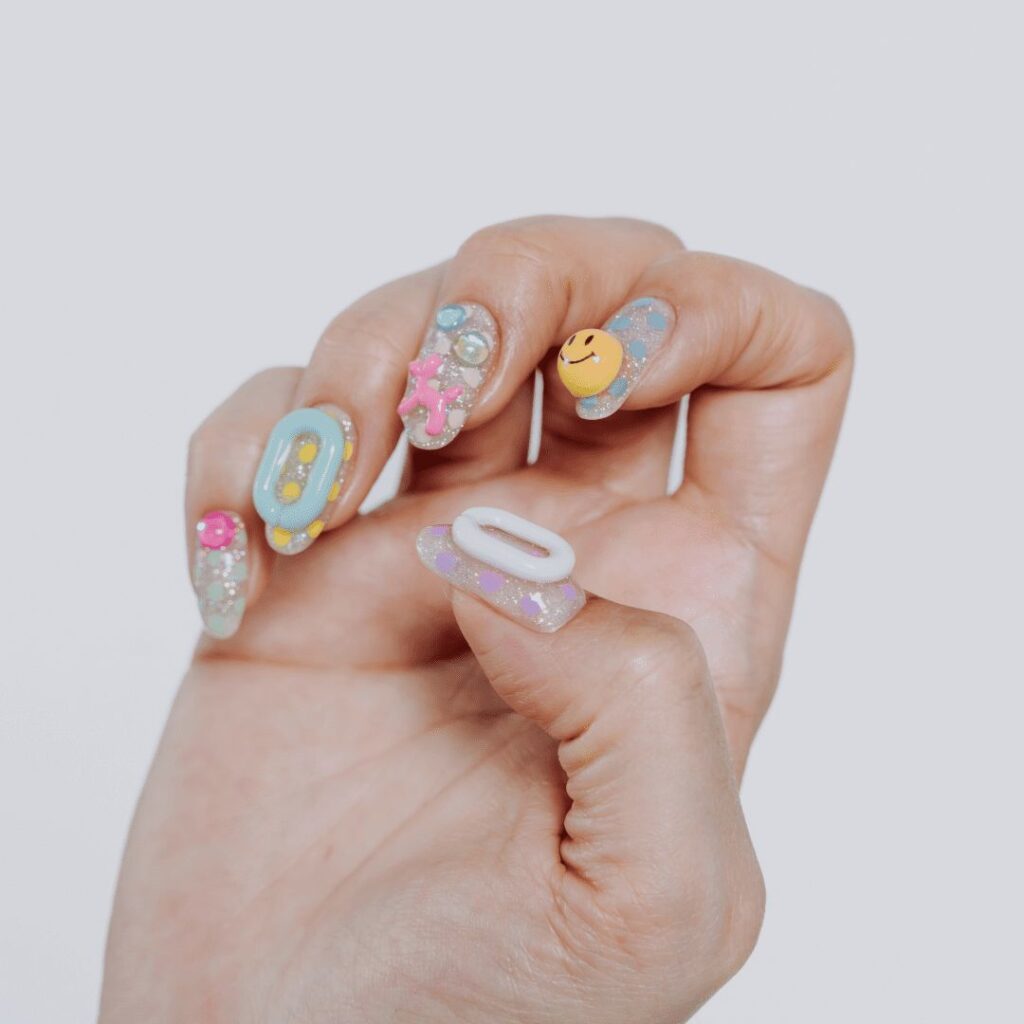
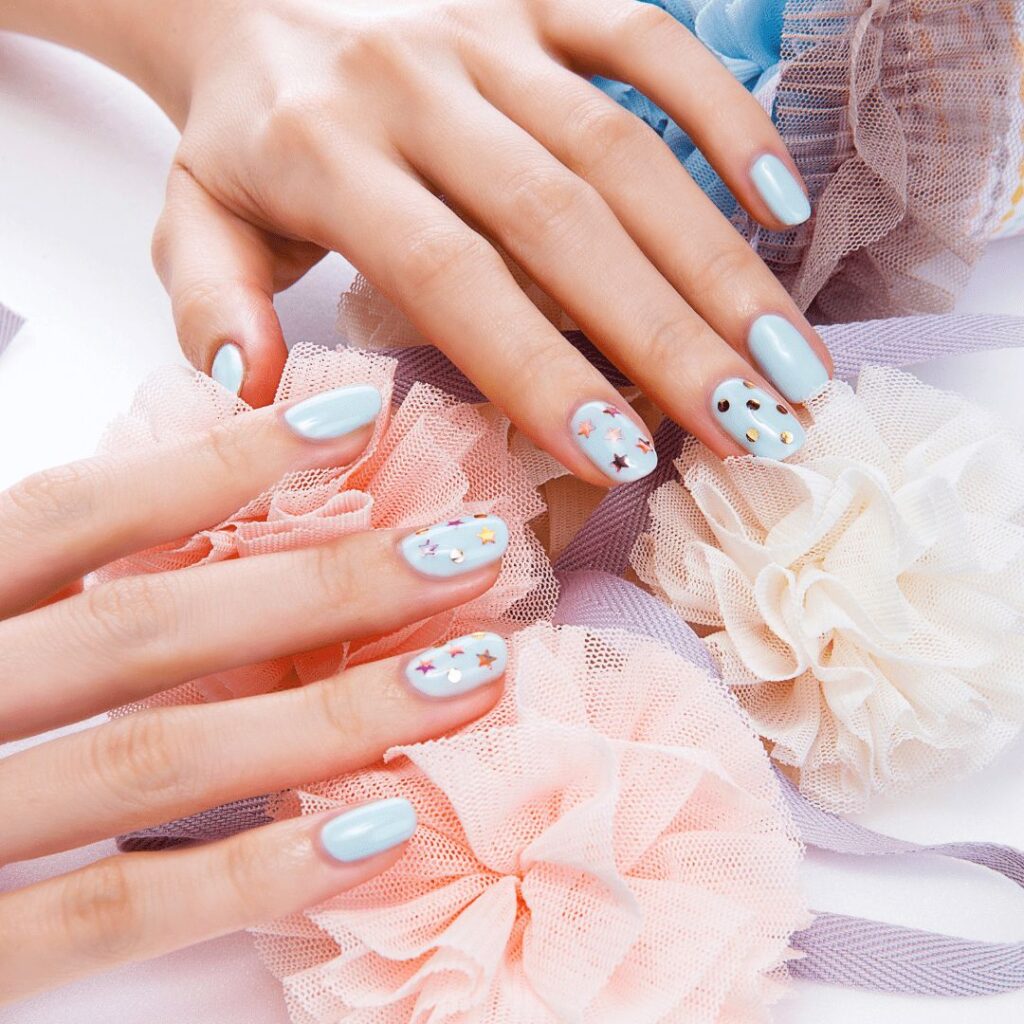
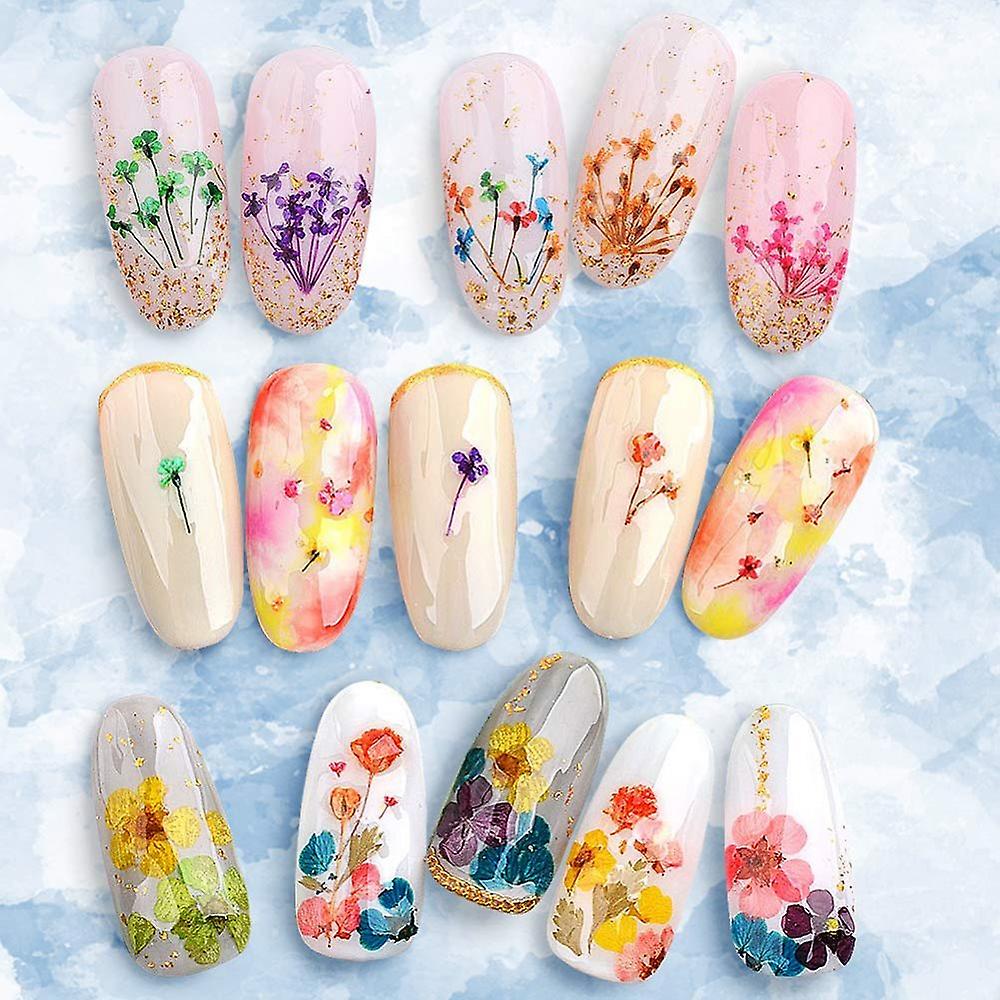
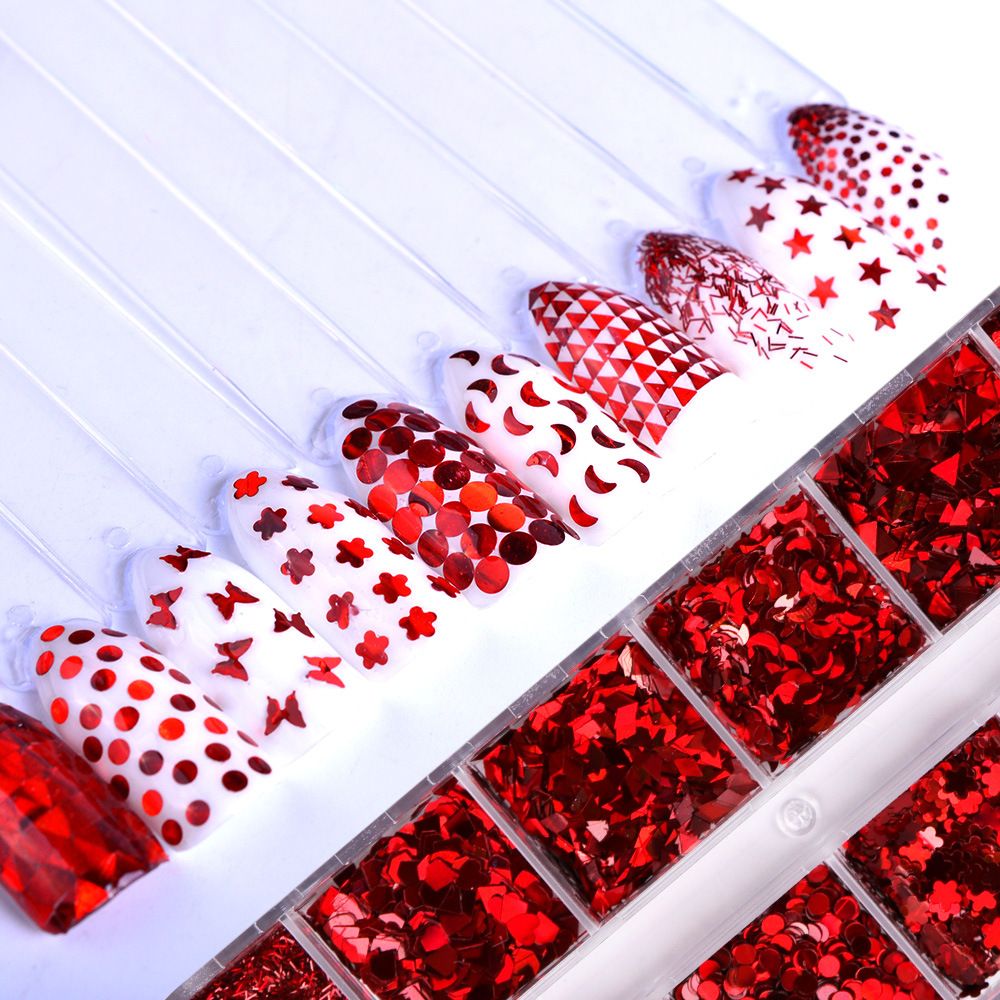
Nail embellishments are an easy way to create simple or show-stopping nail art without the need of drawing something.
What are embellishments?
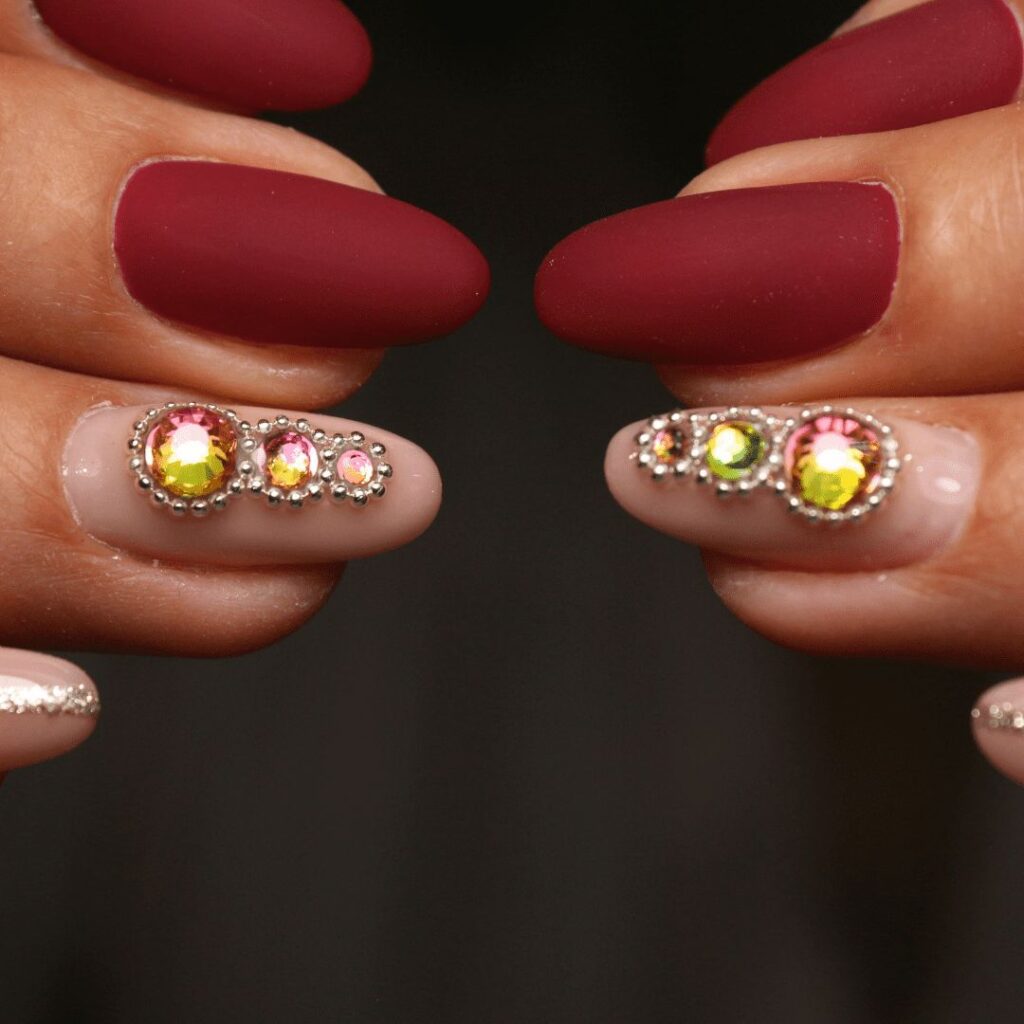
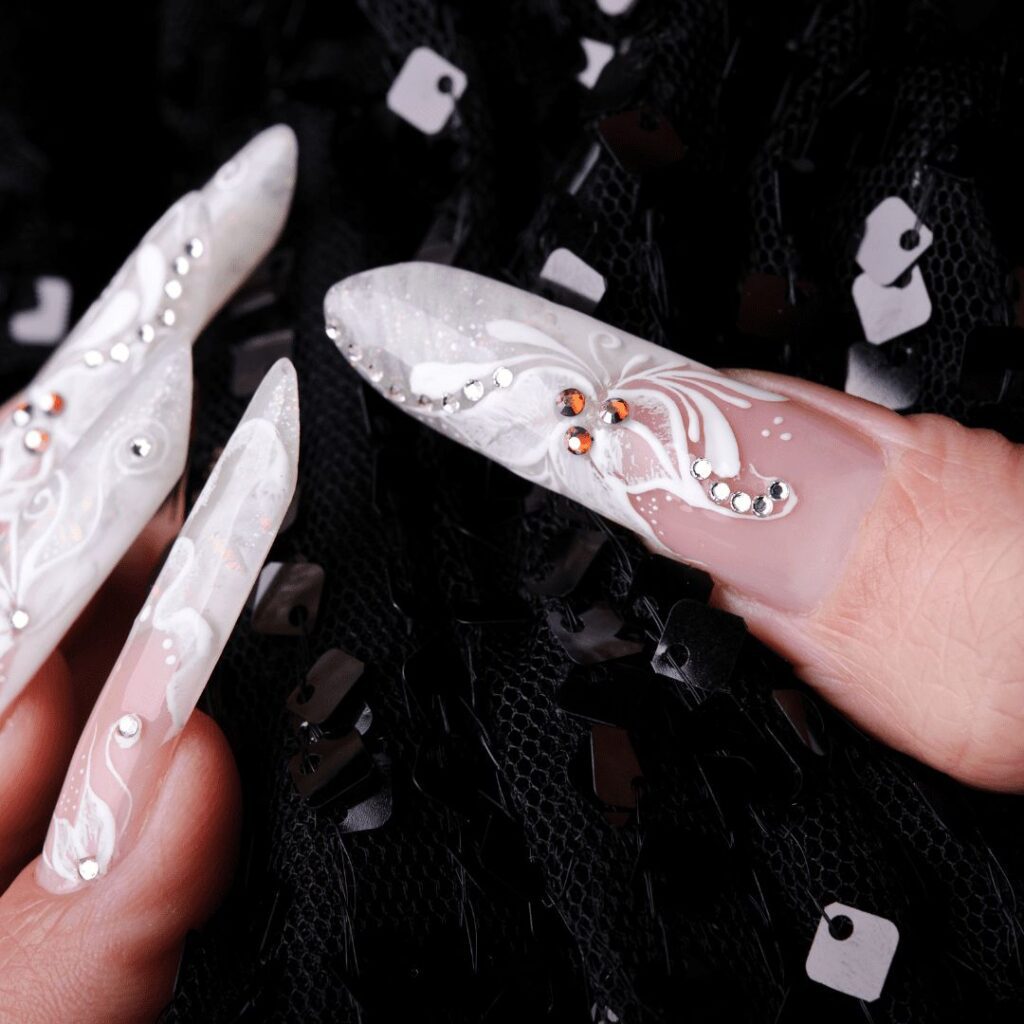
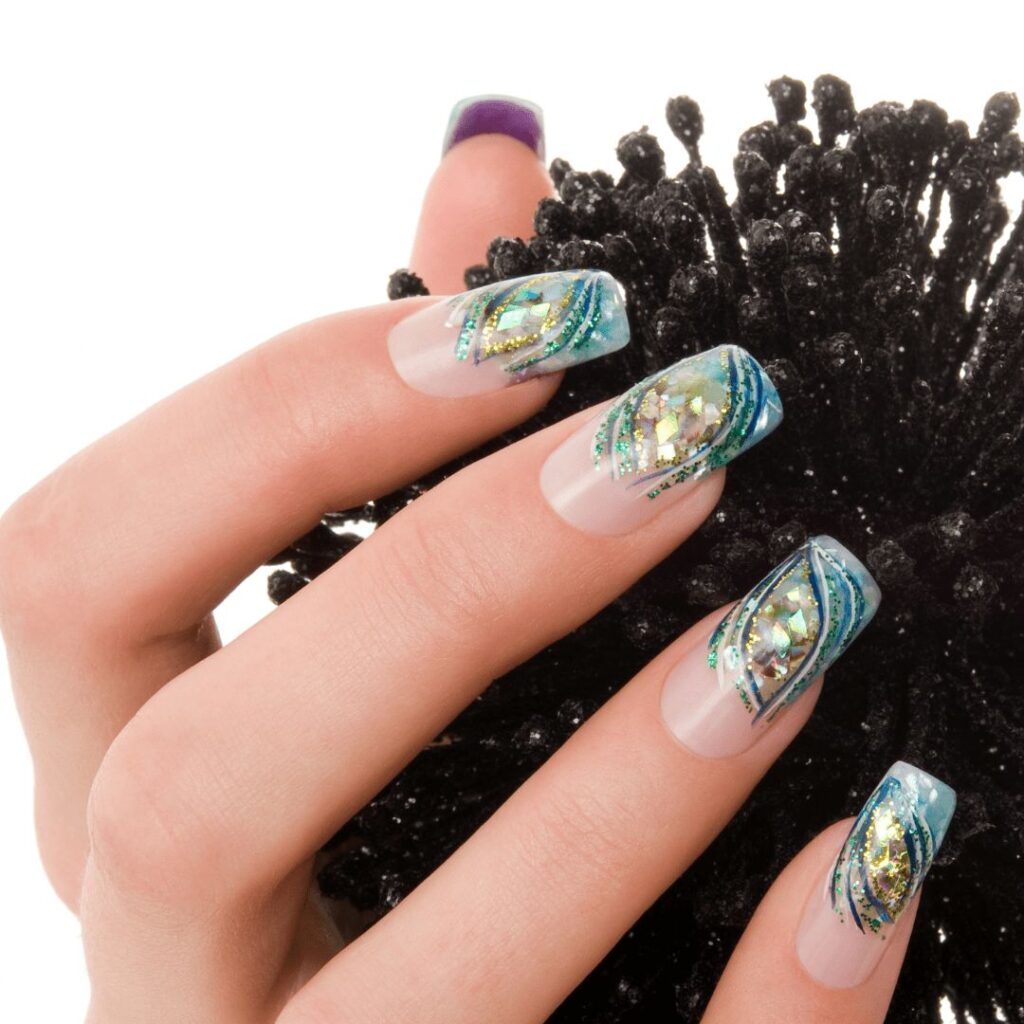
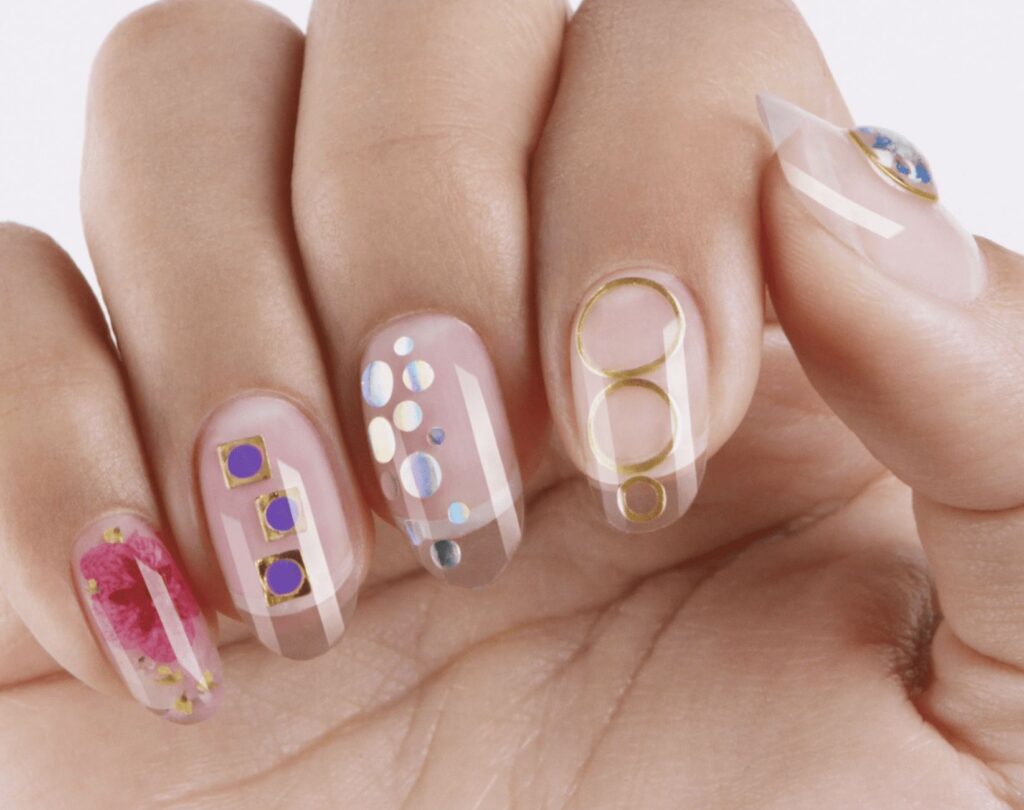
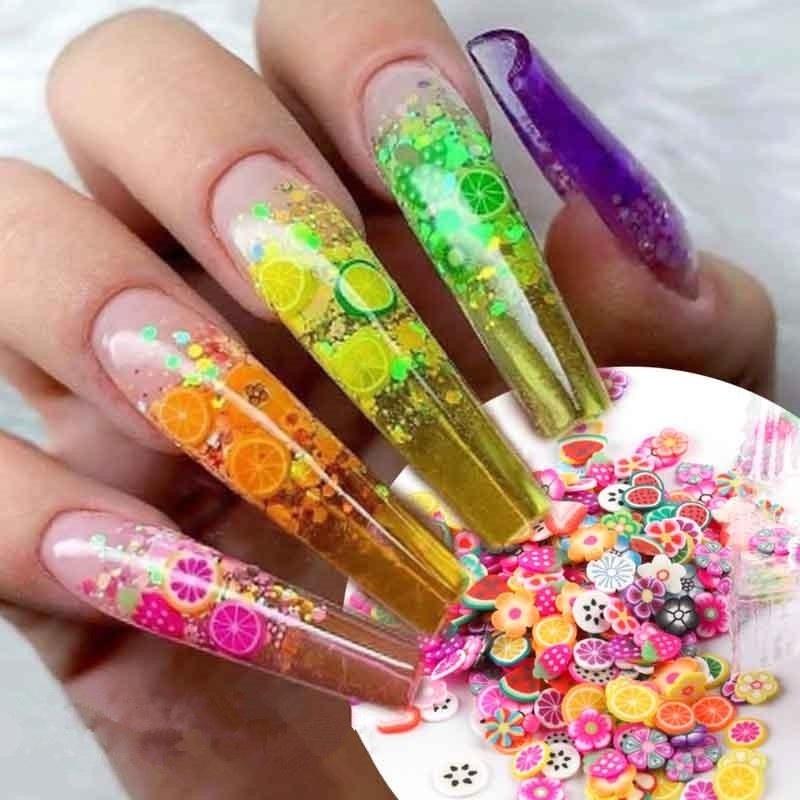
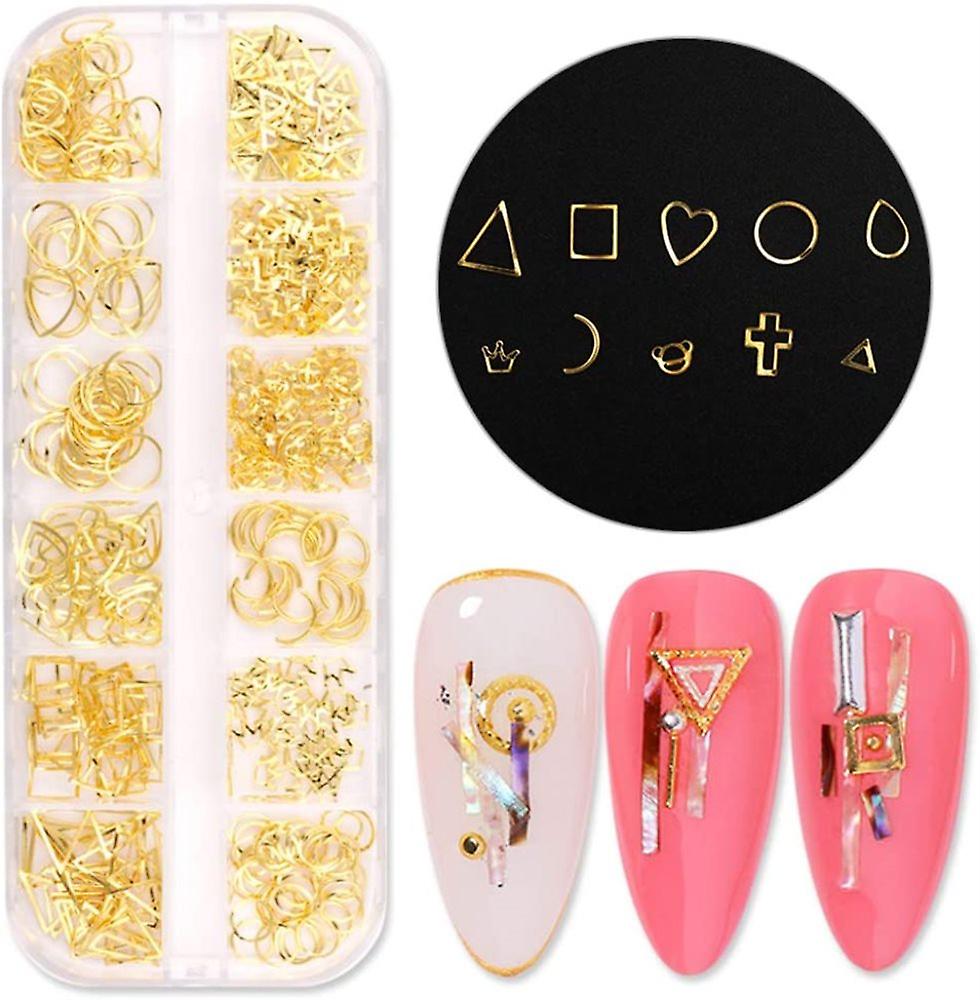
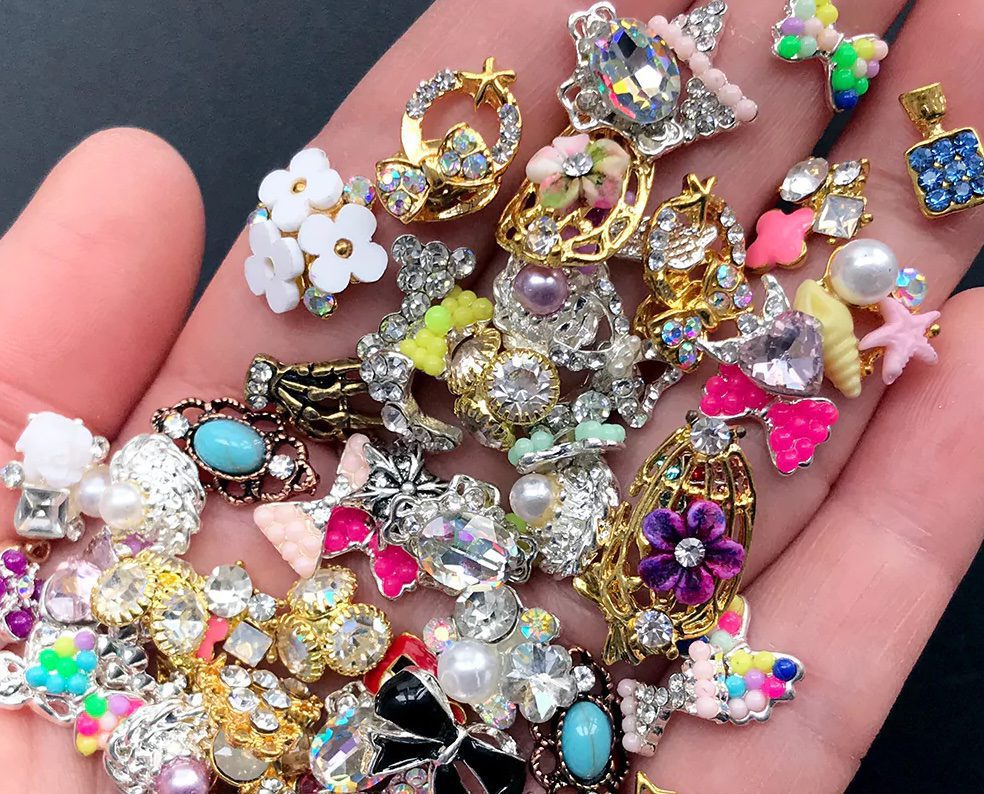
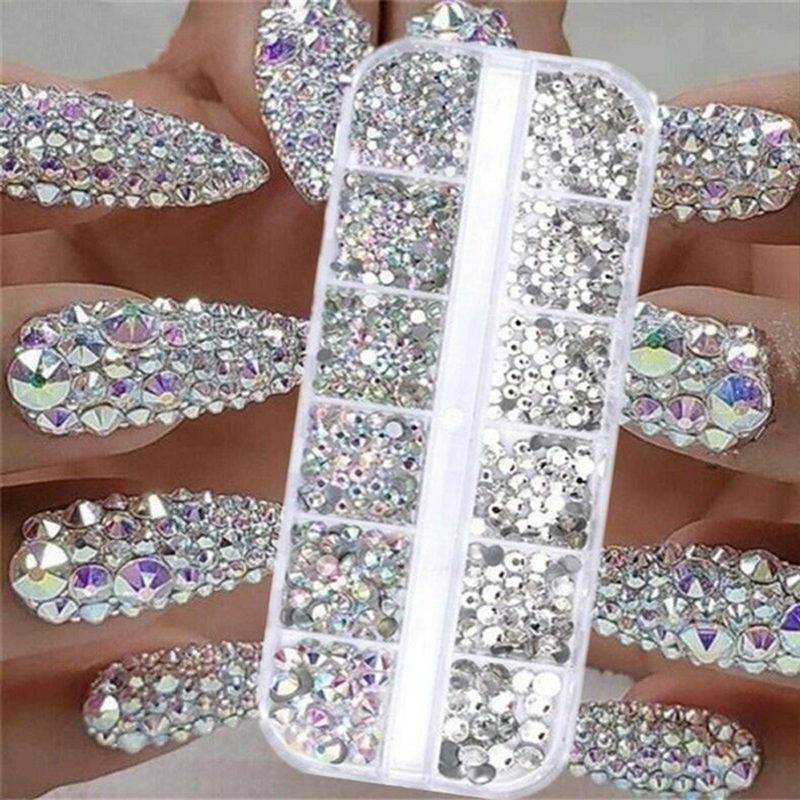
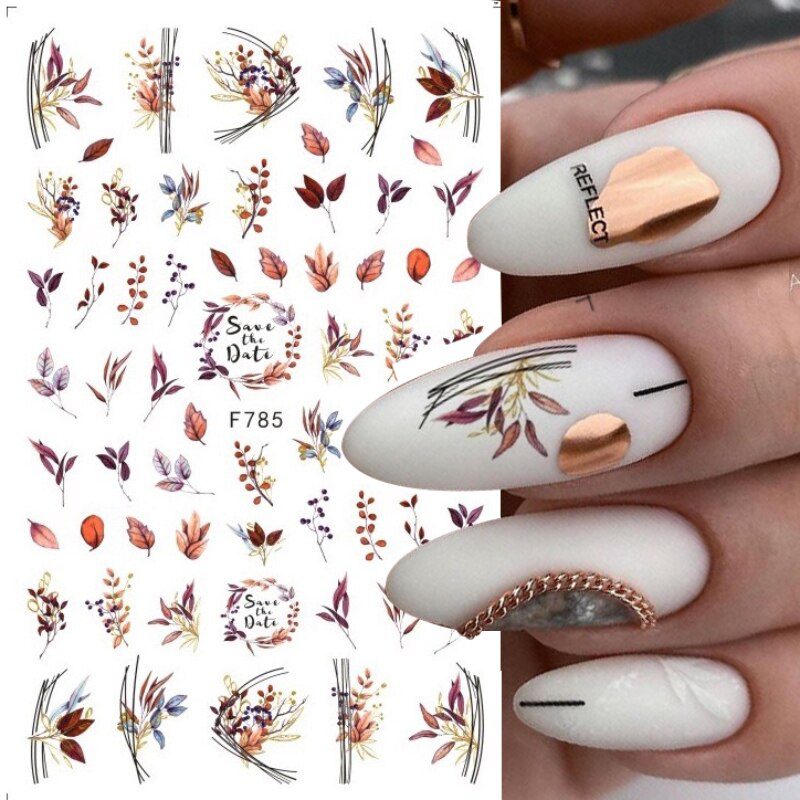
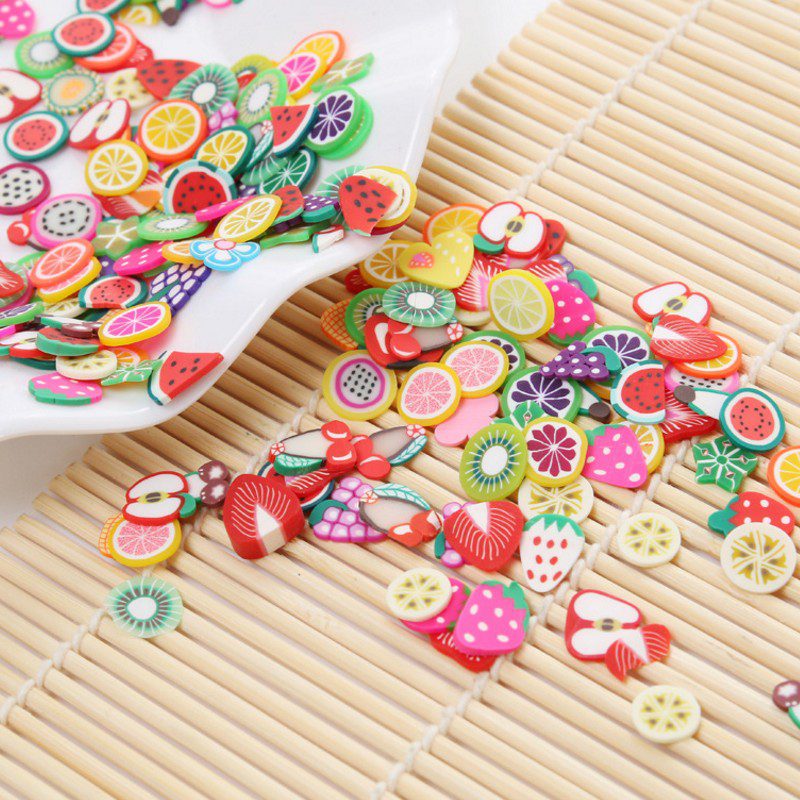
Embellishments are usually solid decorations such as small metal pieces, pearls, resin charms, sequins, studs, polymer clay slices, crystals, etc. We can use them with any nail coating, although some work better with one medium than another.
How do we use embellishments?
With nail polish:
Sticky decals can be applied on dry nail polish color, and then covered with a top coat.
Flat but flexible embellishments can be pressed onto still wet nail polish top coat. They can then covered with another layer of top coat for protection.
3D embellishments, if they are small, can be pressed onto a still wet nail polish top coat. It would be better not to cover them with another layer of top coat as they will lose their sparkle. Plus, they will create a weird “bump” on the nail.
For bigger embellishments, use an adhesive that will provide you with that extra hold you will need.
With UV gel polish:
The same rules as with nail polish apply here. The only difference is that you get a better hold on embellishments that are applied on the surface of the top coat.
For an even better hold, use a striping brush and your top coat to seal the edges of your embellishment. Think of how a jewel is secured on a ring!
With UV gel:
When using embellishments with UV gel, we have two options. We can apply them on top of the enhancement, or encapsulate them in it.
To apply them on top of the enhancement, we can follow the same rules as with UV gel polish. Of course, using the UV gel top coat of our preferred system instead. We can also use a bead of UV builder gel to hold bigger embellishments, or even a cluster of them.
To encapsulate embellishments within the enhancement, we need to follow these rules:
- Always start with a thin layer of clear UV gel that you will cure before adding any embellishments. This will act as a base for our embellishments, and as protection of the natural nail.
- Apply the embellishments towards the center of the enhancement, where you will have the thickest layer of UV gel covering them.
- Be aware of the thickness of your embellishments and their placement. You do not want to file them by mistake when you are finish filing your enhancement!
- Use the most crystal clear UV builder gel possible to encapsulate your art. It would be a shame to hide it in a cloudy enhancement!
With L&P:
When using L&P, we have the same options as with UV gel. The difference here is that our L&P base layer needs to be uncured when we press our embellishments into it, otherwise it will not grab them. And of course, we need to use a UV top coat to seal the enhancement if we want to add embellishments on its surface.
Things to remember:
- Make sure the widest part is held in place by the coating. This can be added using a small brush.
- Choose sizes wisely as embellishments are often flat so may not sit neatly with the curves of the nail.
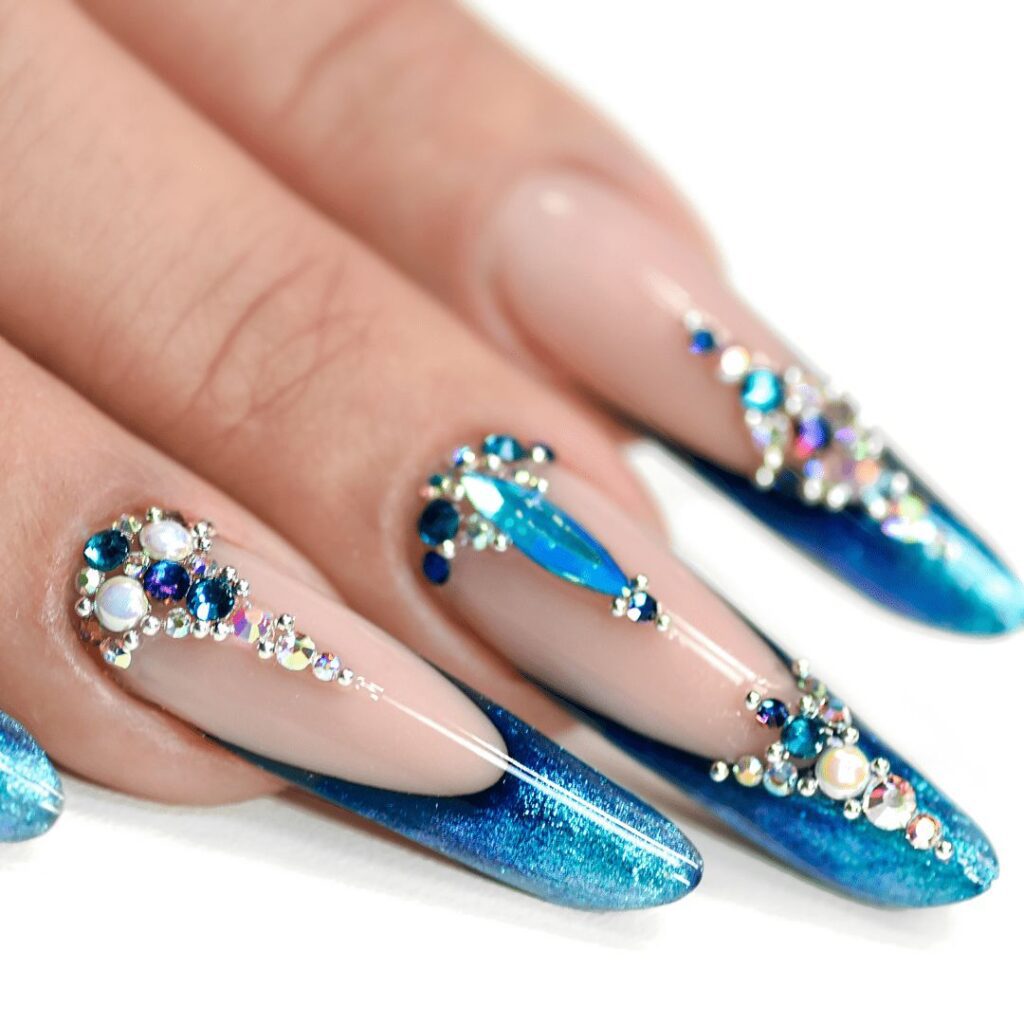
- If using a lot of tiny crystals to embellish a nail, use a fine ‘spiders web’ of UV gel applied by a small brush to help secure them without covering their facets.
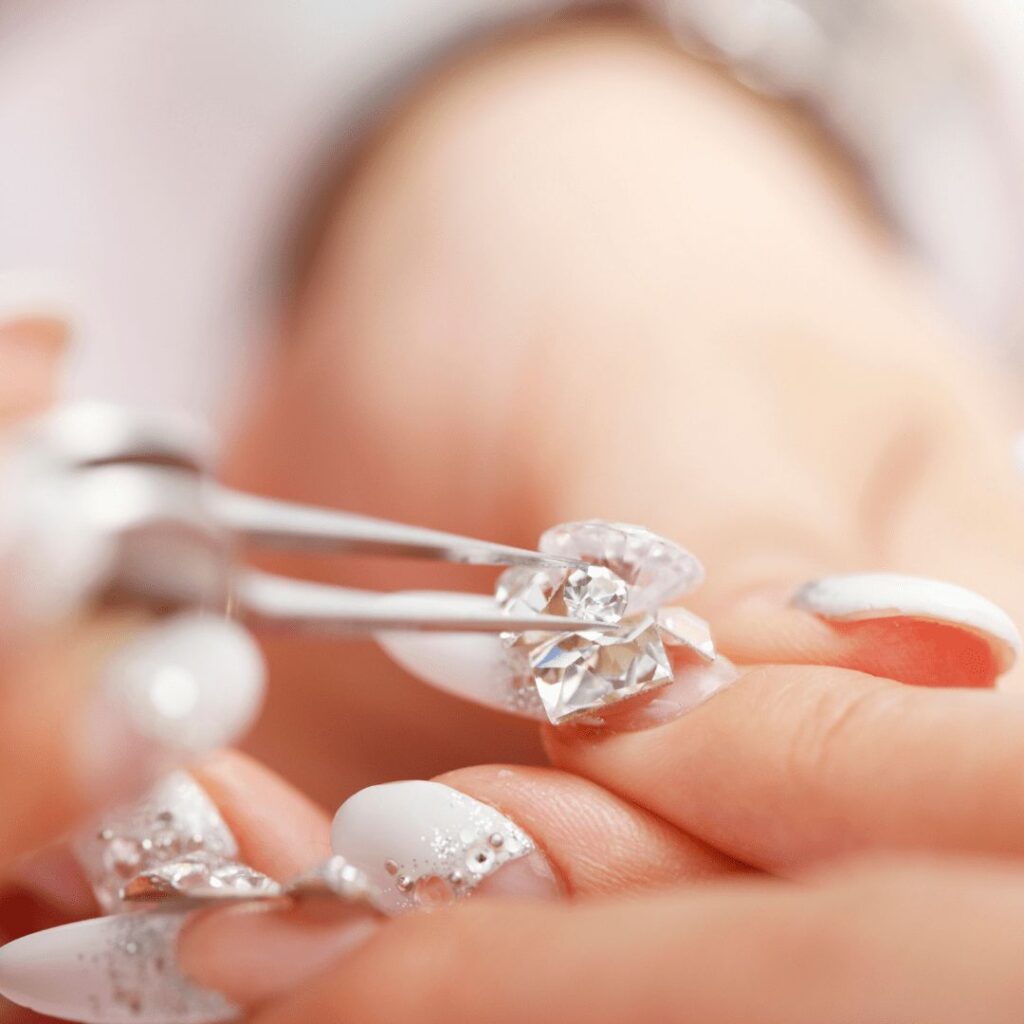
- There are specially designed tools for picking up embellishments and accurate placing but an easy option is a small piece of ‘Blu-Tak’ shaped into a point.
- When creating a cluster of embellishments (usually crystals) use smaller pieces to support the bigger ones. Look at jewelry to get inspiration.

Was this article helpful?
We'd love to hear your feedback:
