What is Striping?
Striping is the act of creating stripes as part of your nail art design.

How do you create it?
There are two main methods of creating a design using striping:
Using a striping brush and colour (nail polish or UV Gel Polish)
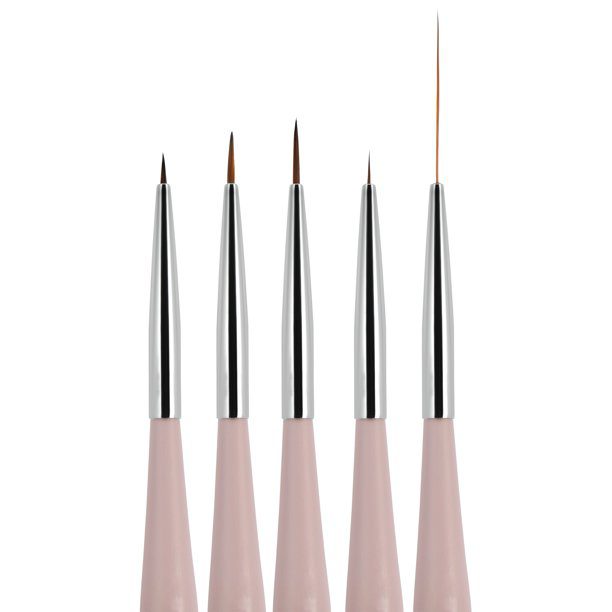
There are many different striping brushes available. You can choose what works better for the design you want to create. These brushes vary depending on bristle length, thickness, material, etc. It is advisable to buy the best quality you can afford as they are not all the same.
- Using a palette, place the chosen colour as a drop and pull the brush through the colour.
- Either lay the brush onto the nail or draw a line allowing the brush to create the shape you require.
- An alternative is to place several colours next to each other on the palette and lay a flat, wide brush into the colours. Then, lay the brush onto the nail and a multi-coloured stripe will be achieved.
- If any product ends up on the skin, immediately remove using a brush soaked with remover or cleanser.
- Clean the brush immediately after use with alcohol or acetone.
Using a striping tape
Many striping tapes are available, in many colours, including metallic. These tapes are sticky-backed and can be placed onto the nail in the appropriate position. Cut the length leaving a small gap away from the edge of the nail. This way the top coat will seal the ends and prevent them from curling up.
Alternatively, you can use the tape to create “negative space” stripes.
-Apply the tape onto the nail, on an already dry or cured colour layer, to create the desired pattern. Allow for the tape pieces to be longer than the nail so you can grab their edges later on.
-Apply a layer of different colour on the whole surface of the nail, over the tape. Allow to set.
-Remove the tape, allowing the bottom colour to show. Leave to dry (nail polish) or cure (gel polish).
various striper brushes 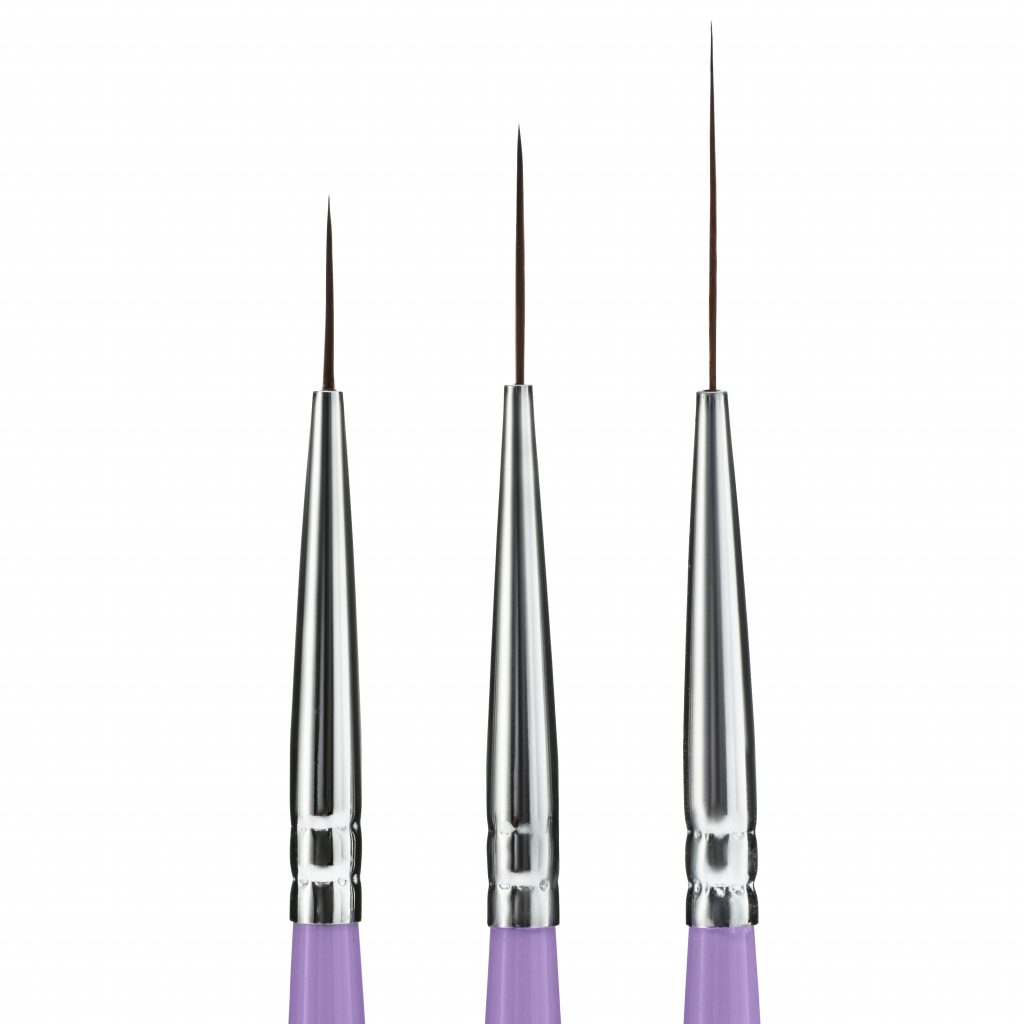
Long striper brushes 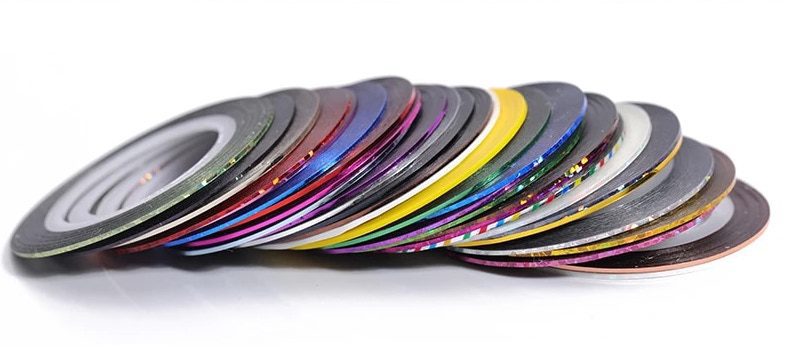
Striping tapes 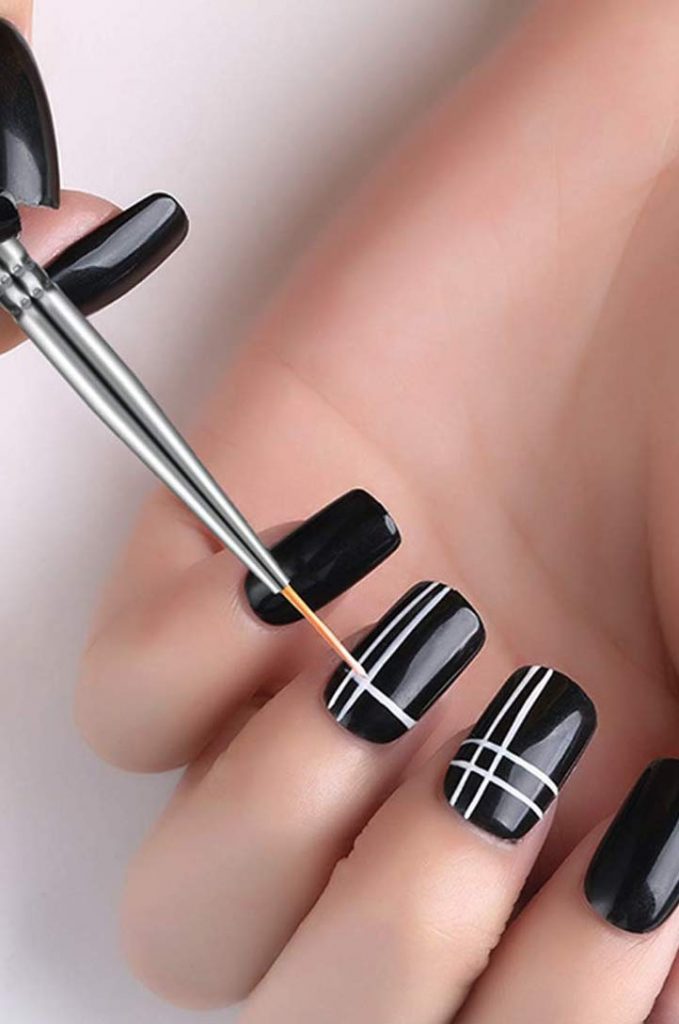
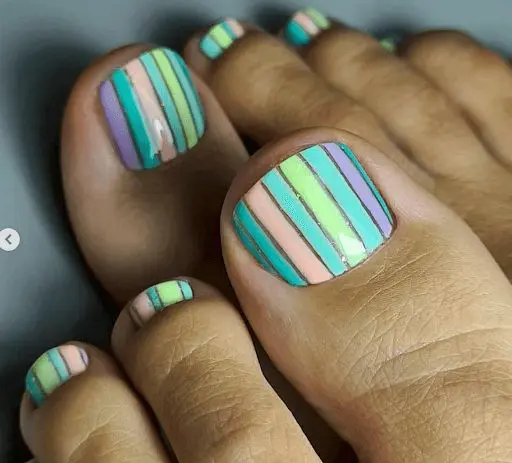
Art with striper brush 
Colors and stripes 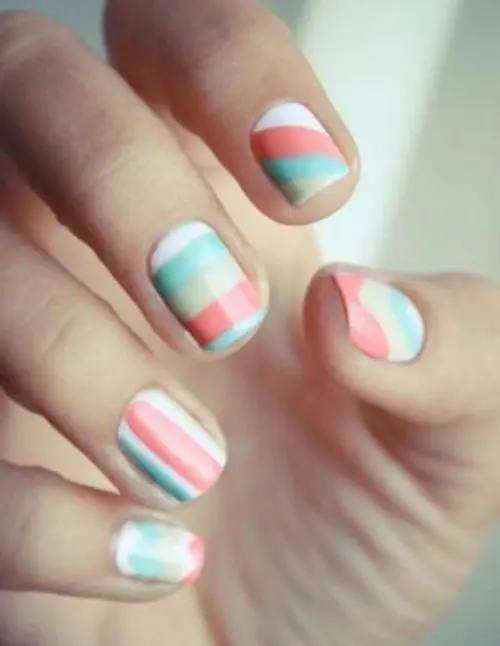
Pastel stripes 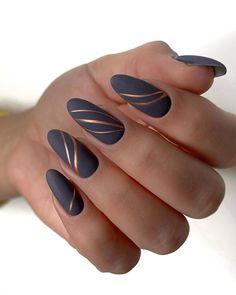
Gold striping art 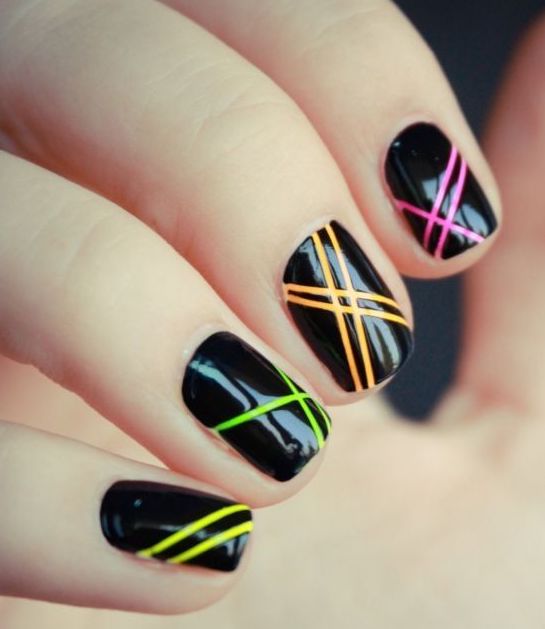
Negative space stripes 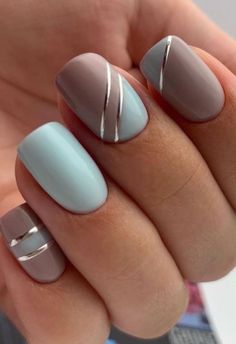
Striping tape nail art


