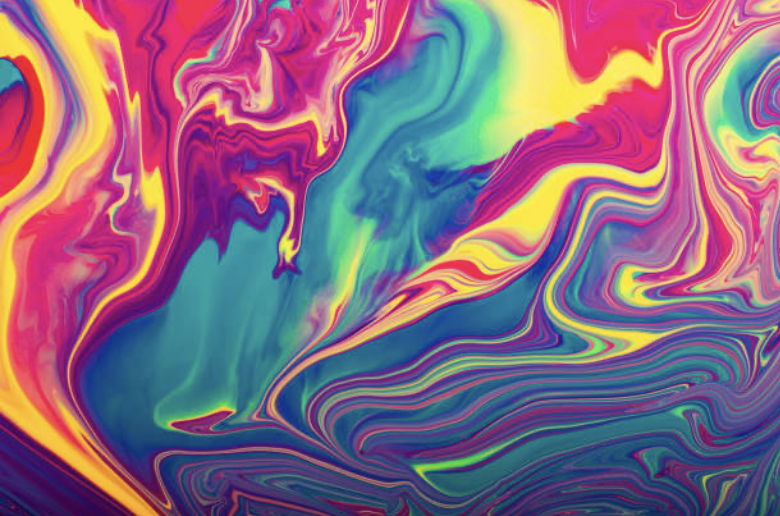
Marbling is an art technique that can be used to create a variety of different looks, many times imitating the look of marble, stones, smoke, etc.

What is Marbling?
Marbling is when a combination of colours is randomly mixed on the nail.
How do you create marbling?
Using nail polish:
- Dry marbling
- Choose the colours, and have the bottles unscrewed
- Apply the first colour to one nail only, quite thickly and in a random shape
- While the first colour is still very wet, apply the second colour to merge and slightly mix with the first
- Continue with any other colours until the nail is covered
- Give the nails plenty of time to dry as the coating will be thicker than usual
- Clean away any polish that touches the skin using a small brush dipped in remover
- Water marbling
- Take a bowl and fill it with lukewarm water.
- Add one drop of colour to the middle of the bowl, and allow it to spread. Add a drop of another colour, in the middle, and again allow it to spread. Repeat with as many colours and as many times as you want. Ideally, stick to 3-4 colours, so it doesn’t get “muddy”.
- Take a skewer or toothpick and swirl up the colours in the water. (make sure not to over-mix).
- Apply base colour on your nail or just dip down your nude nails in the marble water.
- Take your fingers off the water and remove excess paint.
- Finish off with a top coat.
Using UV gel polish:
There are two usual methods for this technique:
- Technique 1
- Follow the same instructions as for the nail polish above. Choose colours that have a good level of pigment so only one layer is needed. If the coating is thicker than usual, double cure the nails to ensure a proper cure. It is usually worth ‘flash curing’ for 5-10 seconds to make sure the colours stay in place before fully curing all nails.
- Technique 2
- Using a UV gel polish palette, mix the chosen colours together until an approximate design of the marbling is achieved. Take a brush (a flat, square brush works well) and pick up the colours from the palette and apply them to the nail in a swirling motion. Add more until the nail is covered. Flash cure then properly cure all nails.
Using L&P:
- There are many coloured powders available and these are ideal for marbling.
- You can create your own by mixing up to 30% of pigments or glitters into the powder.
- Have all your chosen colours ready to use.
- Pick up a bead and apply it randomly to the nail adding more colours until the nail, or part of the nail is covered.
- You need to work quickly.
- Coloured powders often need to be used slightly wetter than usual but always follow the manufacturer’s instructions. Do not use too wet as this will result in an undercured coating.
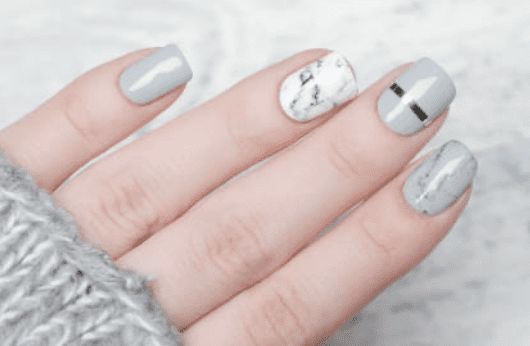
Marbling nail art 
Water marbling set up 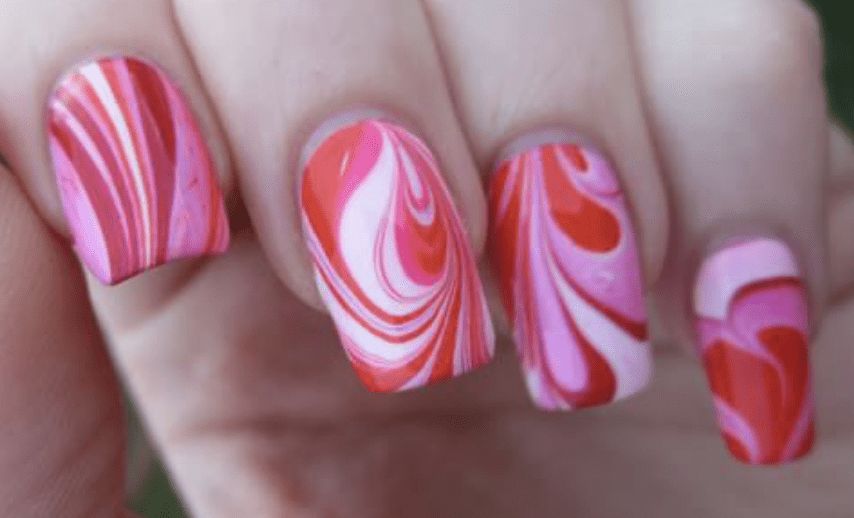
Water marble nail art 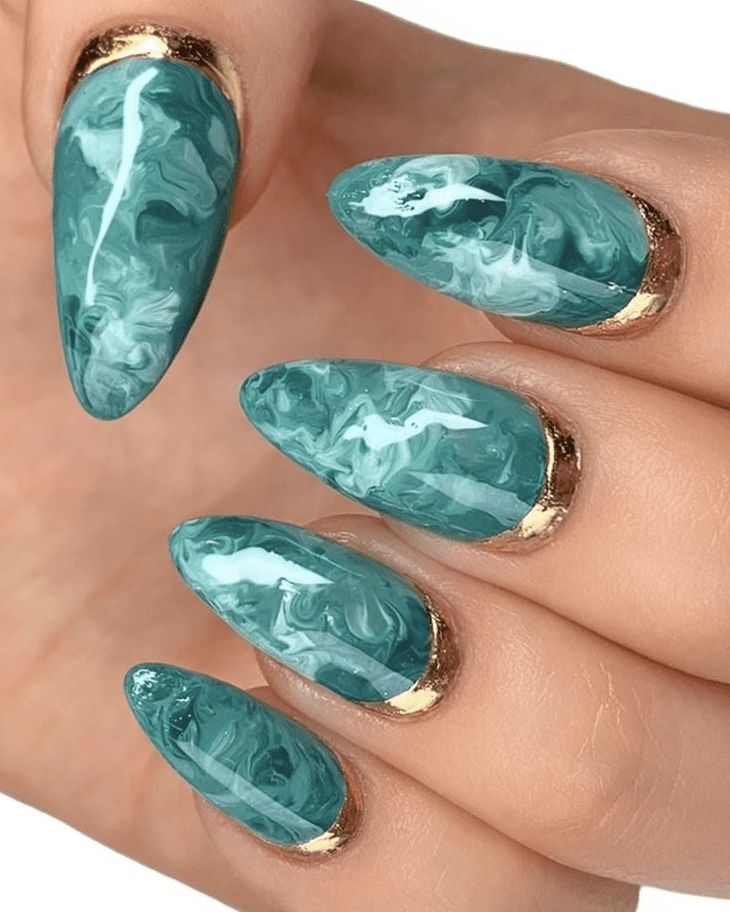
Gel polish marbling 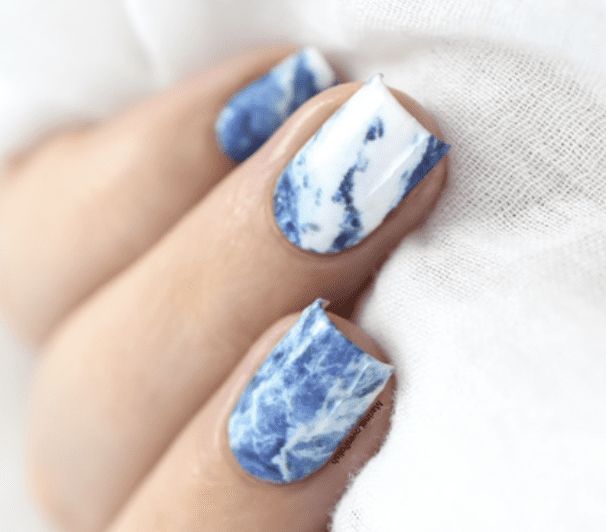
Marbling imitating wave foam 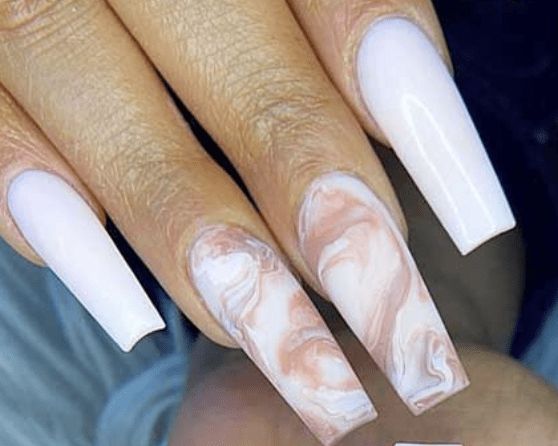
Marbling with L&P 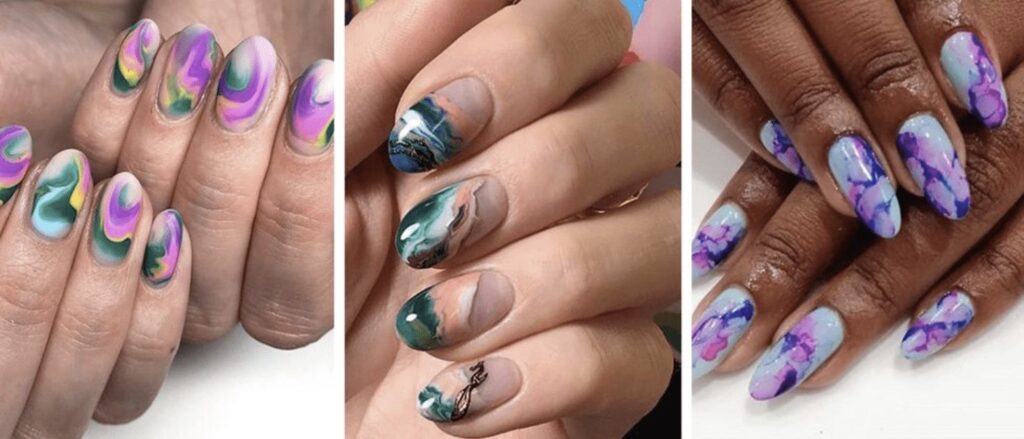
Marbling with gel polish


